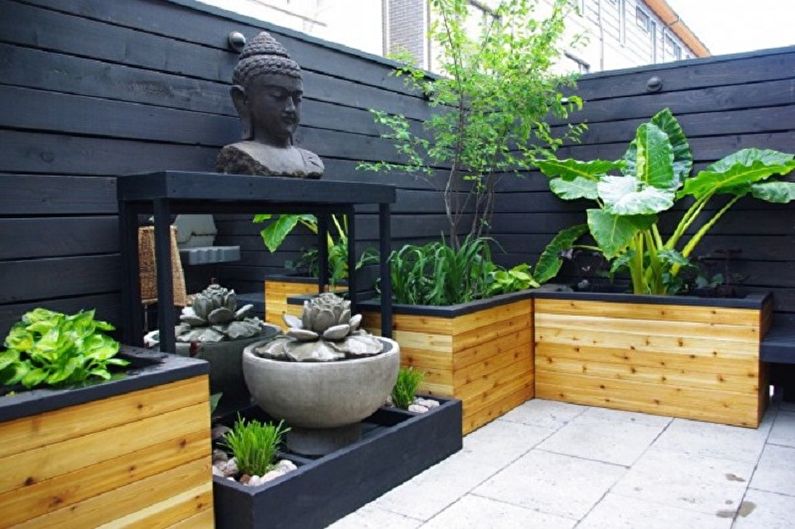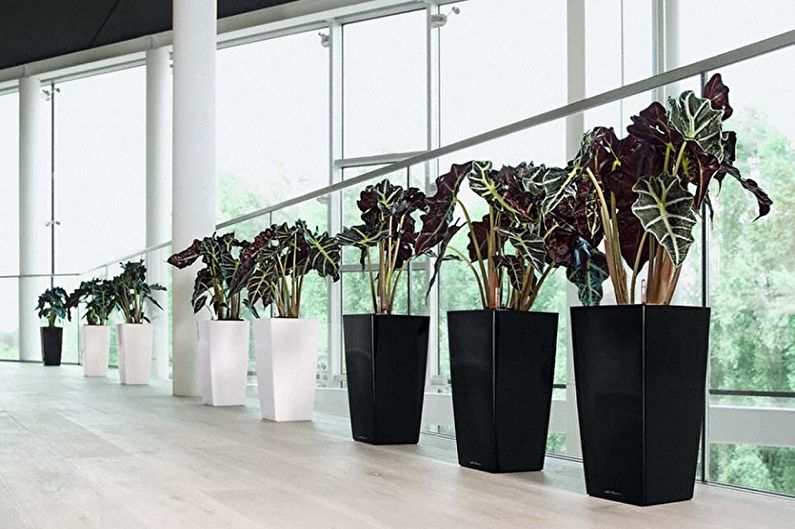
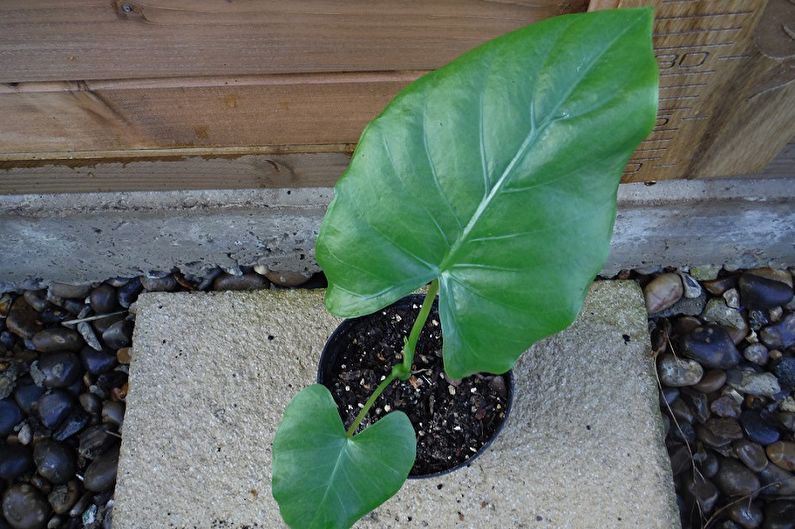
Alocasia is an exotic specimen native to tropical East Asian forests. It is rightfully recognized as one of the most excellent ornamental plants. Different species serve as a magnificent decor for interiors, greenhouses and personal plots thanks to its chic foliage. Alocasia blooms with small flowers, but rather fragrant. When grown at home, it requires compliance with the basic rules of care, for which it gives its owners exceptional aesthetic pleasure.
The main types
In the world there are about 80 species of this marvelous exotic plant. All of them differ in many ways (sizes, leaf shapes, flowering, etc.) and have a rather complicated classification. Consider the most common types of alocasia grown in our latitudes.
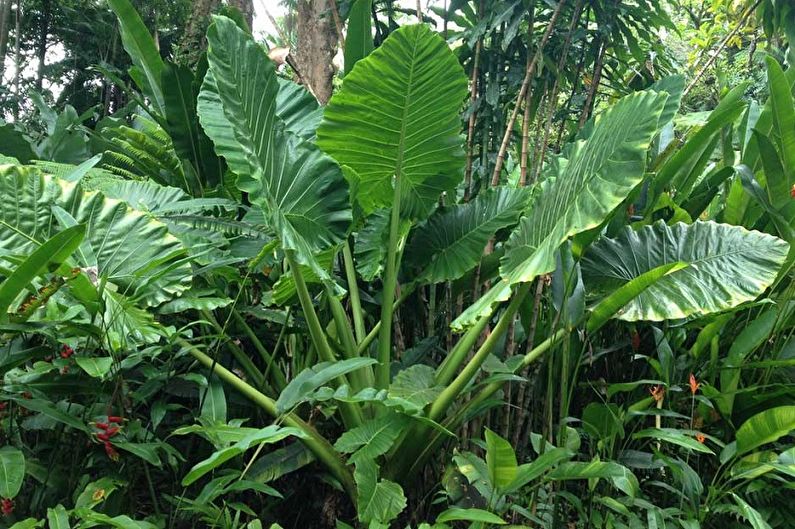
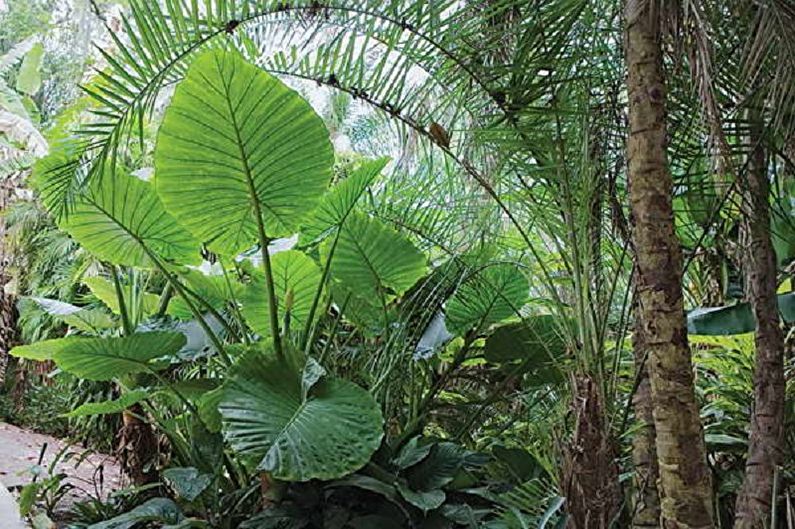
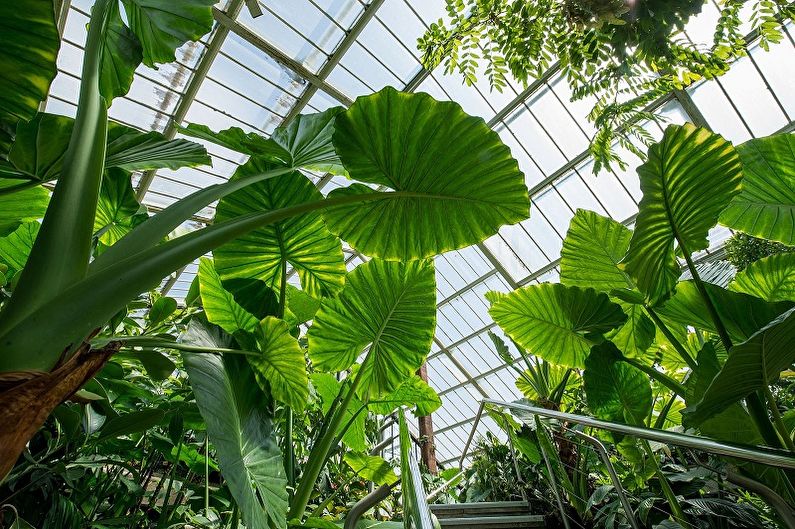
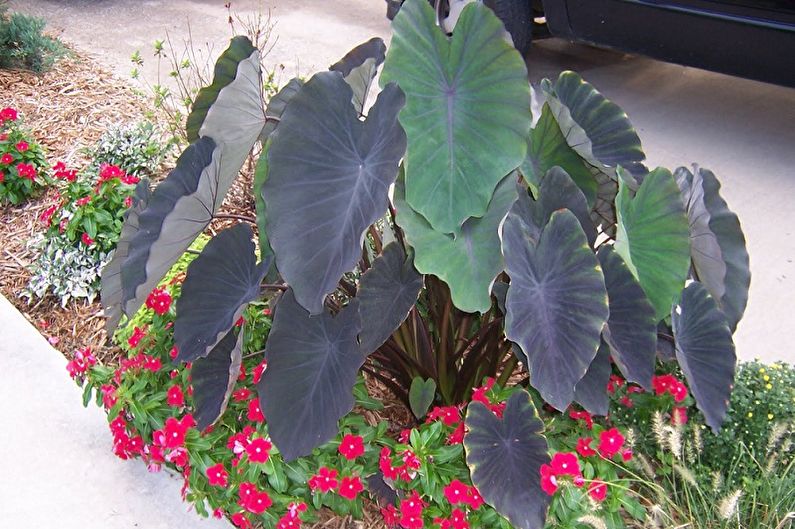
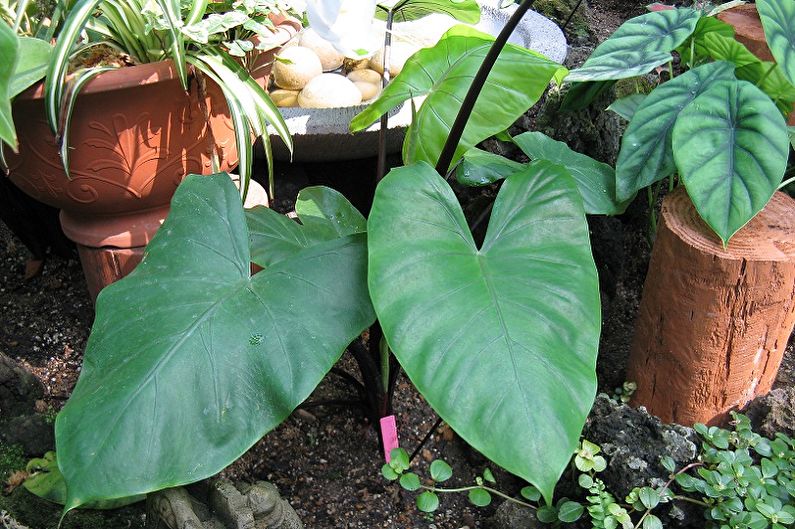
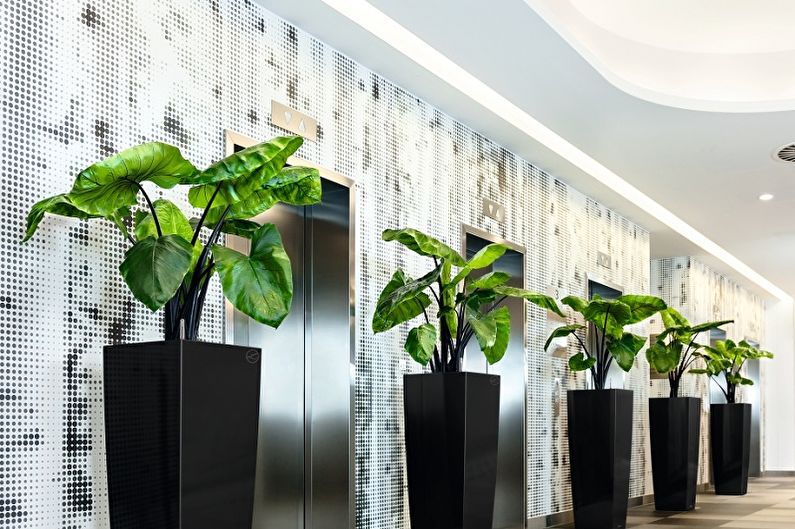
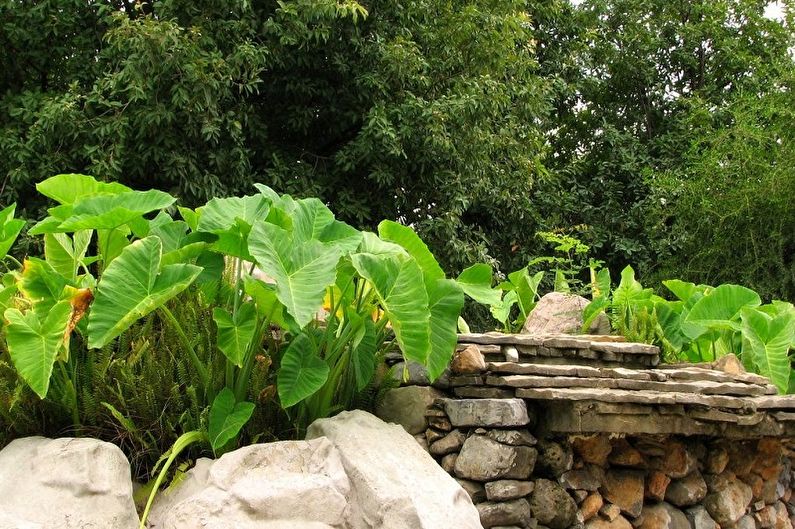
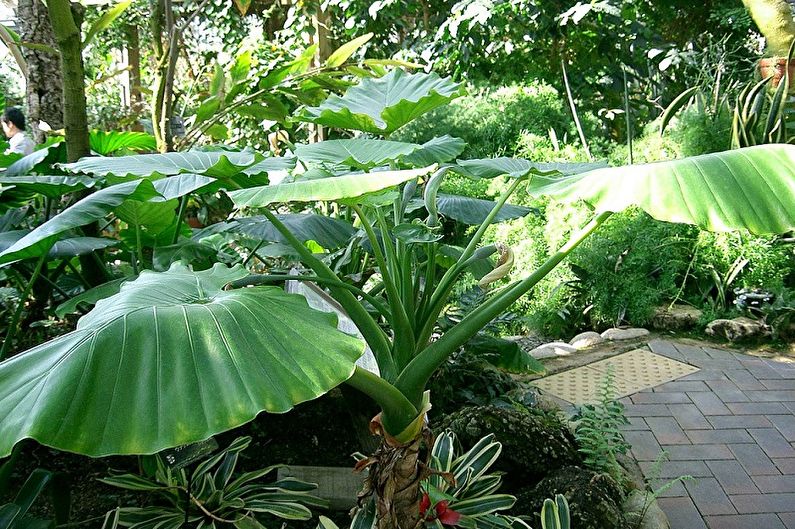
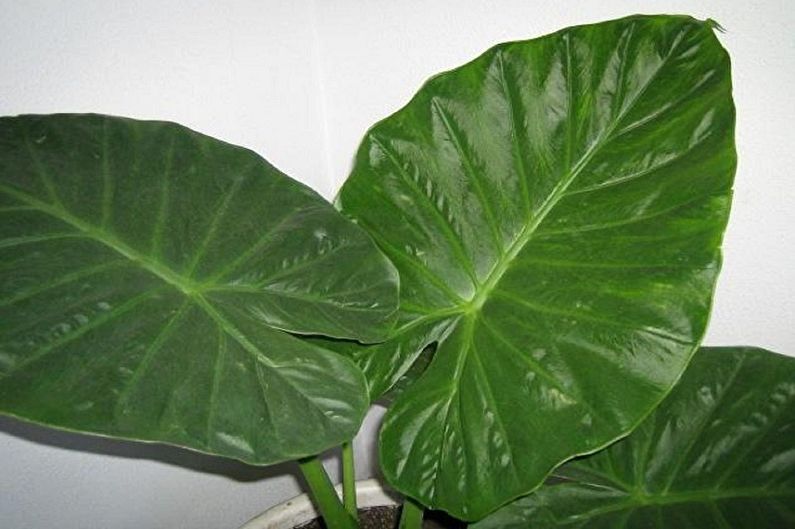
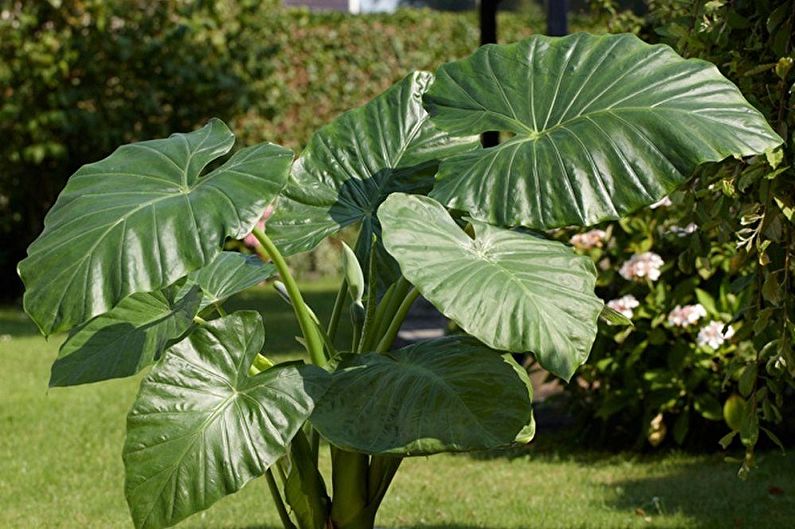
Root alocasia
This is a fairly large plant, which in natural favorable conditions can grow up to 3 meters or more. Its leaves also have impressive dimensions, growing up to 90 cm long and 70 cm wide. Due to its impressive dimensions, this type of alocasia is listed in the Guinness Book of Records and the people have the second name "elephant ears". Grown indoors, it cannot reach this size, growing up to 2 m. It blooms in large inflorescences, after the death of which roundish inedible red fruits form.
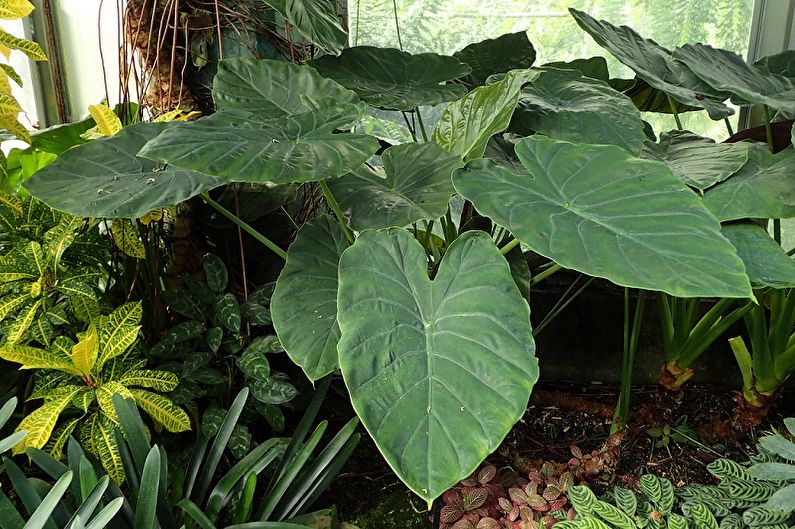
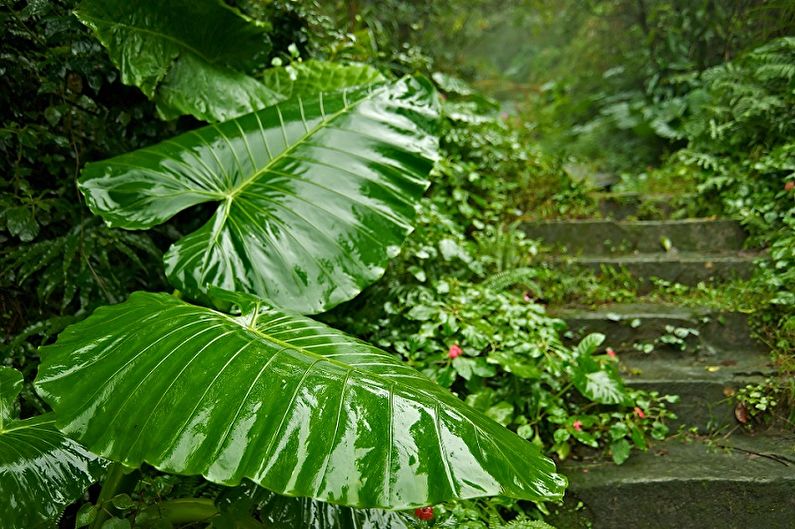
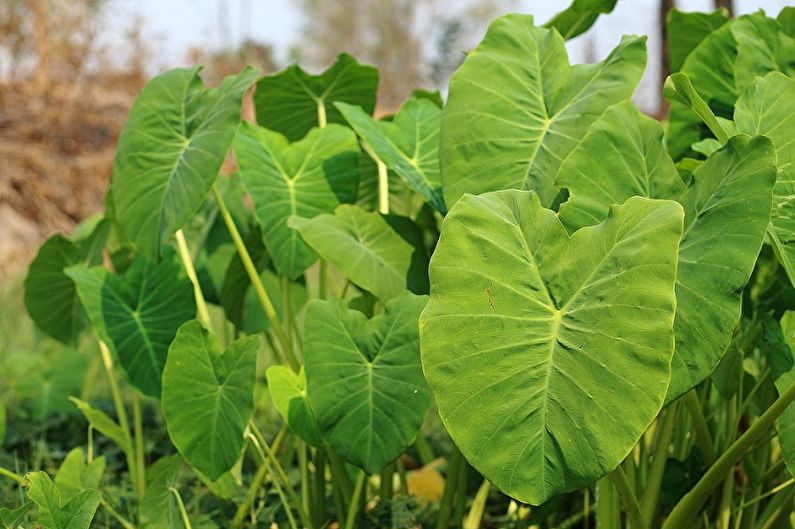
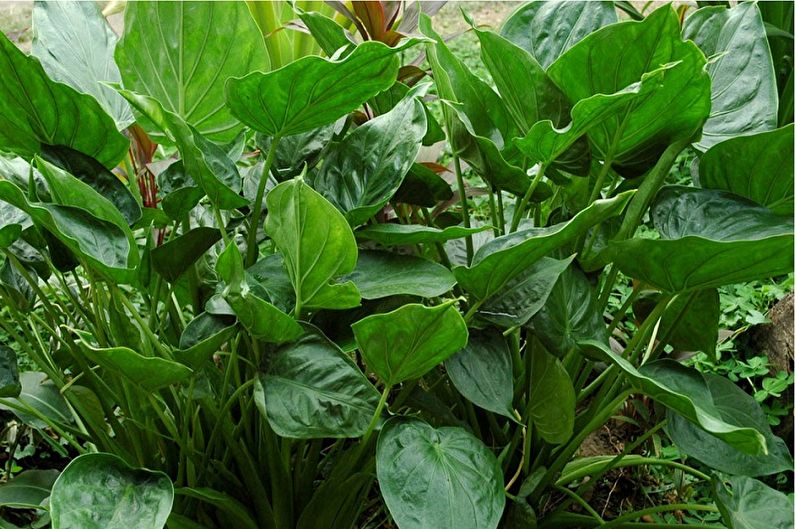
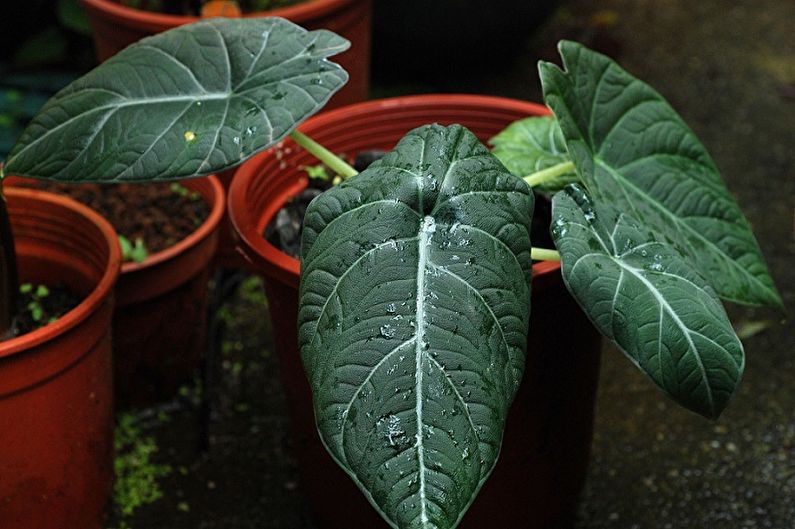
Odorous alocasia
This species belongs to herbaceous plants, has fleshy, leathery leaves up to 80 cm wide. The name of the culture was not accidental - it is able to secrete a specific aroma. It is worth noting the healing properties of odorous alocasia, due to which the species has found wide application in Chinese medicine. Moreover, all segments of the plant are used, from which preparations are prepared that help to cope with diseases of the gastrointestinal tract, etc.
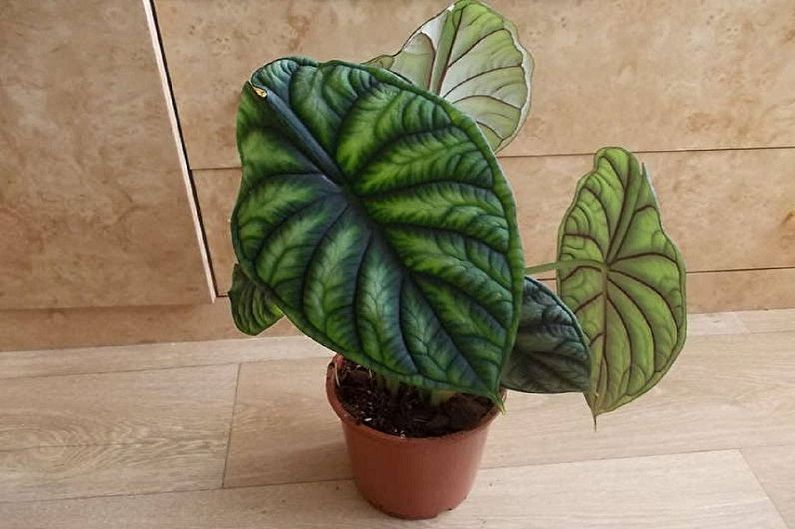
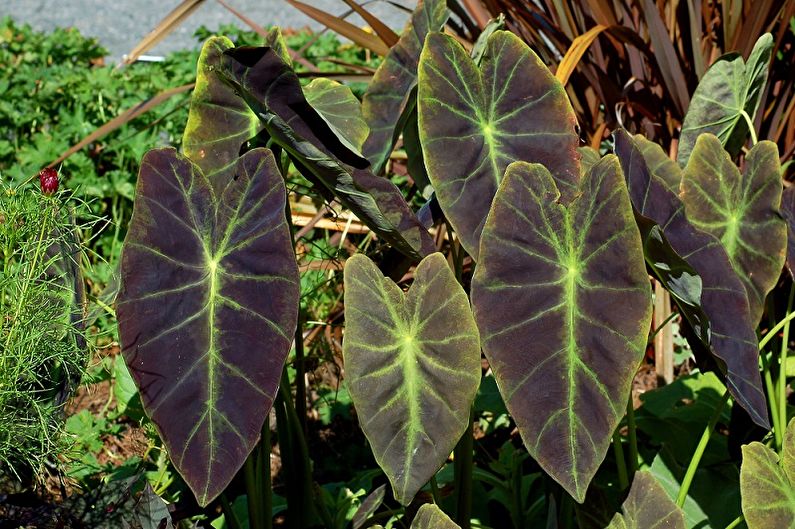
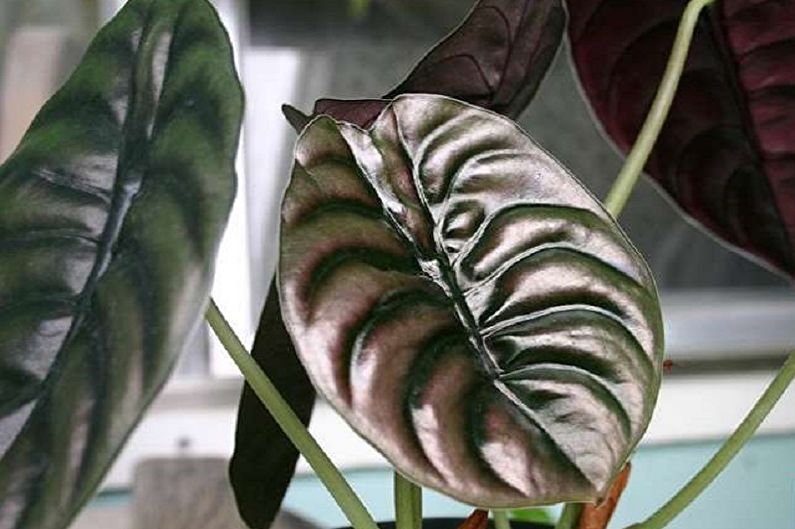
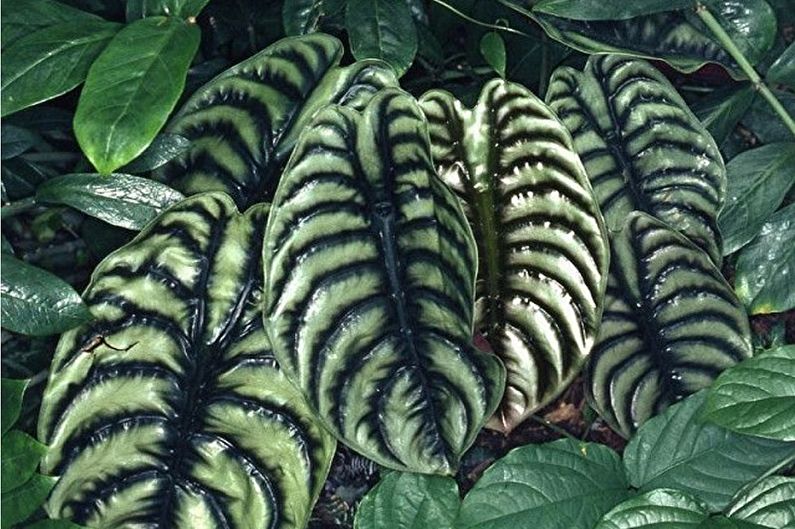
Alocasia copper red
One of the most decorative species. The upper plates of the leaves of alocasia have a copper-green color, complemented by a metallic sheen, and the lower ones have a saturated purple hue. The plant has dark scarlet peduncles. A peculiarity of the species is the toxicity of its juice; when processing it, gloves must be used. You also need to wash your hands with soapy water.
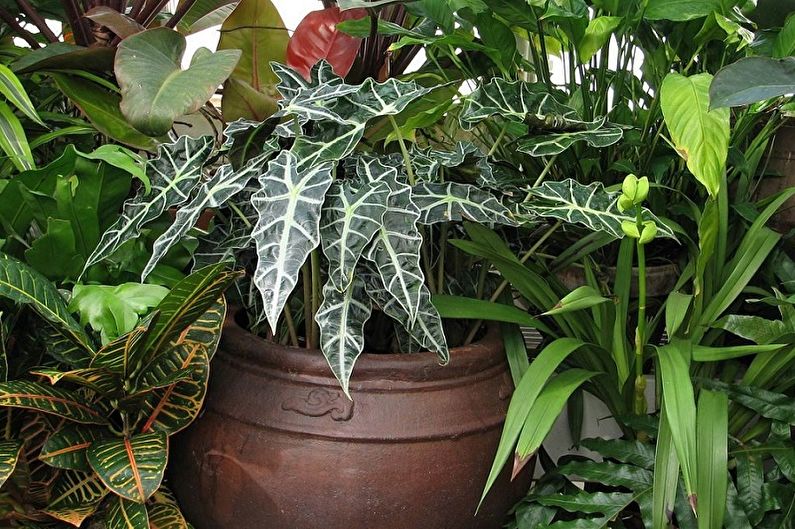
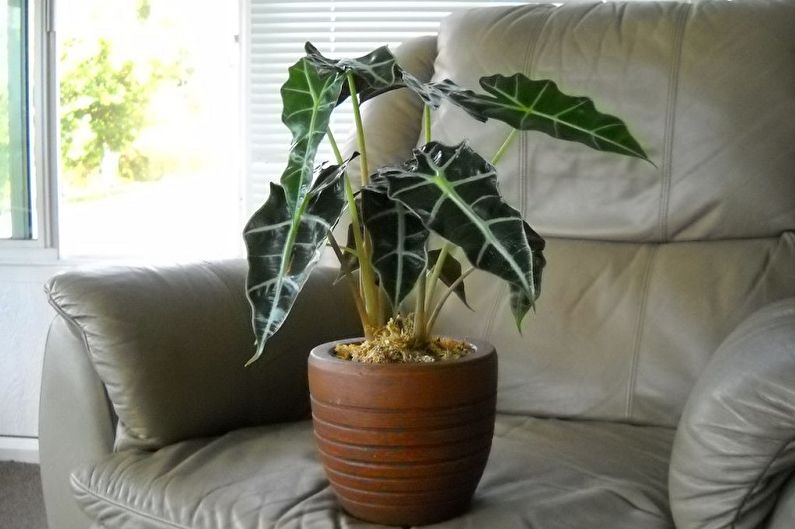
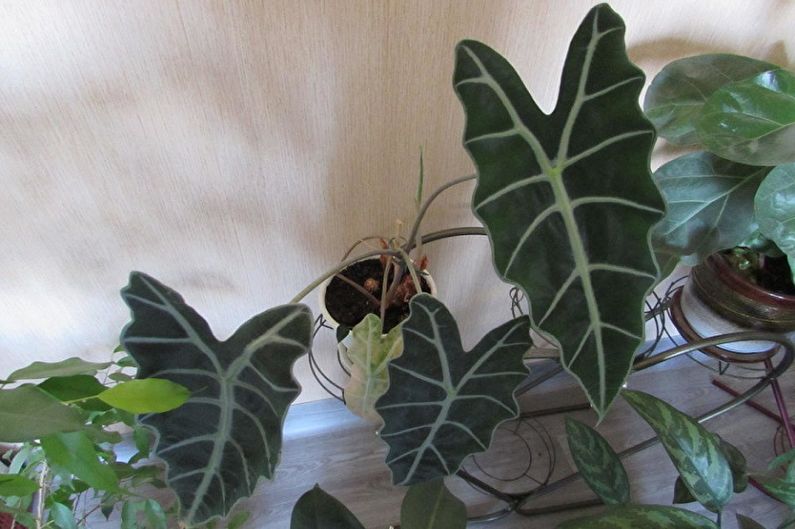
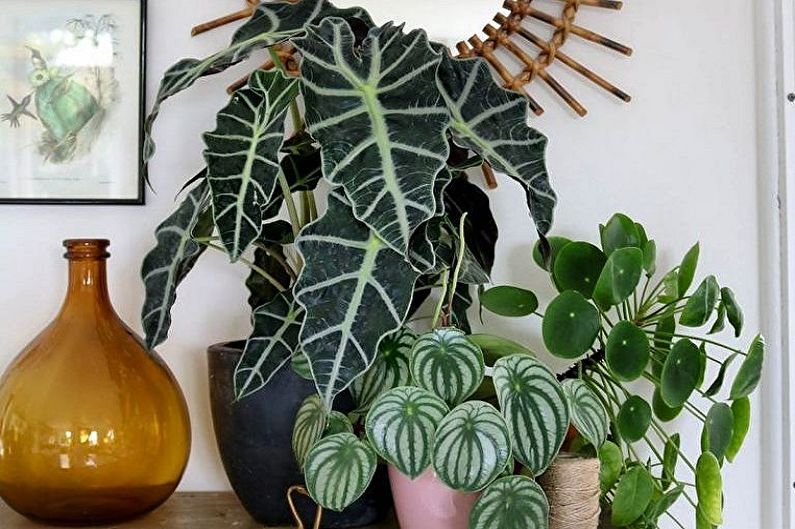
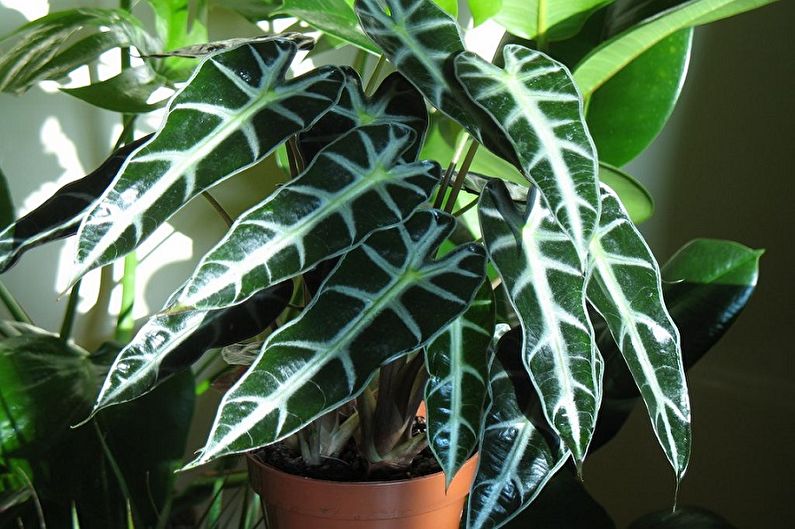
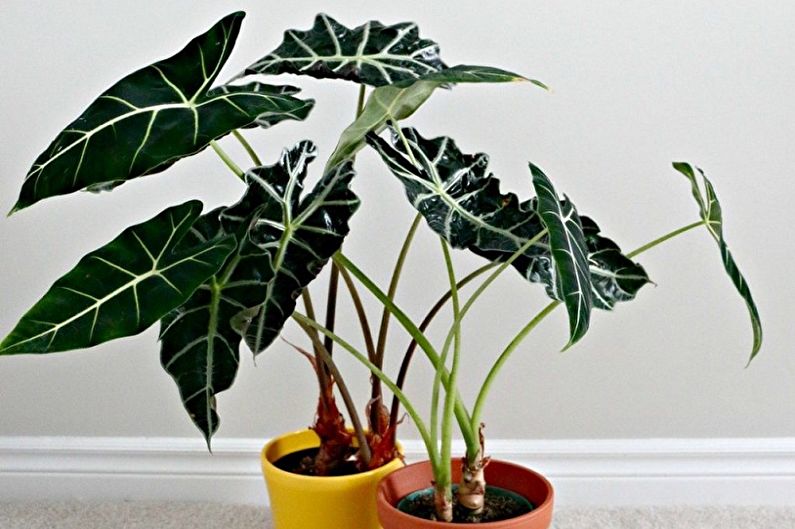
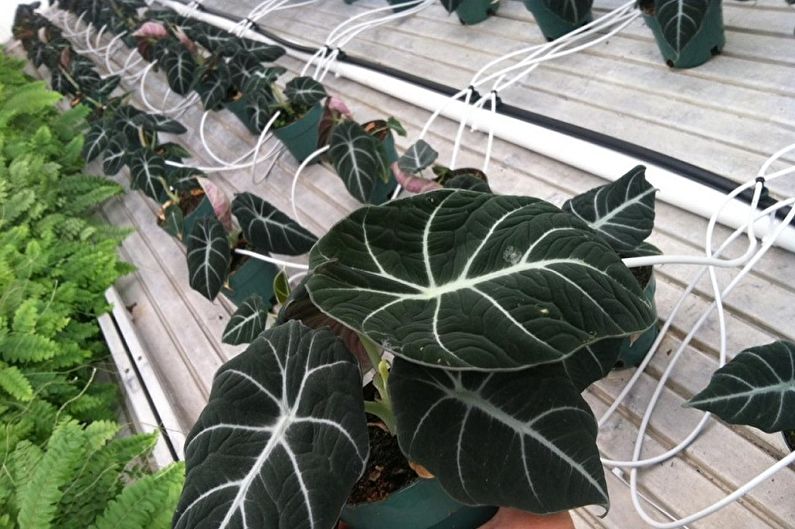
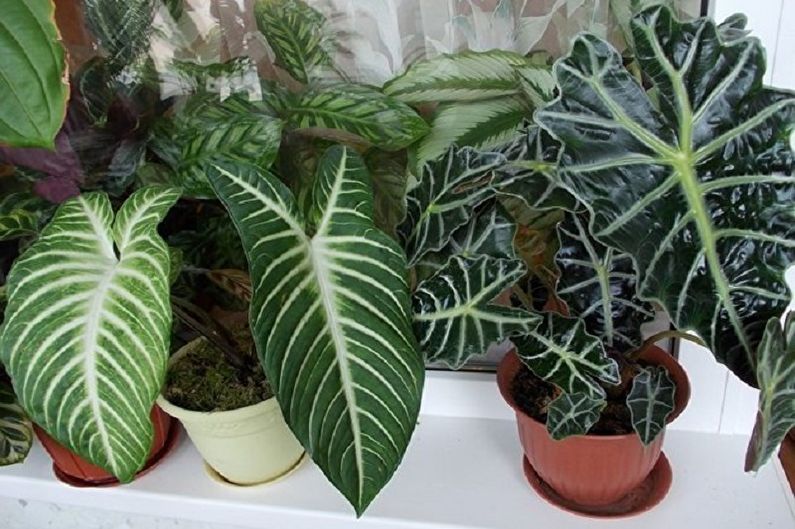
Amazonian alocasia
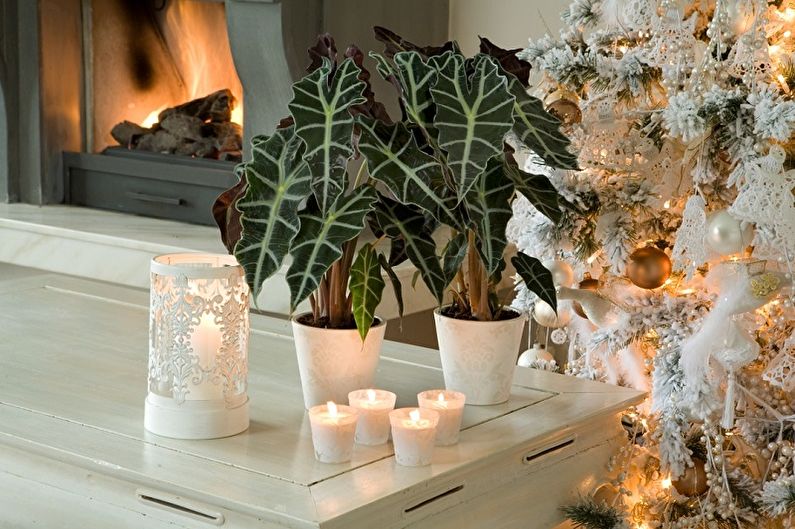
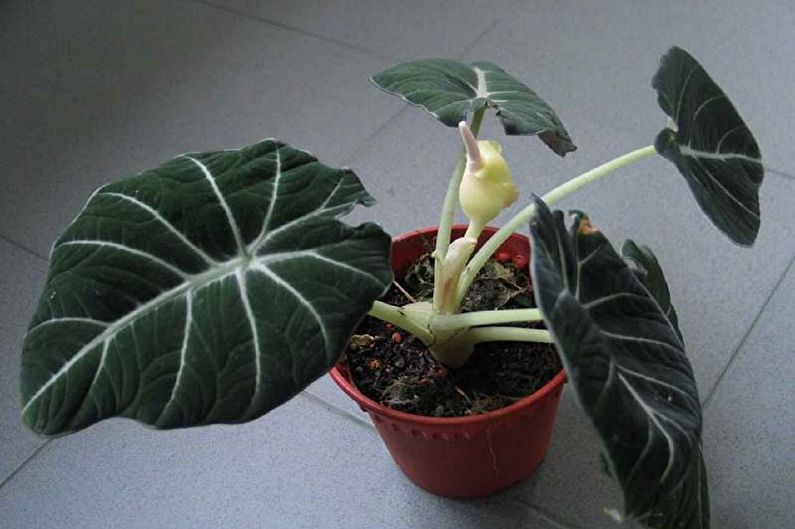
Compact small Amazonian alocasia has a stem length of not more than 15 cm, which makes it perfect for placement even in small interior floral arrangements. The leaves are elongated, about 40 cm long, have characteristic grooves at the base and along the edges, as well as white stripes along the lateral veins.
Alocasia blossoms in a very original way, representing an inflorescence-cob, which is covered with a greenish or pink veil, has a stupefying aroma. At home, this species does not bear fruit.
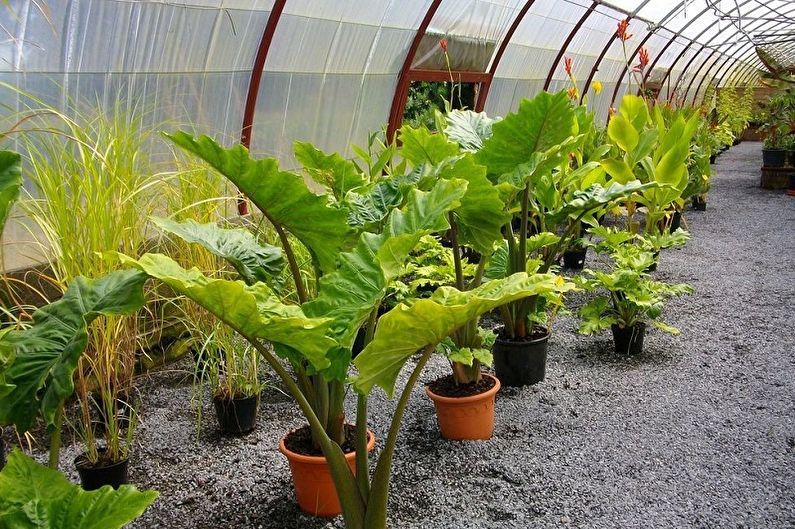
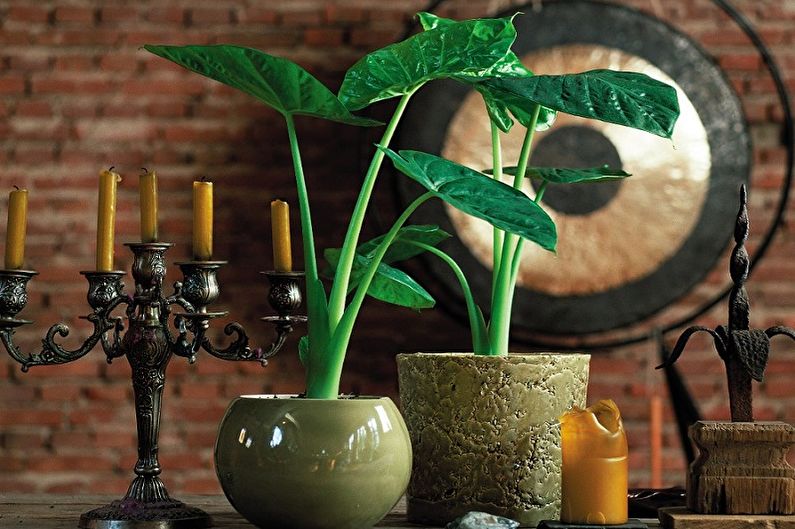
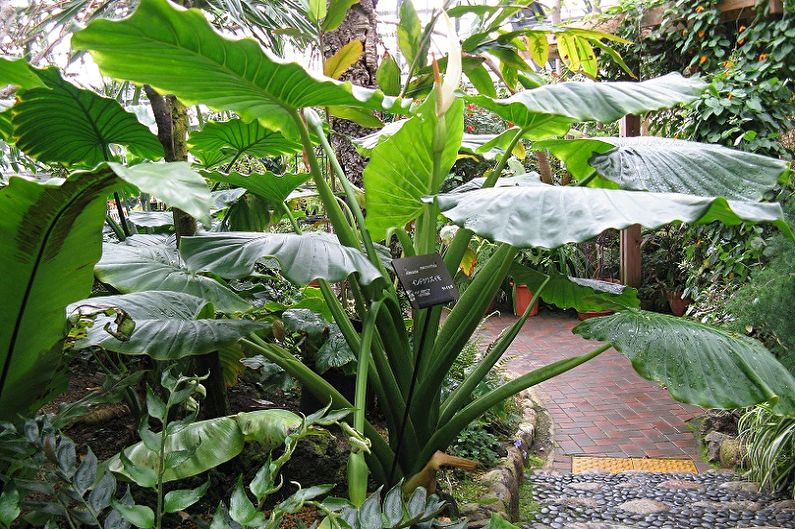
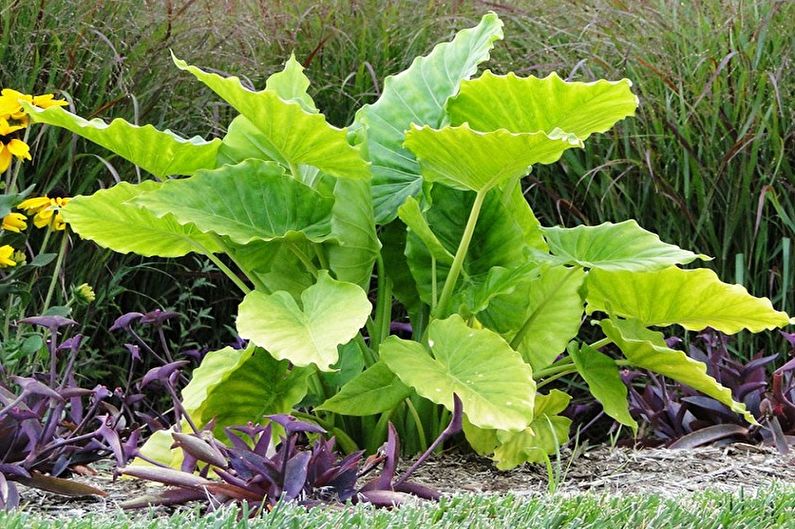
Alocasia napellus
Medium height, reaching a meter height. The color of the leaves varies from light to expressively green. This decorative foliage alocasia looks great in greenhouse compositions. In the territories of its natural growth, it is cultivated as food and medicinal. In China, culture is used for snake bites, boils, and for the treatment of diseases such as arthritis and rheumatism.
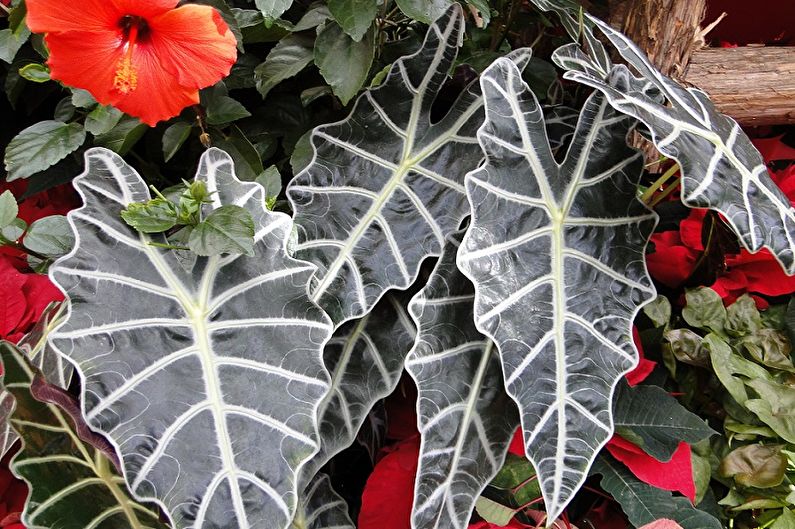
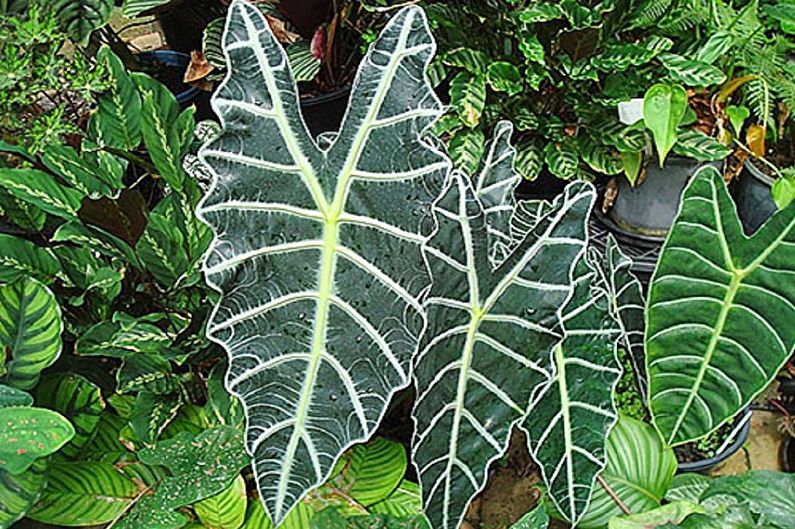
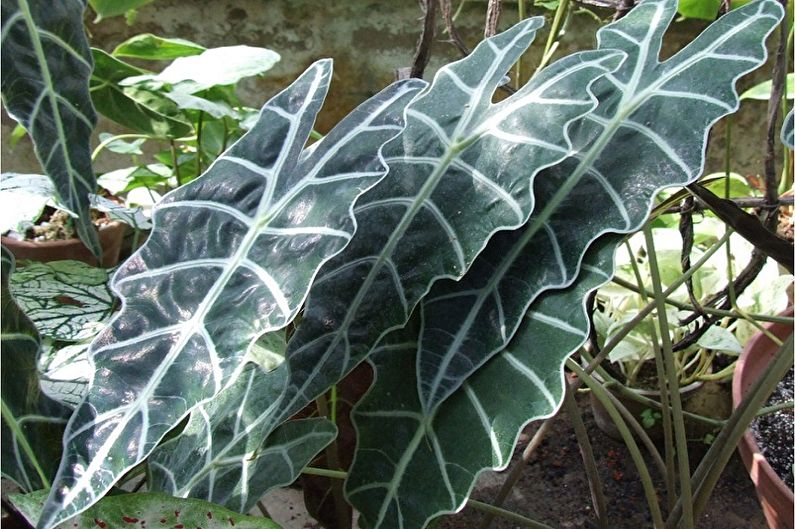
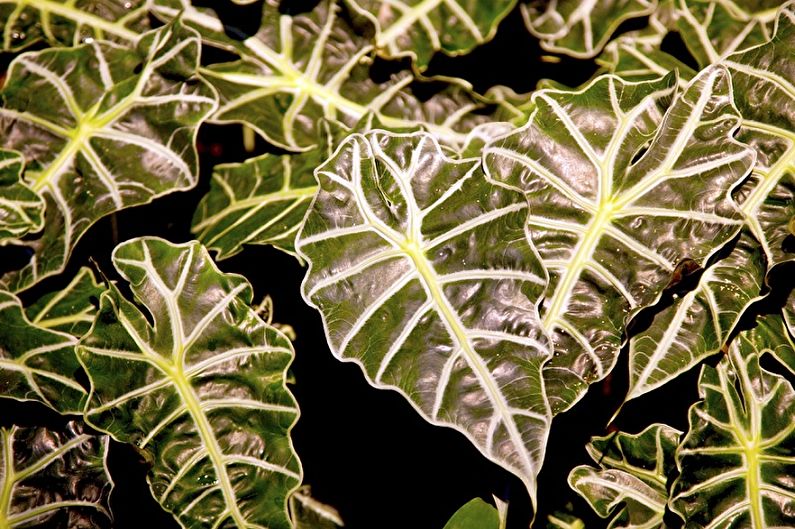
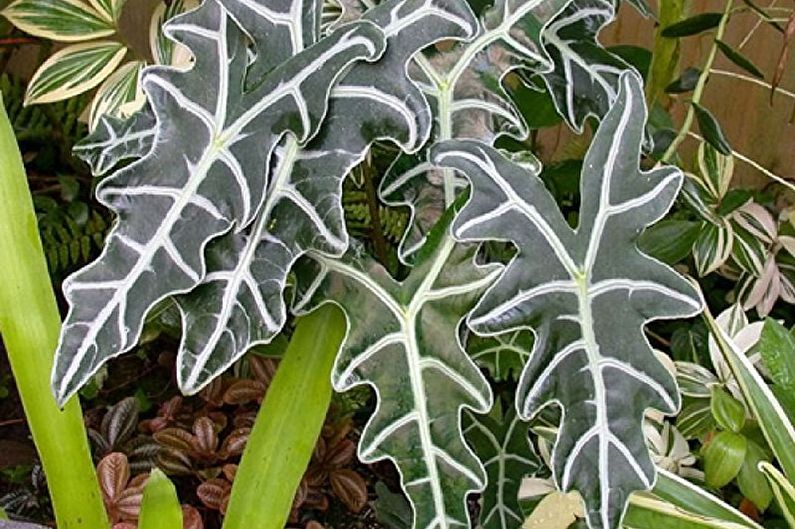
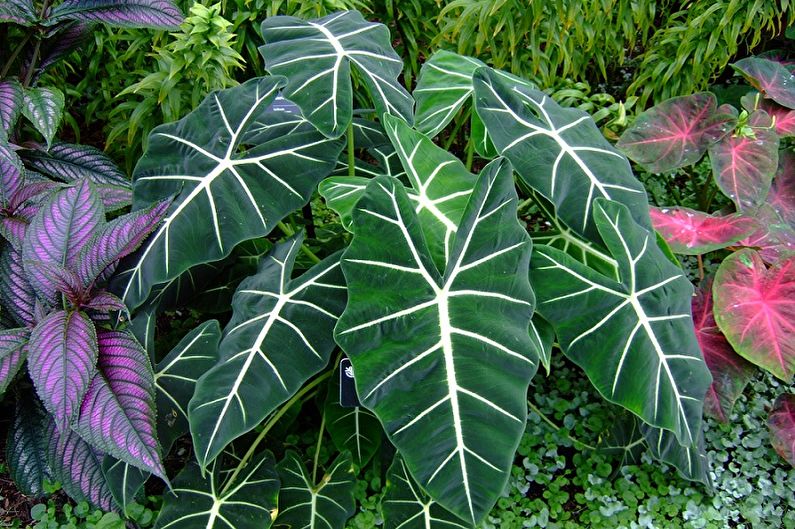
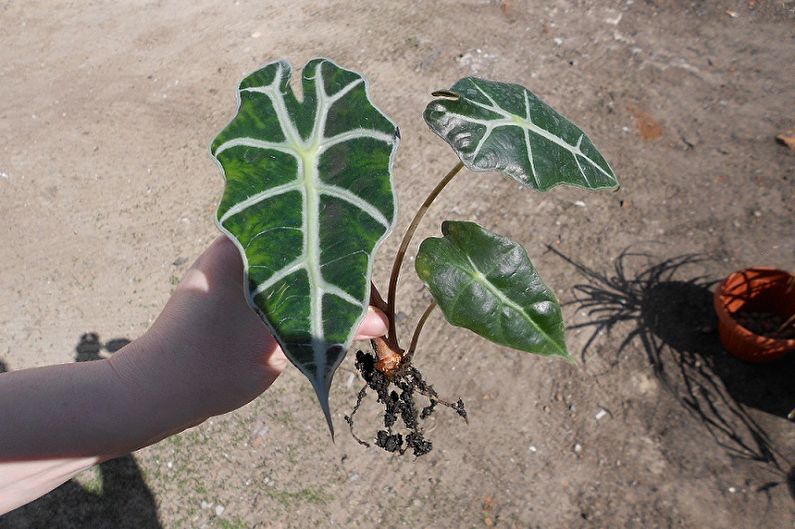
Alocasia of Sander
The species has original arrow-shaped leaves. In this case, the leaves are particularly decorative - green with a glossy sheen of dark metallic, they are beautifully decorated with bright edges and side veins.
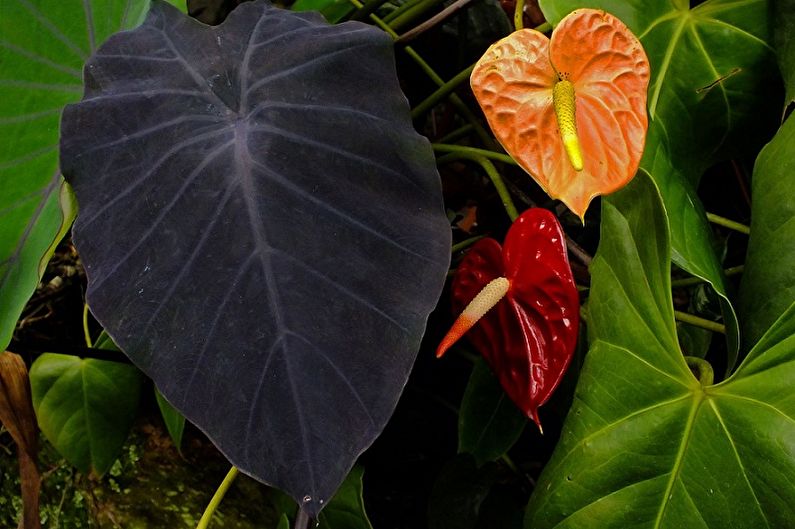
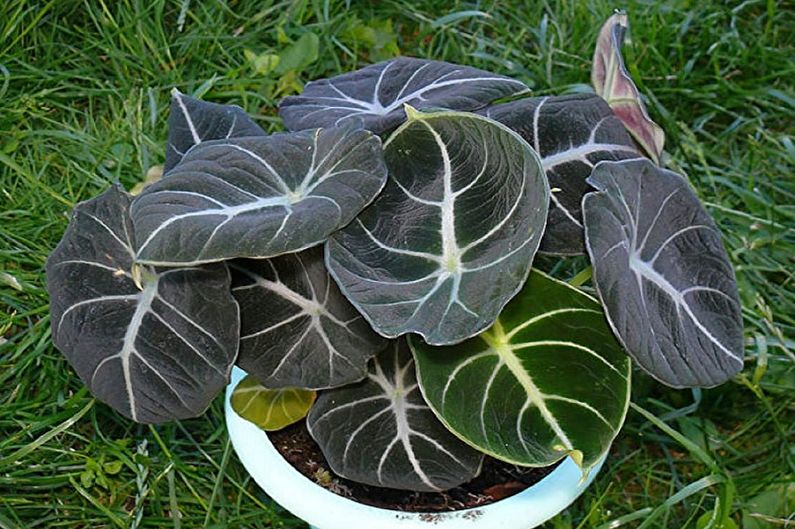
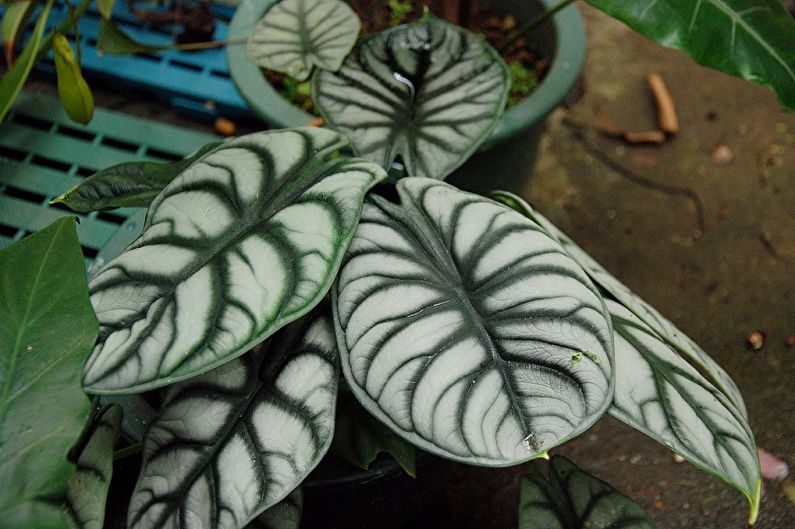
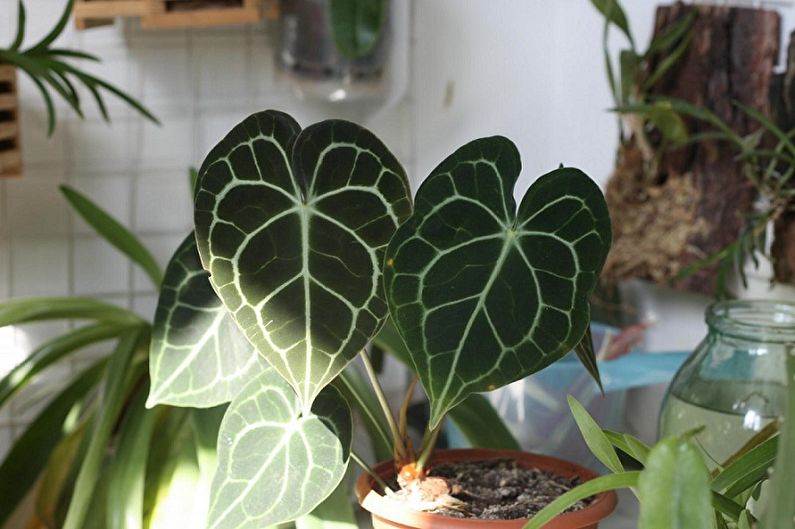
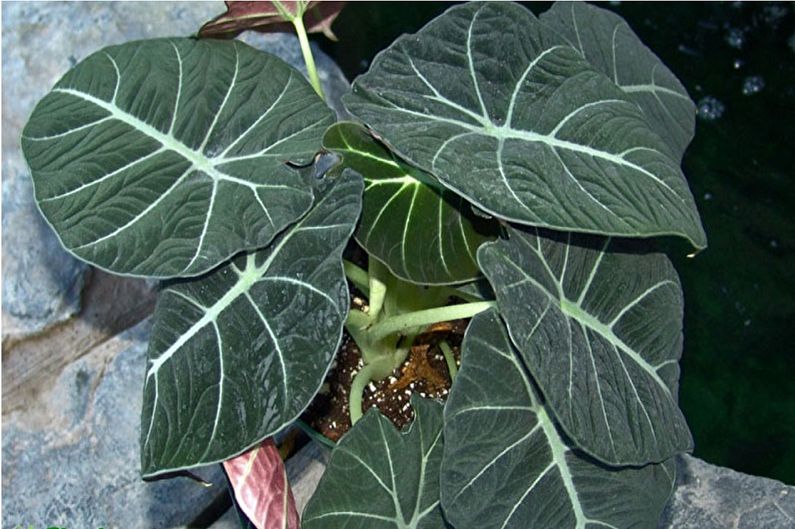
Black velvet
This variety of alocasia boasts excellent velvety foliage with a soot-burgundy top plate, where light veins form sinuous patterns. Unlike many species, culture can bloom in a room interior.
Proper care for alocasia
Alocasia requires special attention so that it retains its aesthetic characteristics for a long time. Given that the plant is from the tropics, care must be taken to create a suitable microclimate for it.
Lighting
For alocasia, good diffused lighting is preferable. She is afraid of direct sunlight, as they often cause leaf burns, which appear as spots. It is necessary to take care of this when planting - if the crop is planted in open ground, it will need a partial shade at noon, and it is better to place domestic residents in the back of the room with windows facing east or west. In winter, you need some light.
Temperature
Alocasia is quite thermophilic. The optimum mode ranges from + 22 ... + 27 ° C during the warm period. In winter, you should not lower the temperature too much, the culture will feel comfortable at + 15 ... + 18С, which is not at all difficult to provide at home.
Humidity
The plant is very fond of a microclimate with high humidity up to 80%. For garden specimens, in addition to regular watering, spraying is necessary. In indoor conditions, this level is more difficult to maintain - you can install flowerpots over containers with wet expanded clay so that the flowerpot does not come into contact with moisture, otherwise the root system will rot. In the heating season, a water tank is installed next to alocasia. As well as garden, indoor plants, systematic spraying is required, and the leaves can be additionally wiped with a damp sponge.
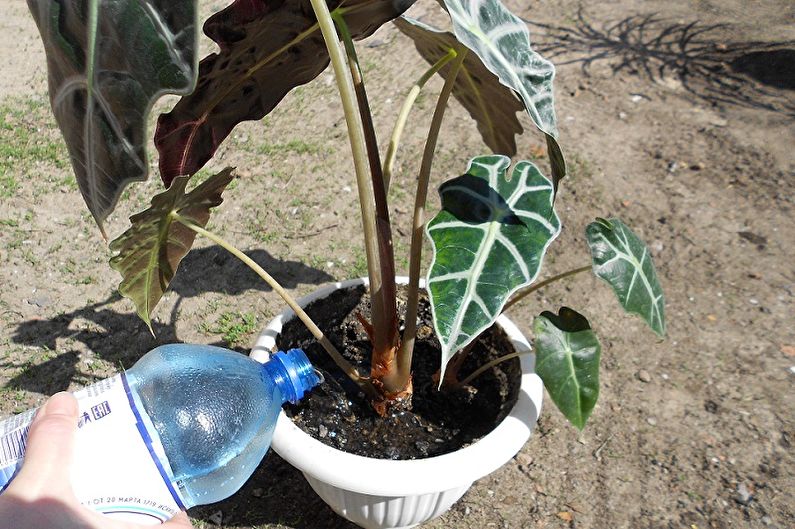
Watering
In the spring-summer warm period of alocasia, frequent plentiful watering is required, which is reduced by autumn. In hot weather, the plant must be watered as the topsoil dries up, and once a week in winter is enough. You can alternate watering with irrigation. It is very important not to overdo it with drinking, since waterlogged soil can cause great damage to the roots. To avoid such unpleasant consequences, even at the stage of planting, it is necessary to lay a thick layer of drainage material (for example, expanded clay).
Fertilizers and fertilizing
To maintain the decorativeness of the culture, it is necessary to fertilize it. Comprehensive top-dressing containing a high level of potassium is added twice a month to households. After transplantation, the first feeding is carried out in a month. You also need to fertilize alocasia during the growing season and at the end of the flowering period.
Diseases and Pests
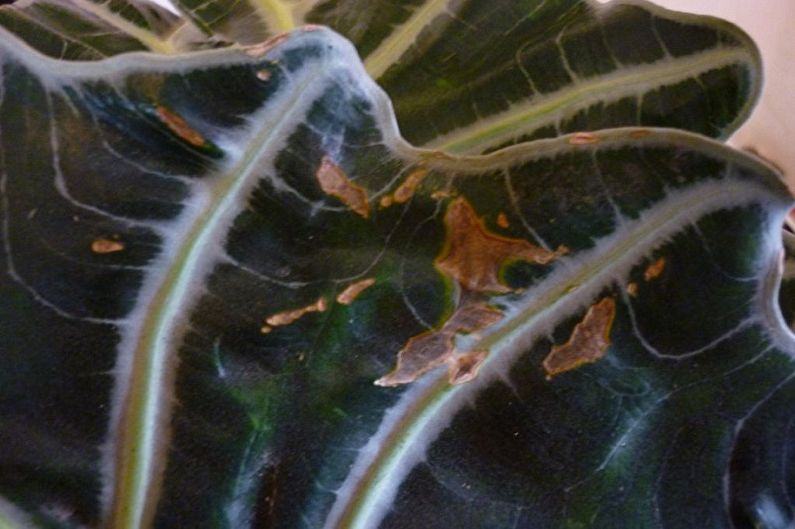
Quite often, the cause of the disease of alocasia is improper care. For example, insufficiently humid air in the room contributes to the drying of the edges of the sheet and the appearance of brown spots. Almost as well, sunburns appear on the leaves, when the plant is for a long time in direct rays. Waterlogged soil can lead to root or stem rot. In such cases, proper care must be taken immediately.
Also dangerous are diseases such as:
- Fusarium, signs of which are putrefactive spots first on the petioles, and then on the leaves, resulting in their death. In this case, it is necessary to cut off all the damaged parts, including the root system, wrap the trunk with wet moss and cover the plant with a film. When new roots appear, it is transplanted into new soil;
- Anthracnosis, characterized by the appearance of brown spots with a yellowish fringing, which expand with time. It can not do without fungicide treatment;
- Powdery mildew is determined by the presence of white-yellow or black spots on the foliage. When infected, it is necessary to remove the damaged leaves, carry out a fungicide treatment and establish care.
Alocasia can also be affected by insects that enter through the soil or from neighboring plants. The most dangerous are scale insects, nematodes, aphids and spider mites. You can cure them by treating the plant and soil with insecticides.
How to transplant alocasia
The transplant is carried out in the spring. The capacity should be high, as the roots of the flower stretch inland. It is necessary to add river sand, bark or coconut flakes to the soil mixture to make it more loose. At the bottom of the pot, drainage is necessarily laid, the layer of which can be a third of the height. Alocasia should be planted in a pot, sprinkled with soil, slightly tamped and watered abundantly. Following is the usual care.
Propagation at home
There are a fairly large number of ways to propagate alocasia: planting seeds, dividing, leaves, cuttings or root children. The choice largely depends on the type of plant. Regardless of how exactly this will happen, there are a number of rules regarding any of the processes, namely:
- At the bottom of the planting pot, drainage is necessarily laid, including crushed coal, broken brick;
- The soil for the development of the plant should be light, with a low acid content;
- The soil for planting must be disinfected;
- Seedlings need to regularly moisten the soil;
- Any planting material, with the exception of seeds, needs to be cut with charcoal;
- In order to accelerate the formation of roots, babies, cuttings and leaflets must first be soaked in a root stimulating solution.
The best period to start the breeding process is spring, when any plant gains the highest biological activity, but if necessary, you can start in the summer or autumn period.
Propagation of alocasia by seed
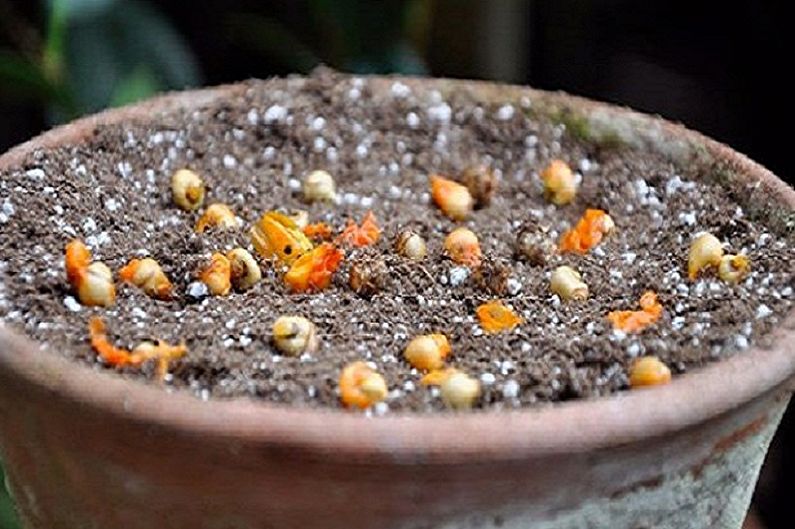
This method is used much less often and is explained by the fact that the seeds are sown exclusively in berries - wet shells. But, given that in the conditions of apartments and houses, alocasia blooms quite rarely, it is difficult to get the material.
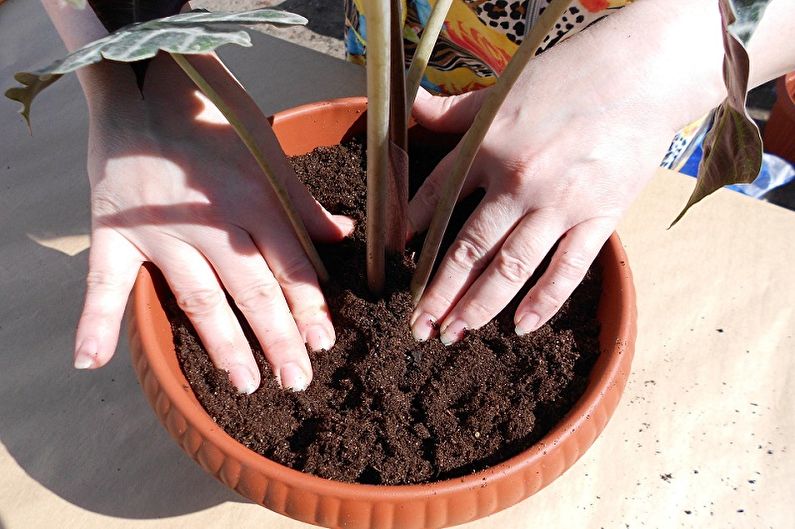
If, nevertheless, there are seeds, they must be placed on the surface of the prepared soil and, without immersing in depth, slightly compacted. Then the bed is moistened using a spray bottle and covered with polyethylene or glass. Daily sowing aerate and moisturize.
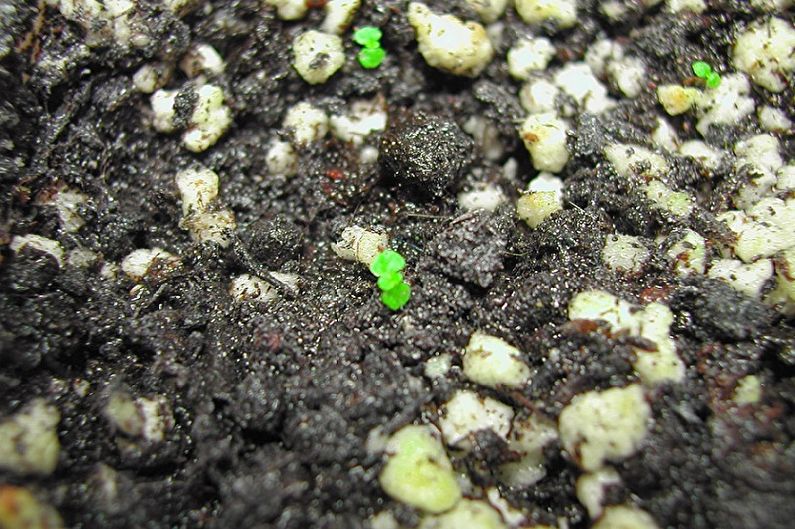
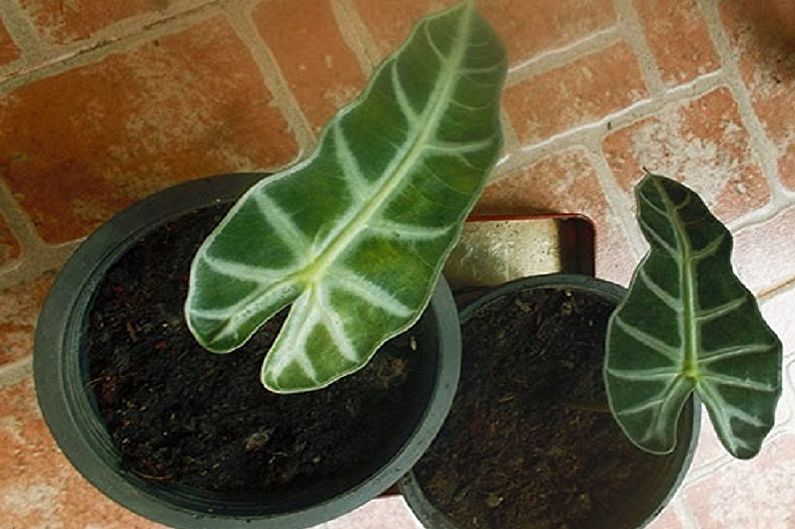
In two to three weeks, the first sprouts will appear. Transplantation for permanent residence is carried out with the advent of a pair of full leaves.
Alocasia propagation by leaves and cuttings
Using the deciduous method, a young leaf is cut, dried a little, and then, after making another small cut, they are placed in a pot with soil. At this stage, it is necessary to create greenhouse conditions where humidity and temperature will remain, so the planting is covered with a glass jar or a plastic bottle.
Every day, the cover must be lifted to ventilate the greenhouse and moisten the soil. With the eruption of the second leaf, the cover is removed, and the young plant is provided with normal care.
The process of cuttings is carried out in exactly the same way.
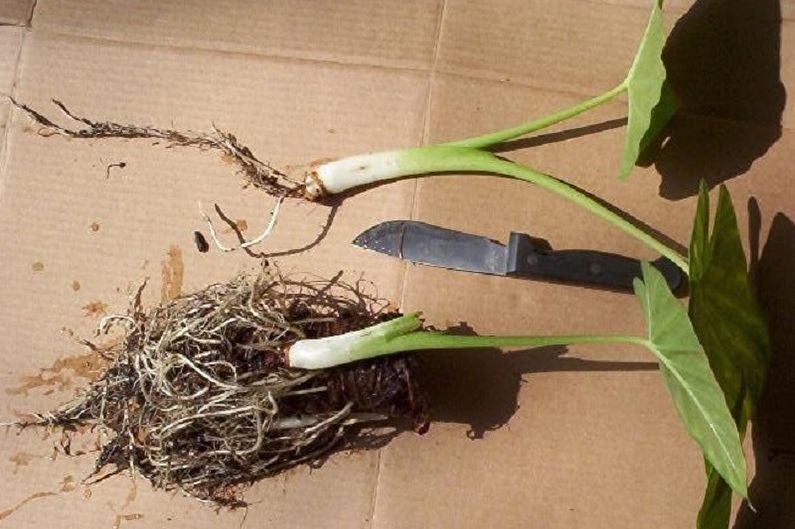
Propagation of alocasia by rhizome division
In spring, alocasia can be propagated by dividing the root. To do this, carefully remove the flower from the pot, rinse the rhizome, freeing it from excess soil. The incision is made with a sharpened knife so that at least one sprout remains on all segments. Place cuts sprinkled with coal. Prepared material is planted in separate pots.
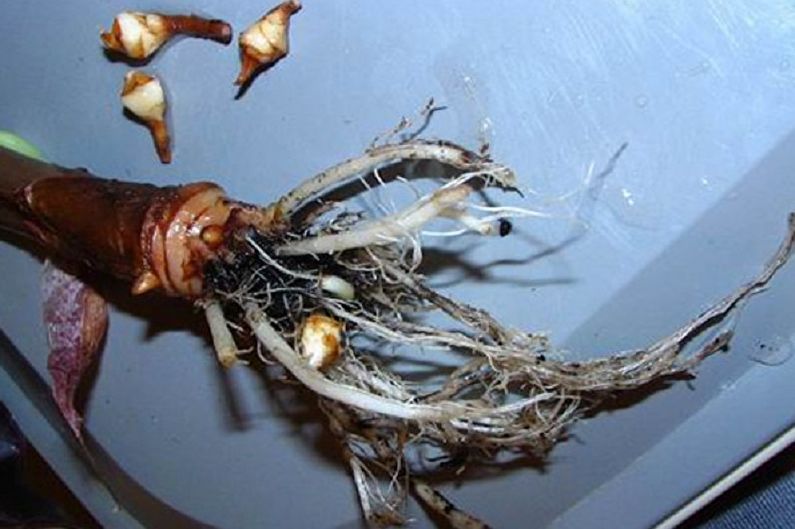
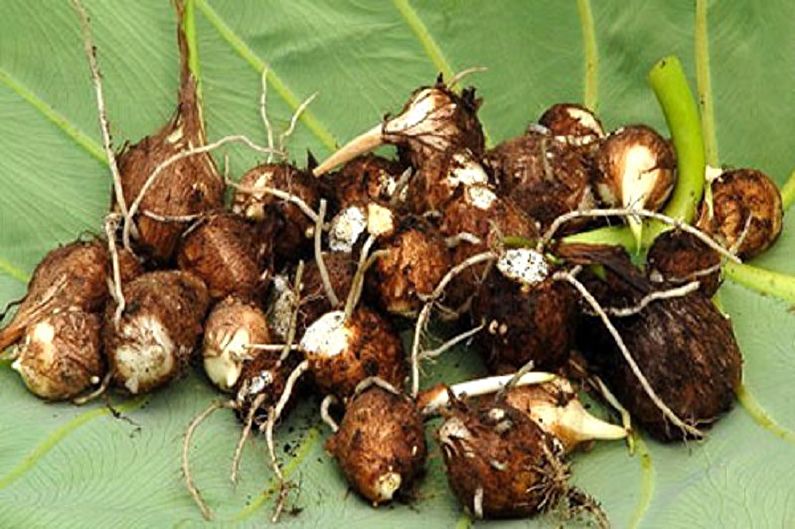
Reproduction of alocasia by children
The best material recognized basal tubers. They are carefully removed during plant transplantation, placed in a narrow but deep container (it is convenient to use a plastic cup through whose walls you can observe the development of the rhizome) with a drainage hole. Rooting occurs in 2.5–3 months, then full leaflets will appear, the bush can be transplanted into a deep container.
Alocasia - photo
Closer to get acquainted with alocasia will help beautiful photos of various species representatives, collected in the photo gallery. This tropical guest becomes a marvelous decoration, filling the gardens, halls, spacious halls and apartment furnishings with the unique spirit of the tropics. Enjoy watching!