Many people have old furniture at home or somewhere in the country. And most often it’s not expensive antiques from imperial times, but the most ordinary cabinets, chests of drawers, tables and chairs. At first glance, it might seem that most of these things have long been thrown away, but take a closer look - these are often good-quality products made of solid wood or maybe even forged metal, which will last for more than one year if they are beautifully restored. In this article we will talk about ways to decorate tables - kitchen, dining, coffee, workers - different in size and shape.
However, many of the options presented are equally suitable for other interior items. Perhaps these examples will inspire you to turn plain shabby furniture into a real work of art, because it is so nice to contemplate the beauty made by yourself!
12 ways to give new life to the old table
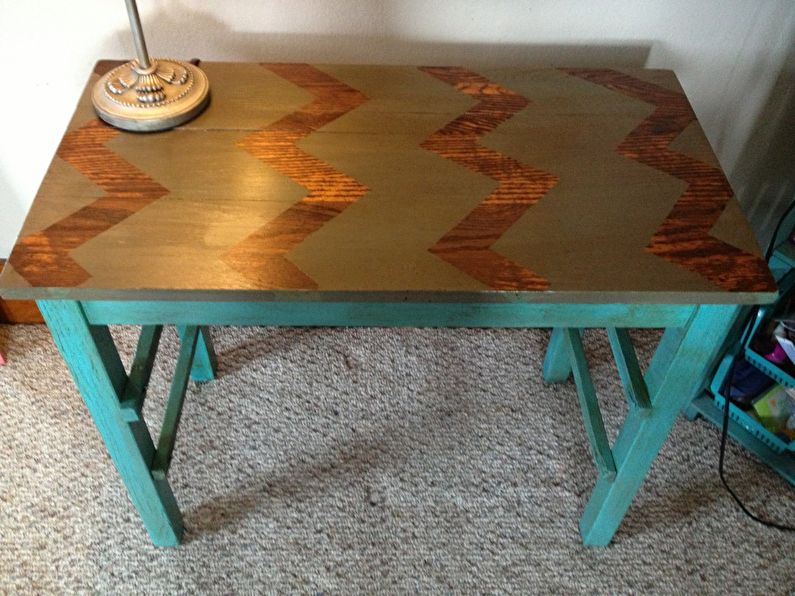
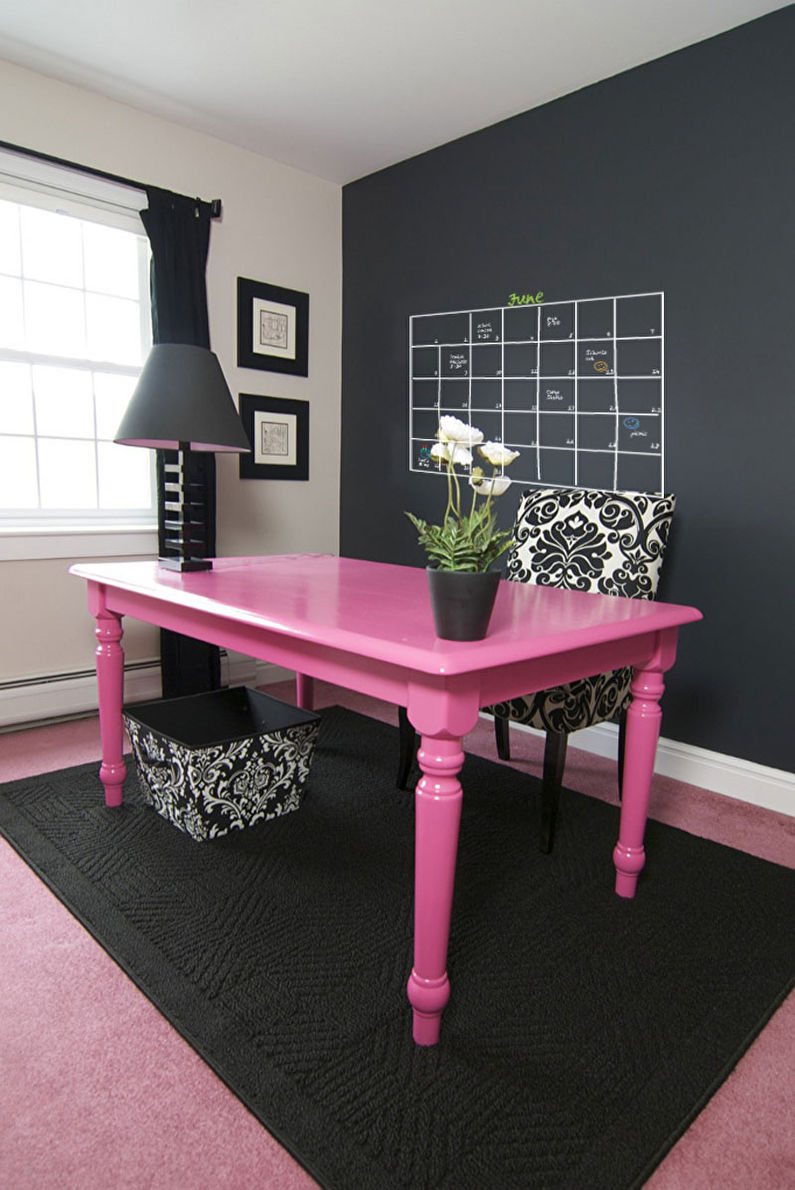
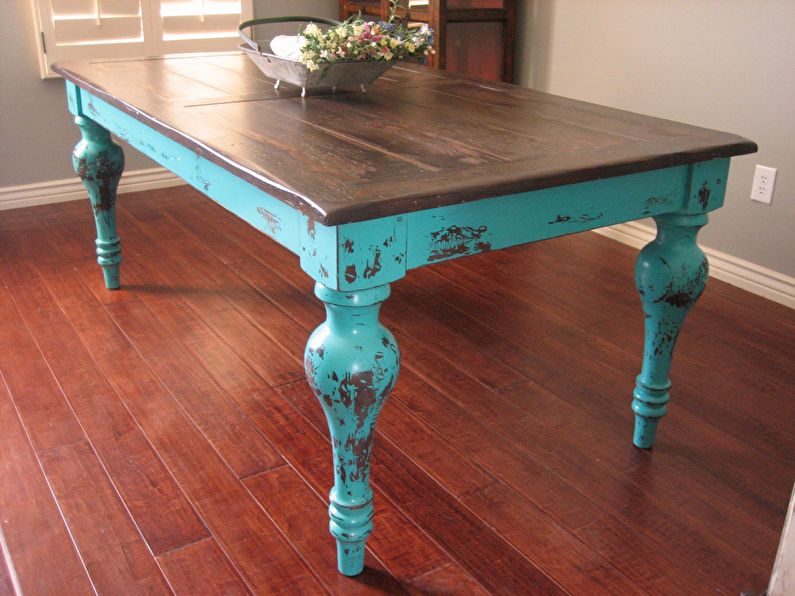
1. Painting
The best way to update a shabby table is to paint it, but first you need to prepare the surface. The product remover will help to clean the product from the previous finish.
If there is rust on metal legs or accessories, it should be liberally moistened with vinegar, Coca-Cola or a special tool, and after 15-20 minutes wipe with a hard scraper.
The wood is sanded with sandpaper, dust is removed, then impregnated with an antiseptic and a primer is applied. All chips, cracks and irregularities are wiped with acrylic putty on wood.
For coloring, you can use alkyd enamel, acrylic or epoxy paints, varnishes, aerosol compounds for metal. You will also need painting tools - a brush, roller, sponge, spray.
To give the table a more spectacular look - it can be painted not entirely, but only individual parts. To do this, masking tape or stencils are useful to you.
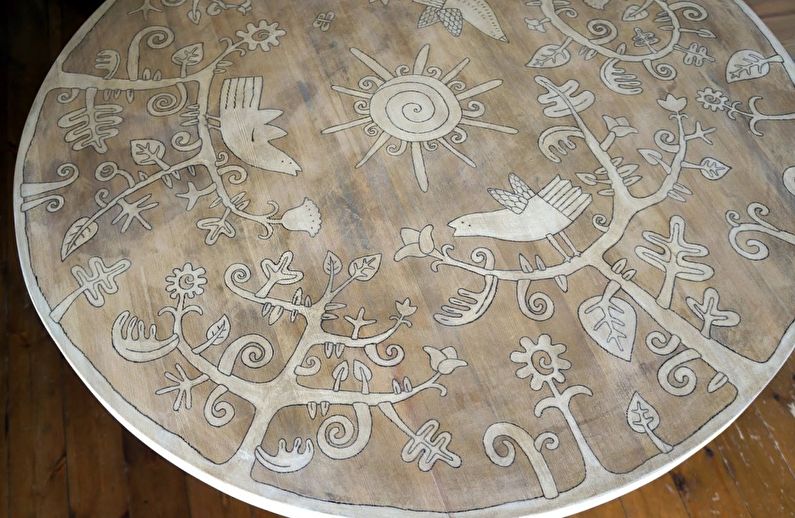
2. Art painting
If the monophonic covering seems too boring - try to decorate an old table with patterns. Drawings can be applied with a brush and acrylic paints - manually, through a stencil or according to the outlines made with tracing paper.
A table with artistic painting will perfectly complement the interior in an ethnic or rustic style, and images of animals, fairy-tale and cartoon characters will appeal to children.

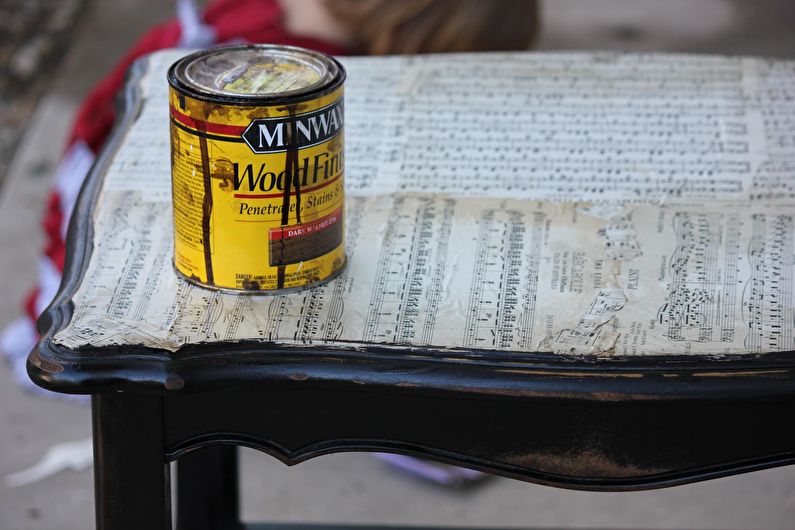
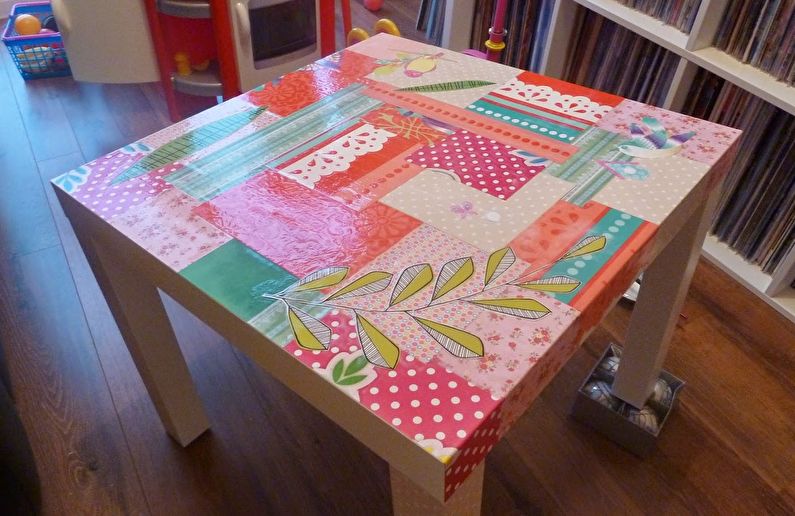
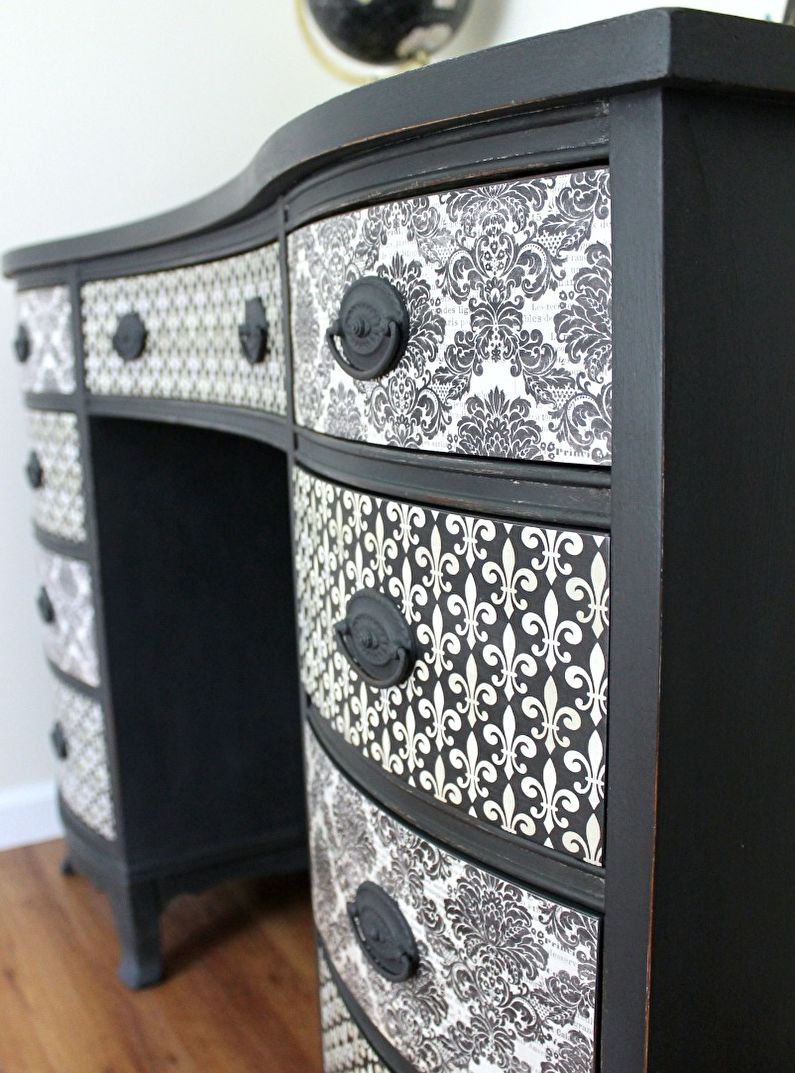
3. Decoupage
For this decor, you will need a brush, paper napkins with a pattern, PVA glue and a transparent furniture lacquer.
Pictures are carefully torn off or cut out with scissors, the lower layers of paper are removed, then the resulting thin applications are placed in the designated place, and smeared with glue on top, trying to avoid wrinkles and tears.
If any element cannot be attached the first time, you must immediately wipe it with a sponge moistened with warm water, and try again with a similar fragment.
The dried decoupage is covered with a transparent varnish for furniture in several layers, otherwise the paper decor will quickly erase.
4. Craquelure
Craquelure is a cracking varnish, with the help of which the product is purposely given a look that imitates the texture of old paintings. It can be one-step (the composition is applied in one layer and crackes as it dries) and two-step (two mixtures are used - one based on epoxy resins, the second on a water basis, they interact and a characteristic texture is obtained).
The color of the veins is determined by the bottom layer of acrylic paint, as well as the shade of the grout. Most often, powdered golden pigment or pastel is used for this purpose.
Two-step craquelure is usually complemented by decoupage or hand-painted to achieve the effect of an aged picture.One-step is more suitable for products without drawings.
5. Tile
It happens that after repair a small supply of ceramic tile remains. It can be used to decorate an old table - just tiling a wooden base with tiles. The installation technology in this case is practically no different from the decoration of walls or floors.
The ceramic surface is ideal for a table in the kitchen, terrace, porch, in the gazebo or even on the street.
In order to give the table an attractive look, in addition to plain tiles, it is worth using patterned borders, decorative panels (possibly even with some plots) or a stylish patchwork.

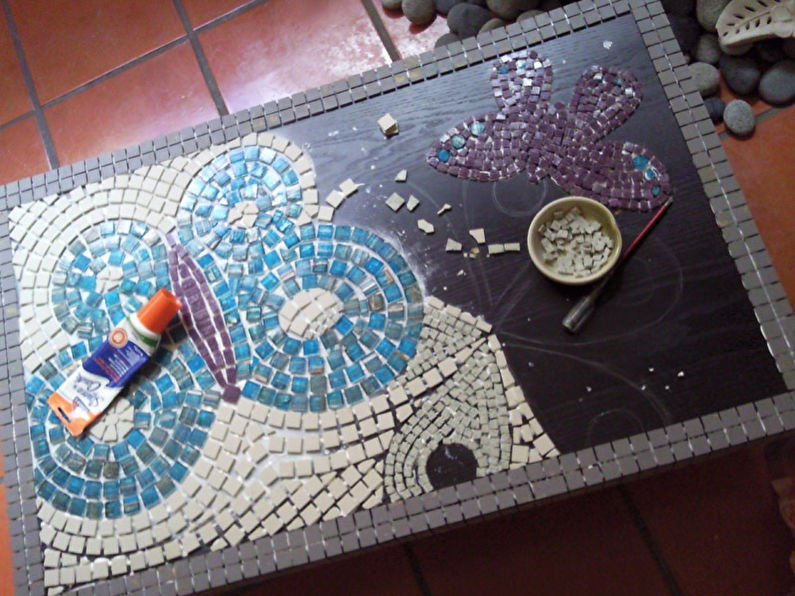
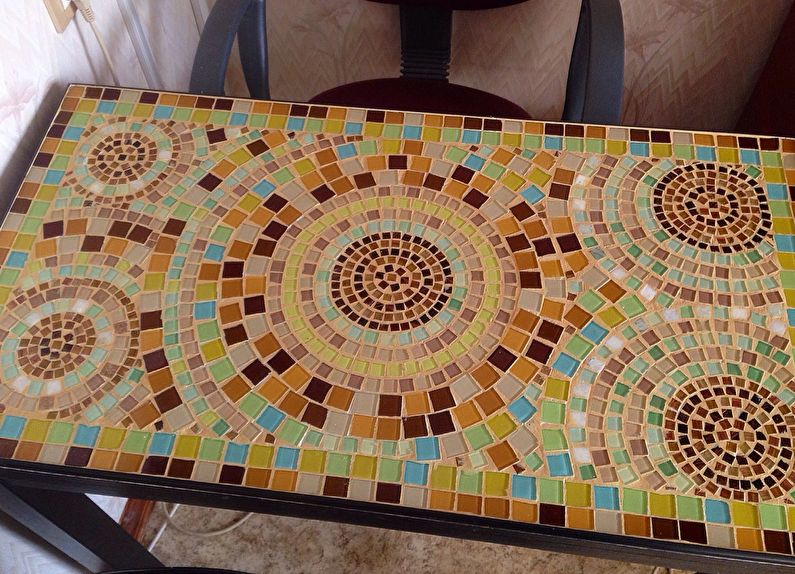
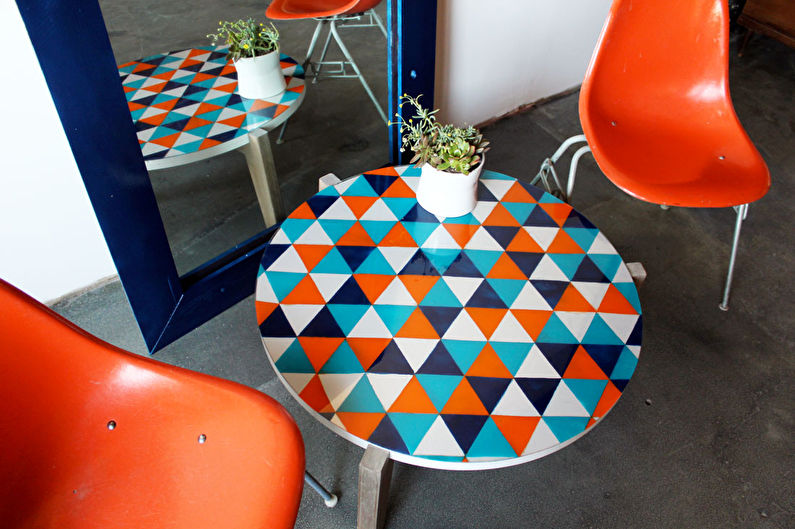
6. Mosaic
Paintings of small fragments adorn many galleries, temples and palaces. They will look just as elegant in a house, for example, on the surface of coffee tables.
Mosaic elements can be ceramic (even broken tiles will do), glass or acrylic.
From available materials, small round saw cuts of wood, cut CDs, and colored pebbles are suitable. It is enough to come up with an interesting pattern and attach the pieces to the table with glue or liquid nails.
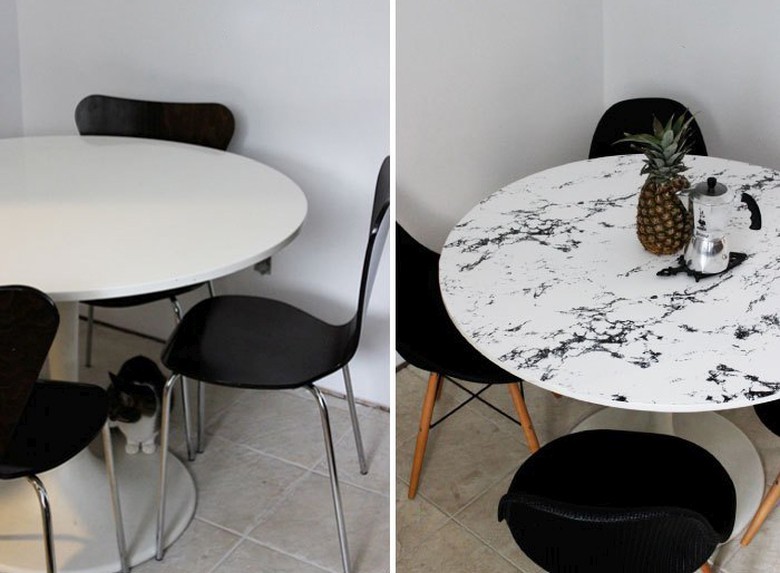
7. Self-adhesive film
The simplest and most beautiful version of the decor of the old table, which does not require fuss with paints, is gluing a film.
This available material can imitate any coating - from rare wood to marble, it can have any kind of patterns, patterns and textures.
Self-adhesive film is sold in rolls, and it is easy and pleasant to use.
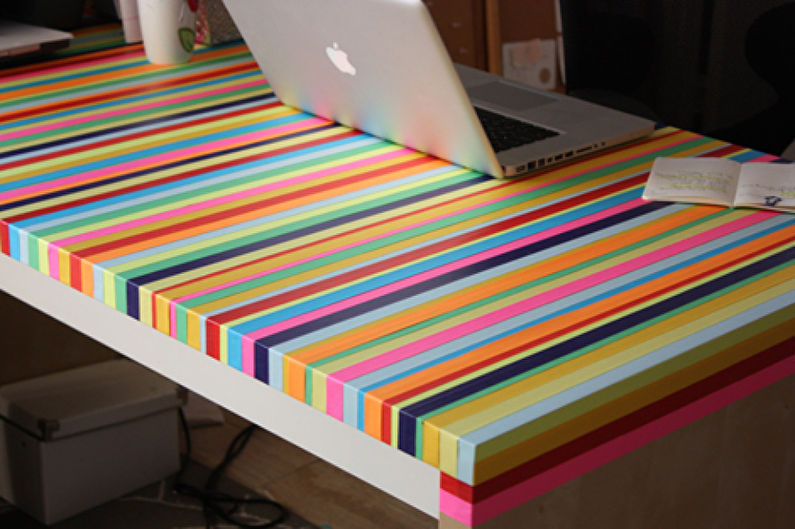
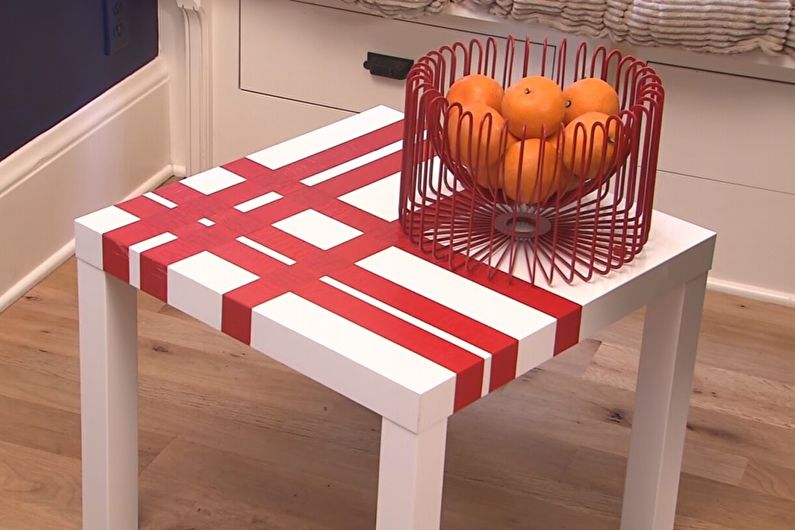
8. Decorative tape
A wide selection of decorative self-adhesive tapes has recently been presented in office supply stores and creative goods stores. It will take you no more than 30-40 minutes to decorate the old table with colorful tape, and a new bright thing will appear in the interior.
If you want to change the finish, the adhesive strips can be removed just as quickly, and if the glue remains somewhere, acetone will dissolve it without any problems.
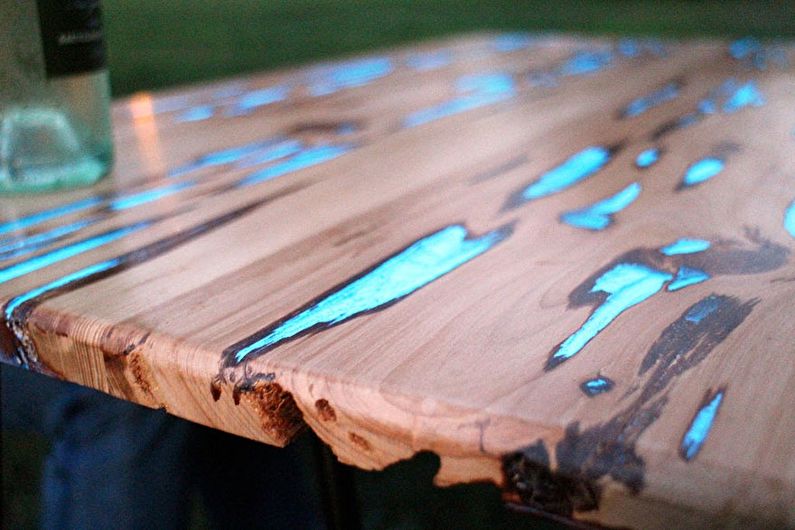
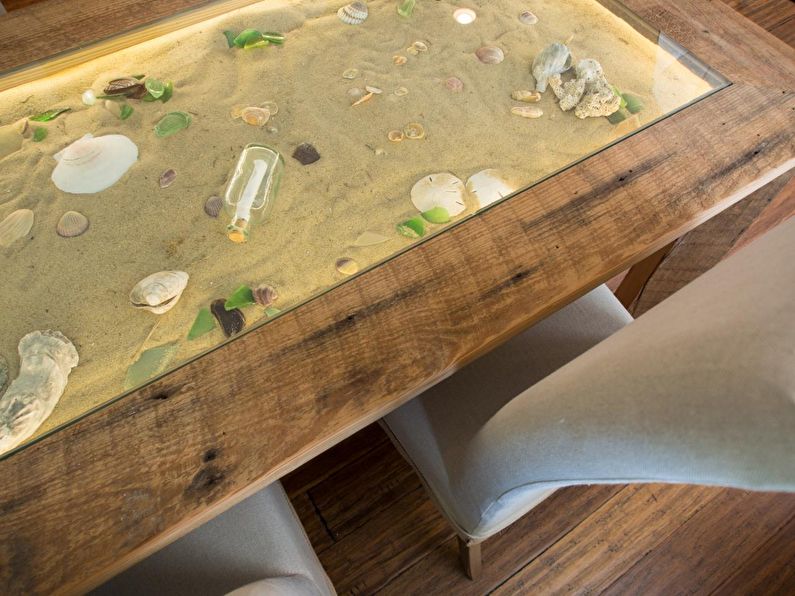
9. Epoxy
Epoxy resin is a liquid substance that quickly hardens in the open air, turning into a solid transparent plastic.
Cracks filled in this way in the wood look very unusual, and if luminescent powder is added to the liquid phase, they will glow brightly in the dark.
Also, dried flowers, leaves, shells, coins, can be placed in the epoxy resin, and due to the transparency of the substance, the effect of ice or amber will be obtained.
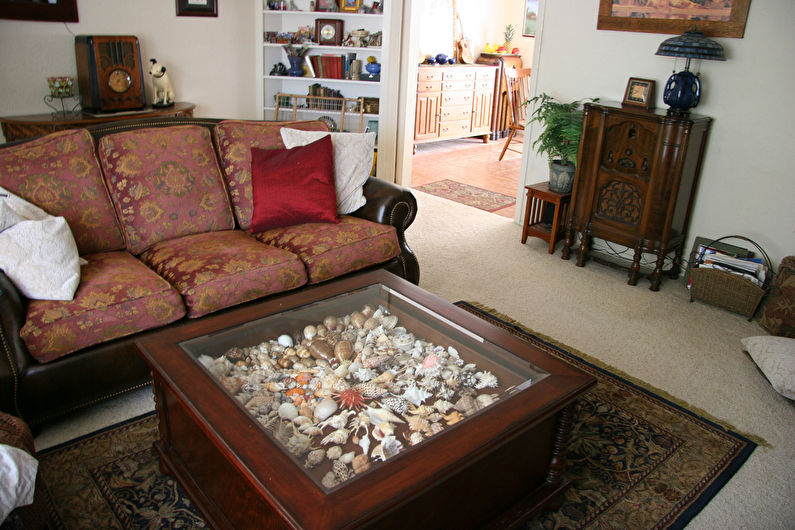
10. Decor under glass
An original decoration of a table for a living room will turn out if you make a deepening inside it by placing any thematic decor there (sand with shells and starfish, moss or miniature cacti, Christmas balls and branches, small car models, beads, etc.), and close the top with clear glass.
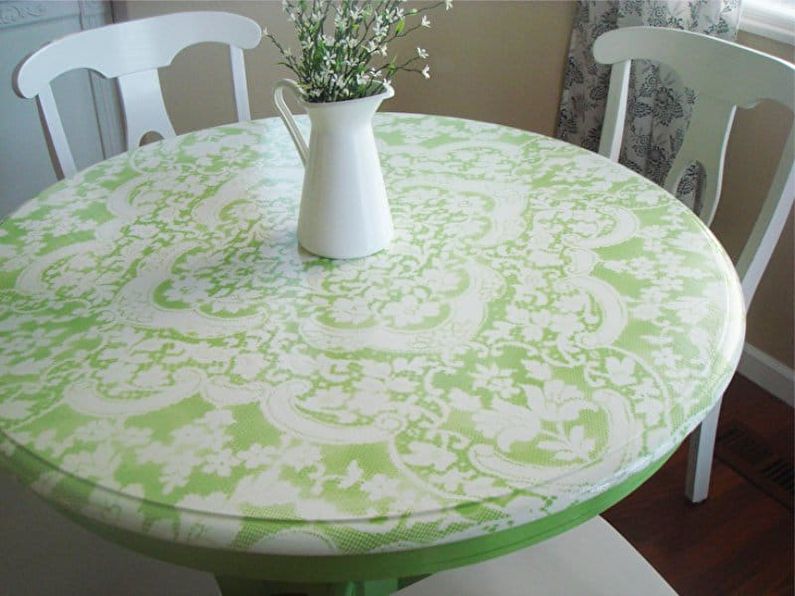
11. Tulle dyeing
Painting the table through the tulle should be done on top of the base layer with a pigment of contrasting color. Before this, the lace must be firmly fixed to the surface so that it does not move and there is no gap. For the same reason, it is advisable to use an aerosol or spray.
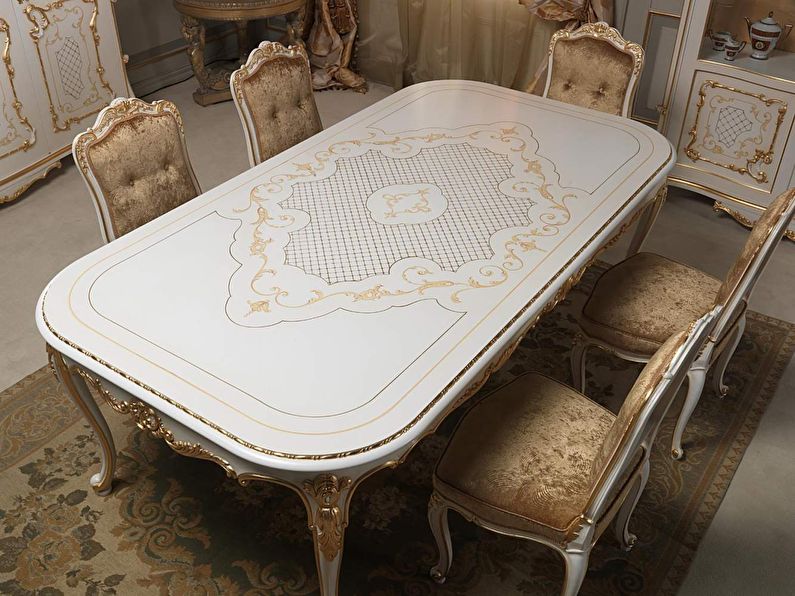
12. Potal (gilding)
Gold monograms are a wonderful decoration for a table in a classic style. They can be stenciled with shiny acrylic paint, but a more realistic effect will be obtained using potala. In essence, this is the thinnest foil imitating precious metals, which is used for artistic purposes.
So that the gilding does not fall, it is covered with a transparent varnish on top.
DIY table decoration (Video)
A small video master class on how to decorate an old table with your own hand, creating an unusual lace print on its surface.