Topiary is a small decorative tree with a rounded crown. This method of decorating garden vegetation came to our culture from Ancient Egypt, it was there that they first began to give trees an unusual shape. Centuries later, the craft grew into a decorative art, the fruits of which are increasingly found in modern interiors. At the same time, you can make a tree of happiness with your own hands literally in one free evening.
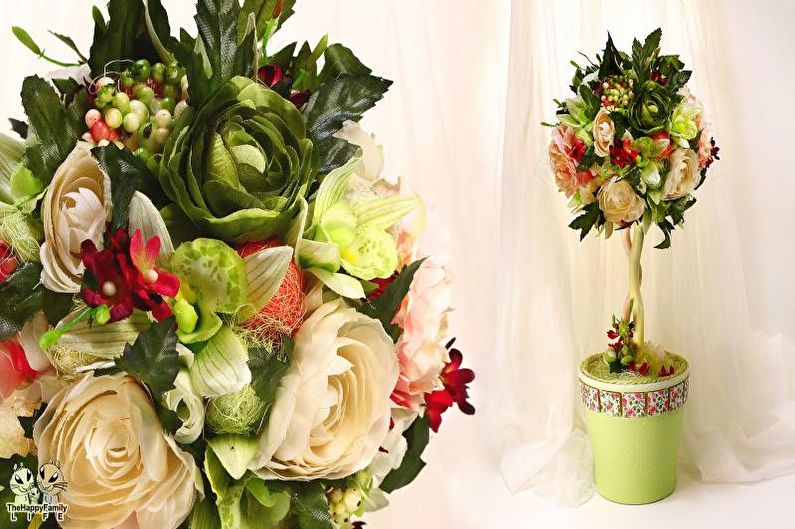
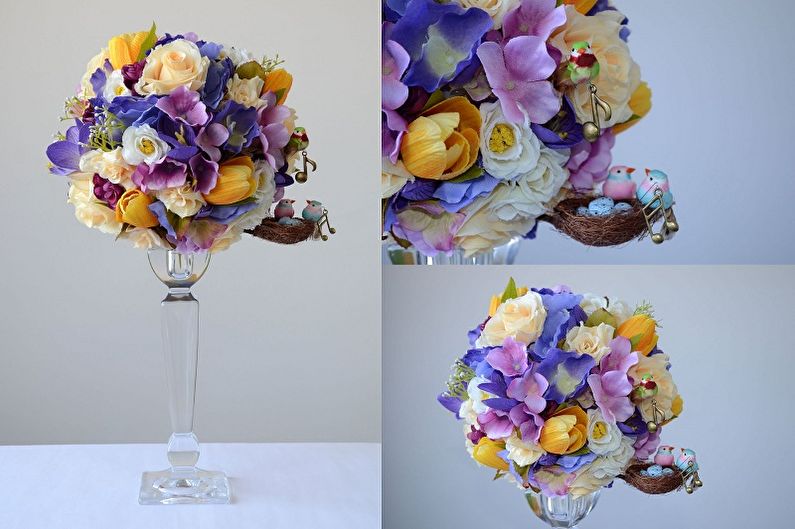
Topiary with Corrugated Paper Flowers
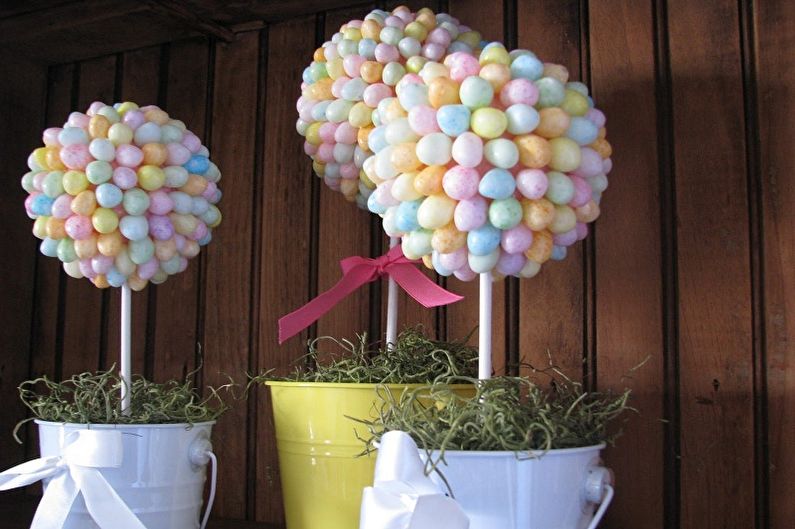
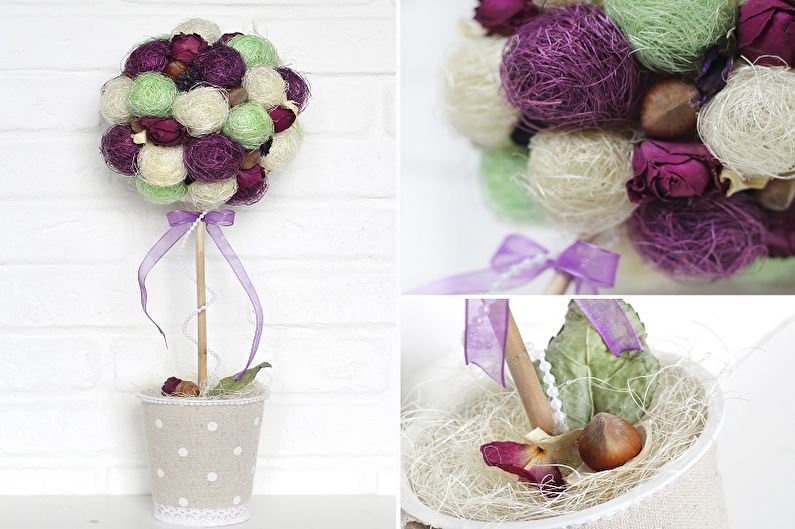
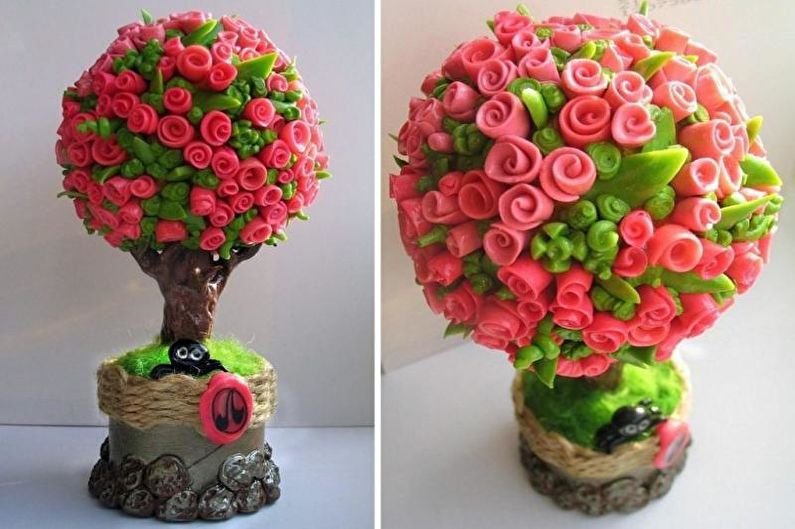
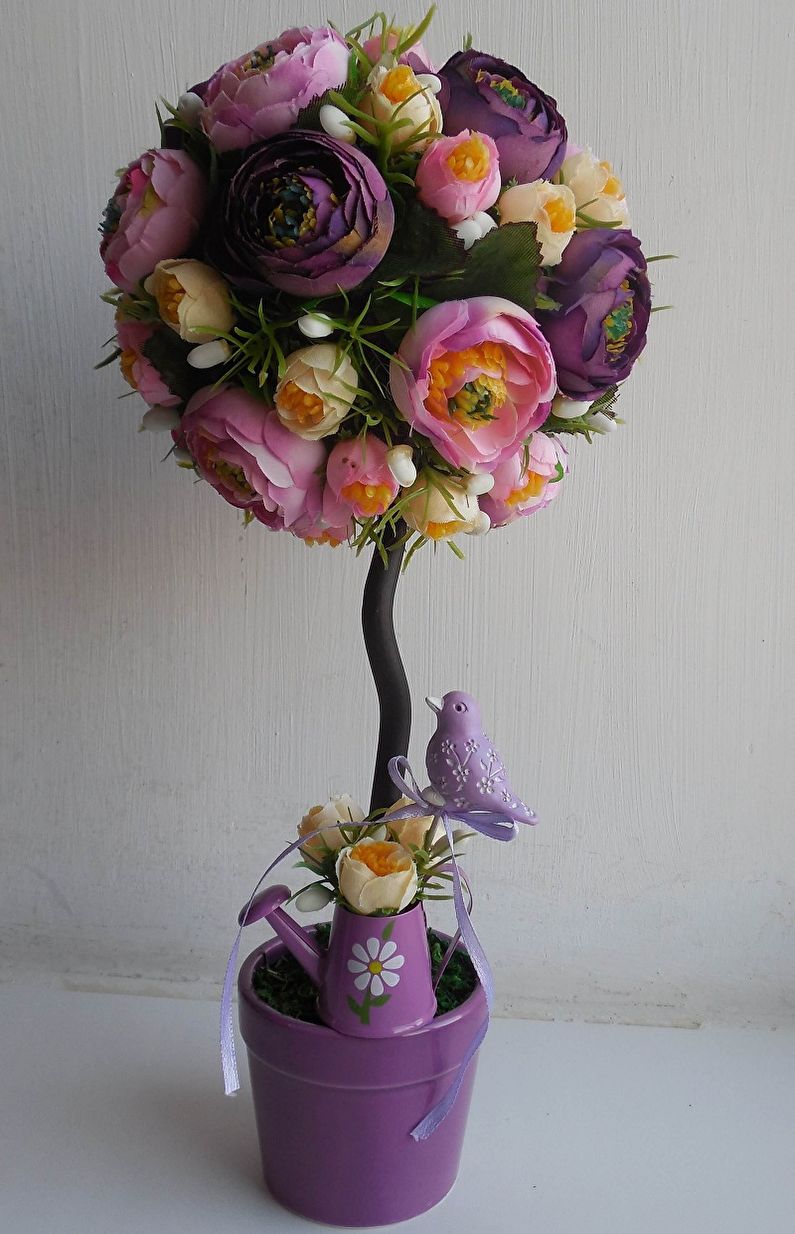
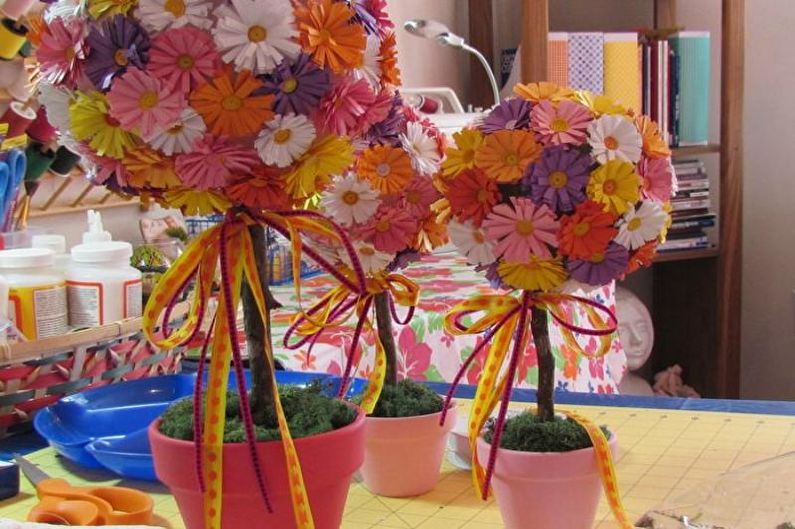
Topiary with cute corrugated paper buds are often used to decorate wedding or birthday parties. Many brides even prefer to use artificial analogues of flowers for a bouquet, because such details will not deteriorate at the most crucial moment, moreover, they are not inferior to natural peonies or roses at all.
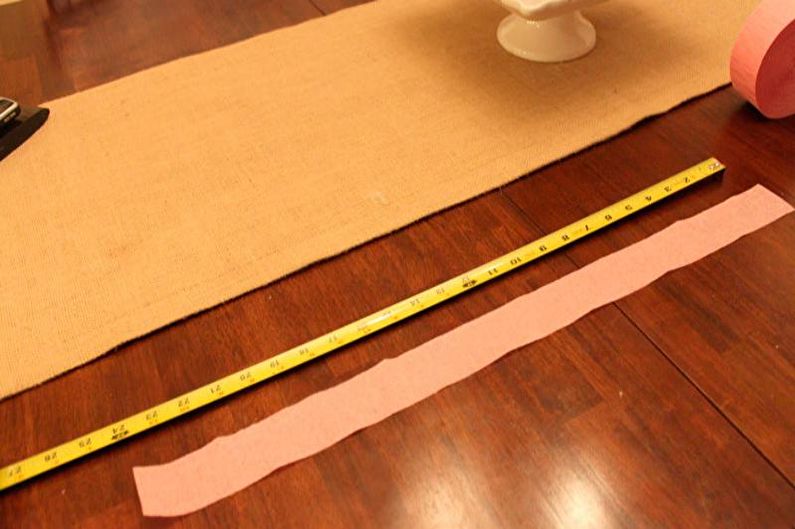
So, for making crafts with roses, stock up on the following materials: corrugated paper of the selected shade - for inflorescence; scissors; glue; pencil; green ribbon for the trunk; strong thread (can be replaced with a small wire); ruler; Styrofoam; chopstick for the barrel (for example, Japanese chopstick, pencil, twig); newsprint or other heavy paper; pot for indoor plants.
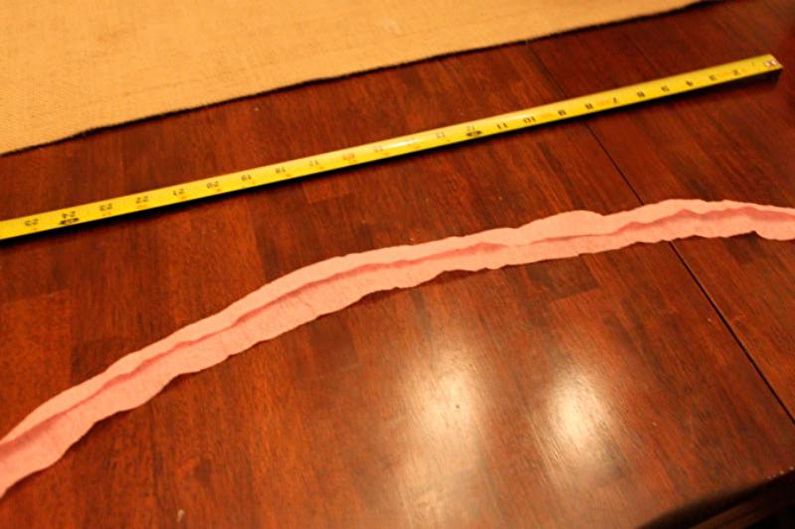
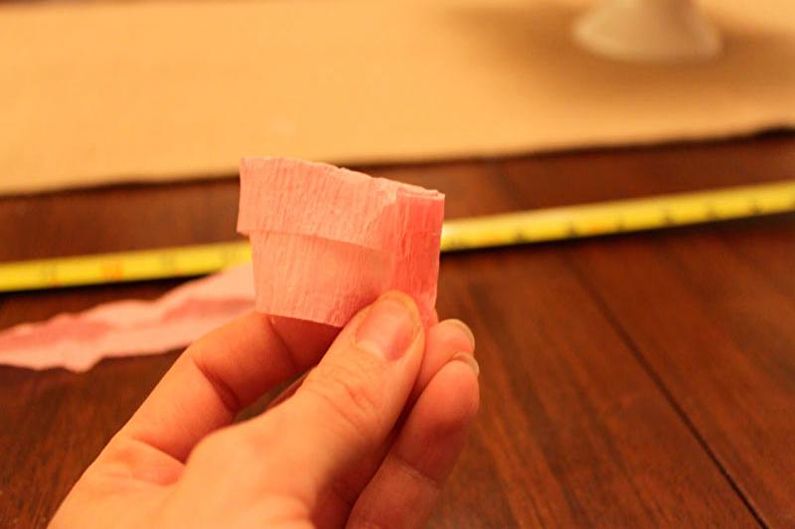
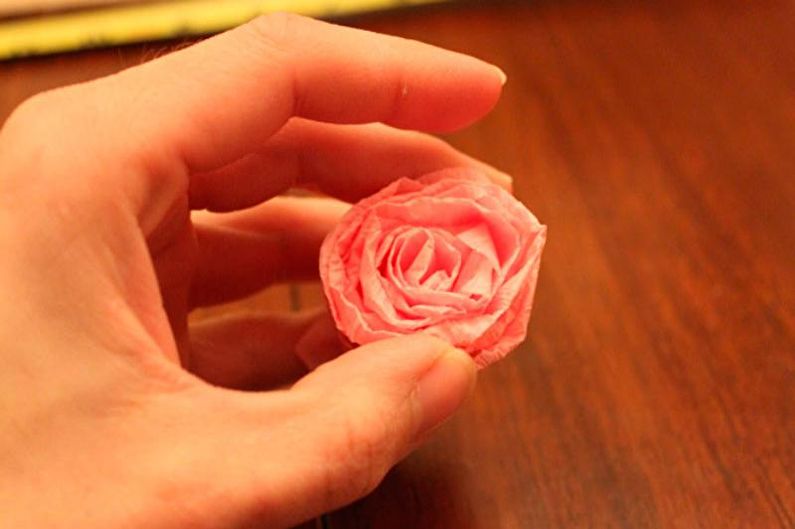
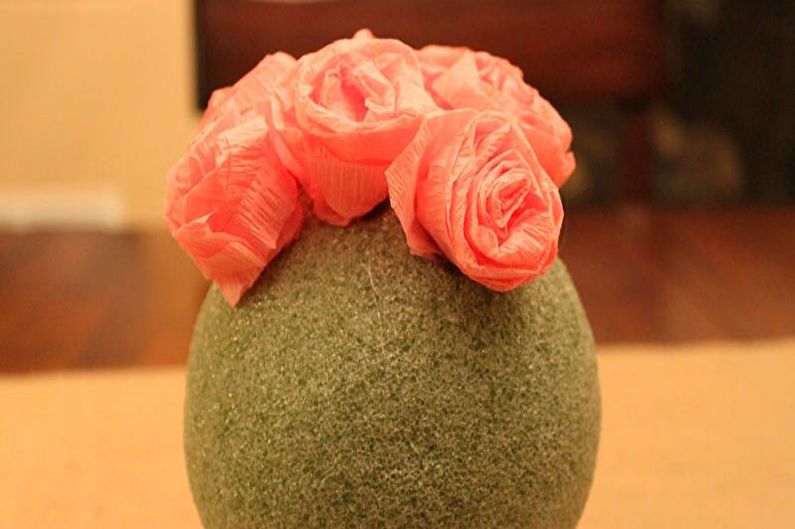
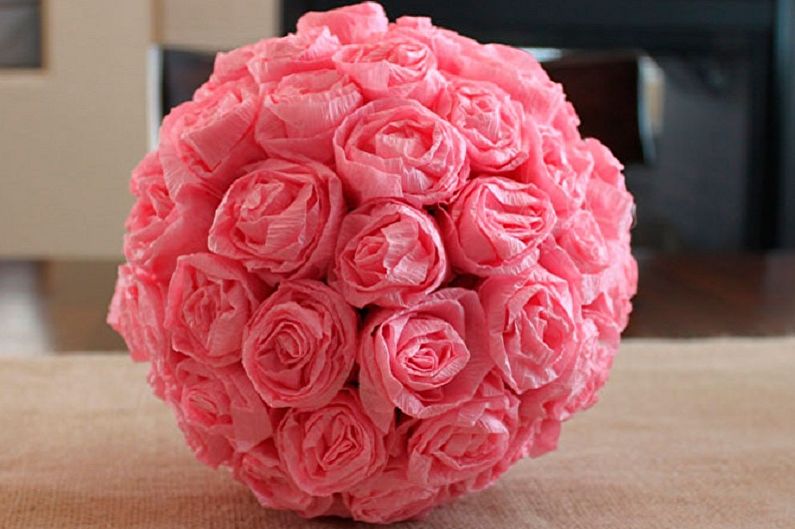
To get a standard-sized topiary, prepare 30–40 flowers. Cut strips with parameters 3-4 cm wide and 35–45 cm long for each rosette. Bend the tape lengthwise by a third, and then wrap the upper section at an acute angle and repeat the turns three times - so you form the middle of the rose. Continue making revolutions until you twist the entire lane. Fix the tip with glue, and fasten the lower part of the flower with wire.
The base sphere can be purchased already prepared or formed from newsprint. Tightly wrap the ball from the newspaper with thick thread. Please note that the paper blank should be larger than the size that you want to receive, since the thread will significantly reduce it. Glue the flowers securely to the sphere.
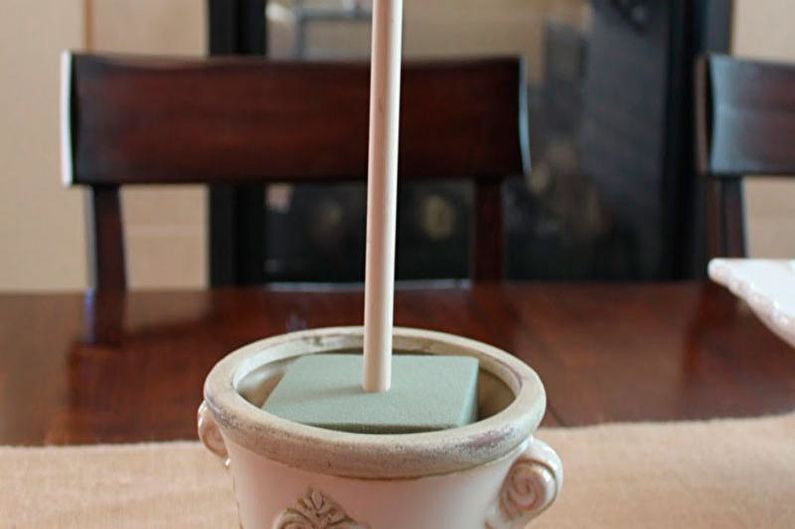
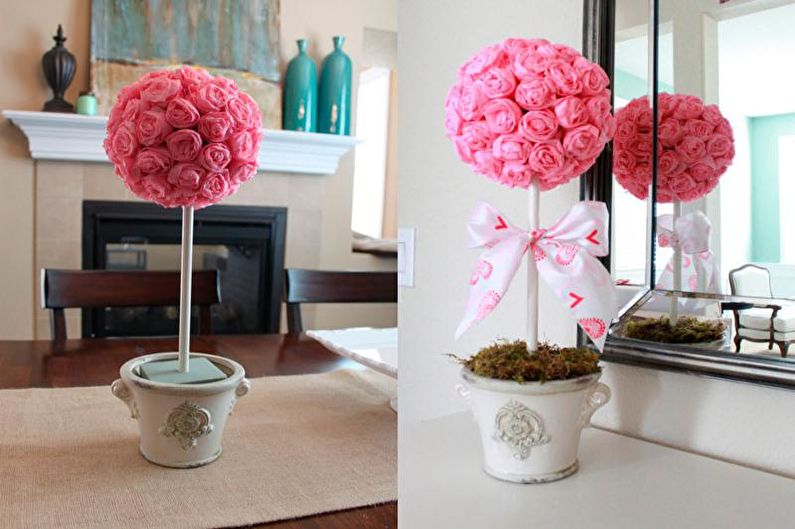
Take the selected stick for the barrel and wrap it in twine or a green adhesive tape. You can use corrugated paper by cutting out long strips from it, applying glue to the inside and wrapping it on the base. Put the ball on the barrel or fix it with glue.
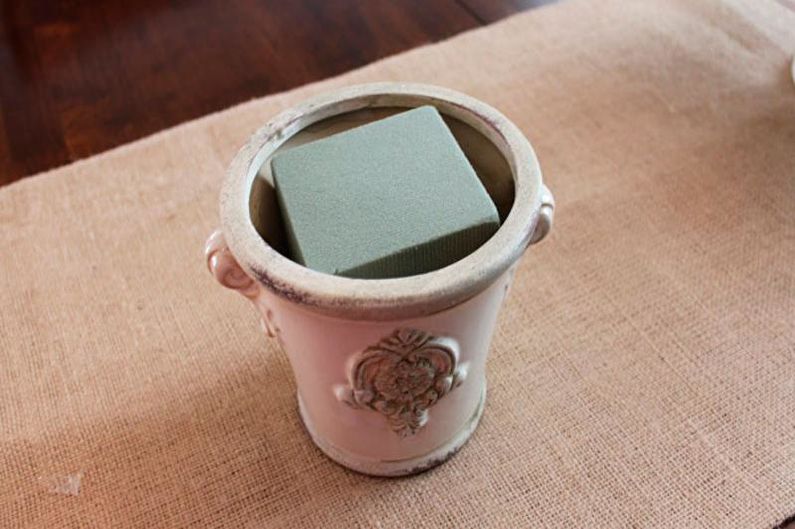
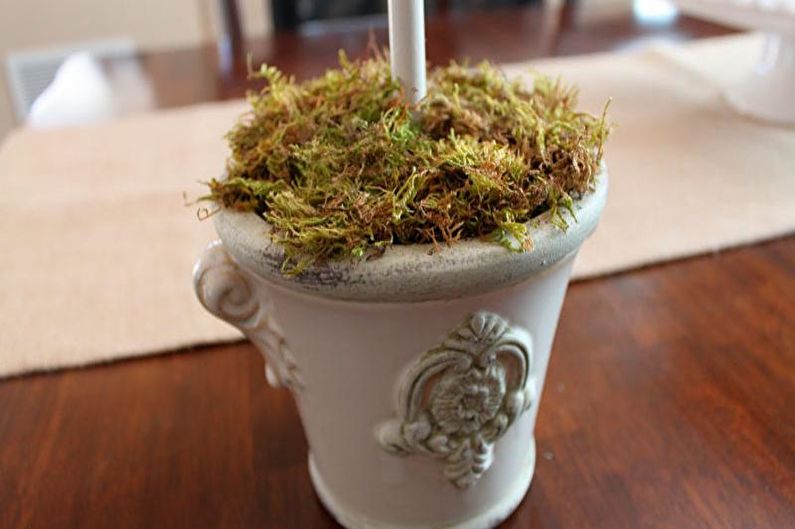
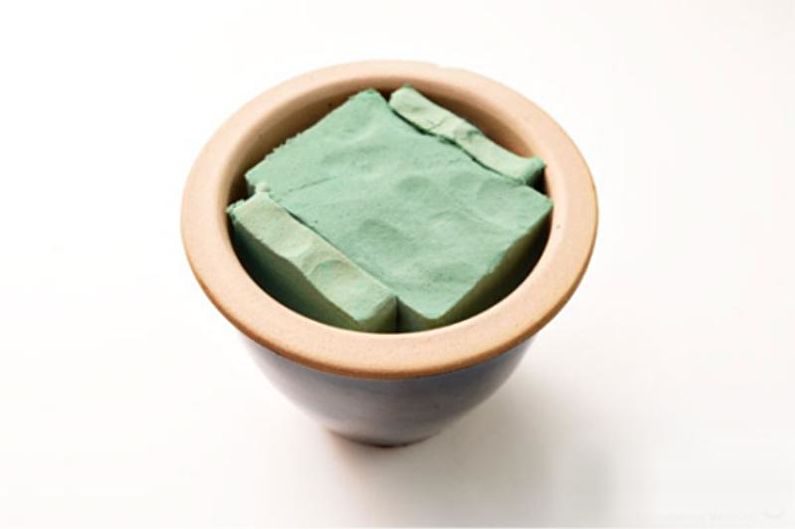
Use polystyrene or alabaster as a primer. In the latter case, fill it, leaving 2-4 cm from the edge, and insert the barrel. In this case, the stick must be held until the solution becomes dry. Decorate the finished soil foundation with fabric, tinsel or beads - as you like. Done!
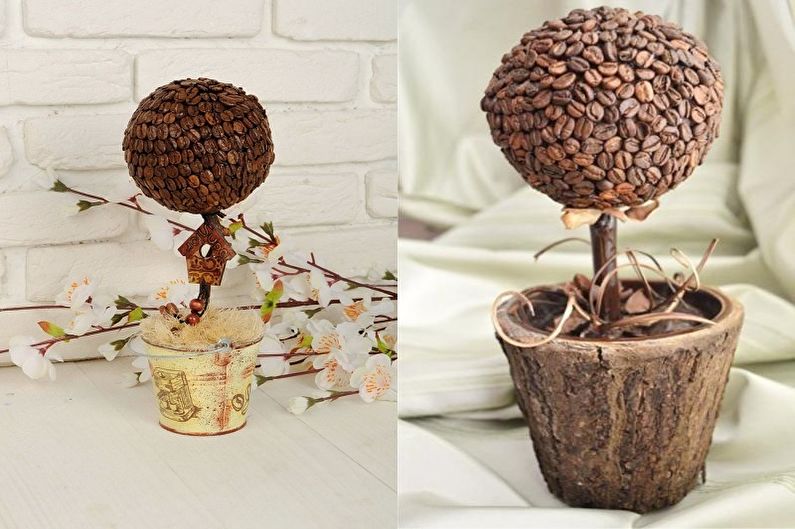
Coffee Bean Topiary
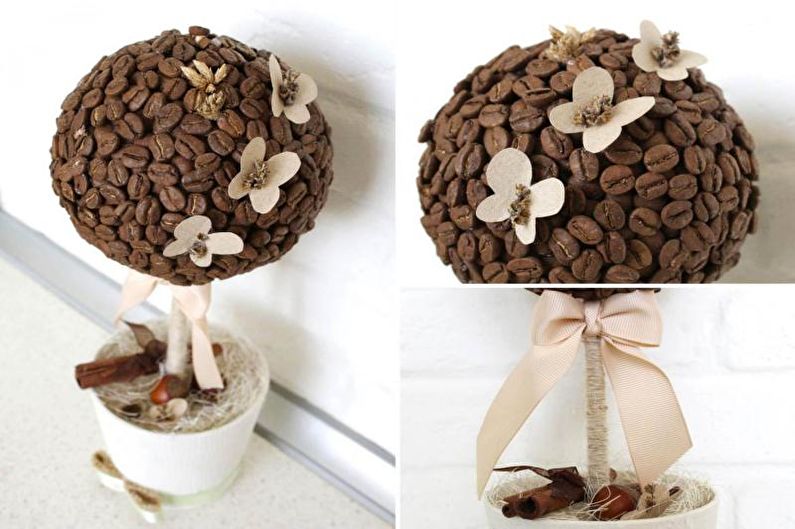
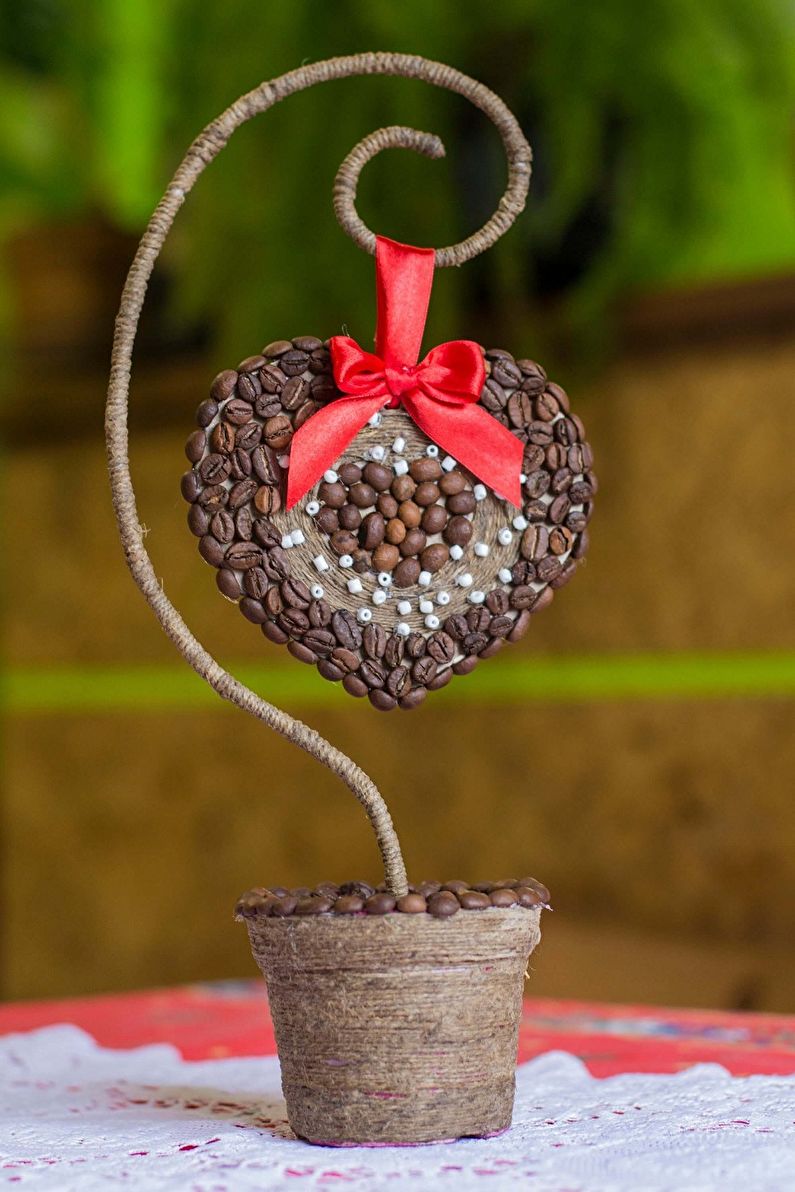
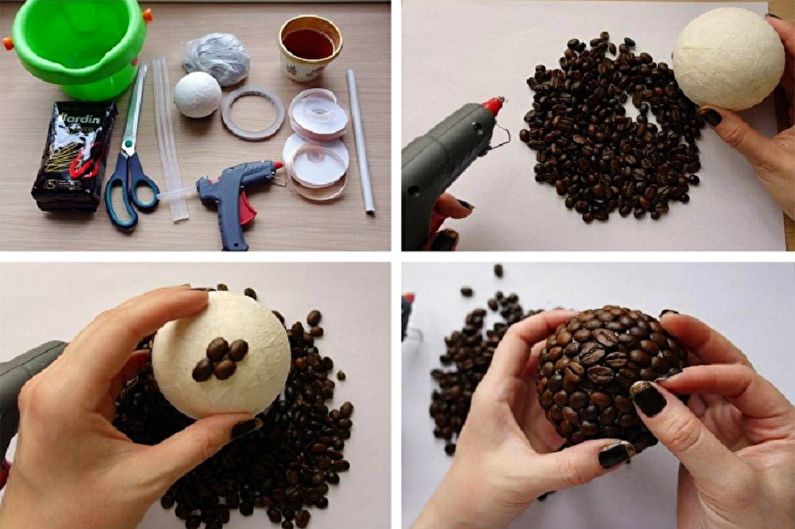
Coffee topiary is a wonderful gift that will decorate any corner of the house. It is environmentally friendly, beautiful and, moreover, also has an incomparable tasty aroma. It is not difficult to make it - follow the basic instructions. In addition, you will need coffee beans in the amount of 150-300 g, brown acrylic paint for coating and, if desired, decor. All other materials and tools are standard, as with any other topiary.
You can perform the classic version without an intricate shape and decoration, the result will be elegant and concise. But if the heart craves creativity, we offer several original ideas:
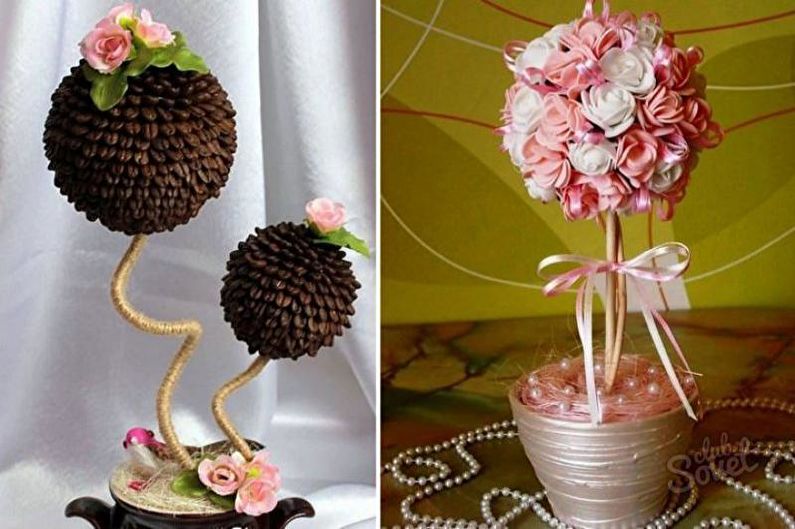
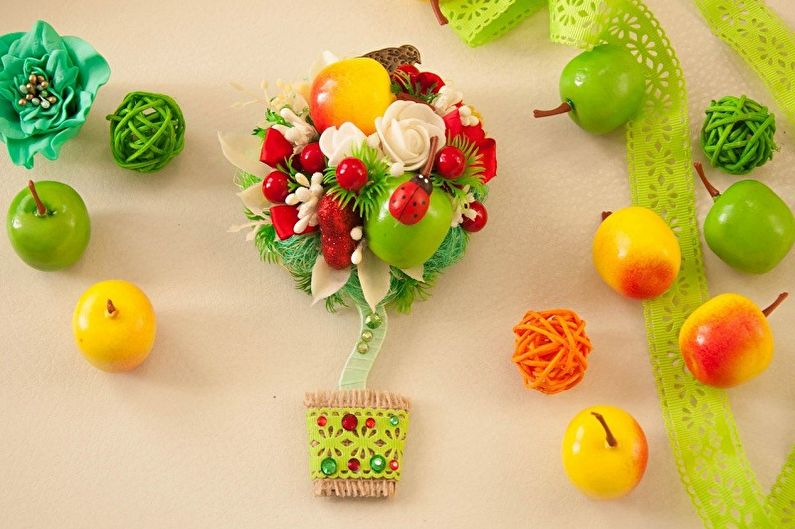
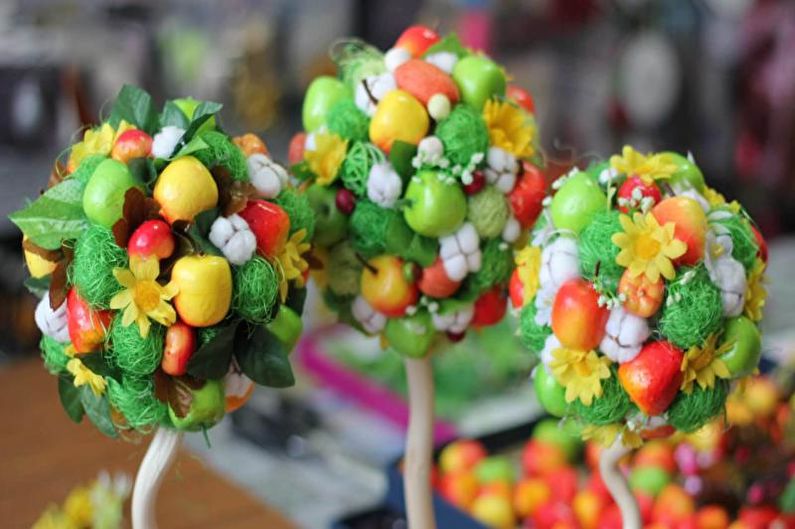
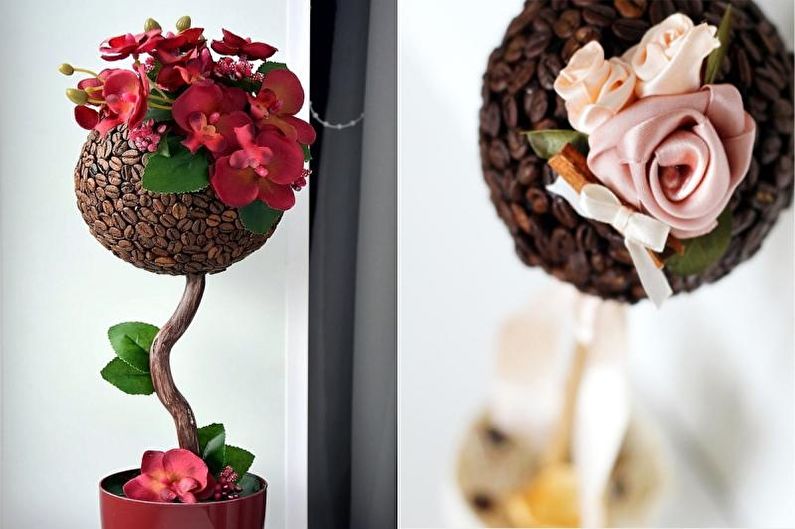
- The craft can take the form of a flowering tree and become a great gift for a girl, mom or teacher;
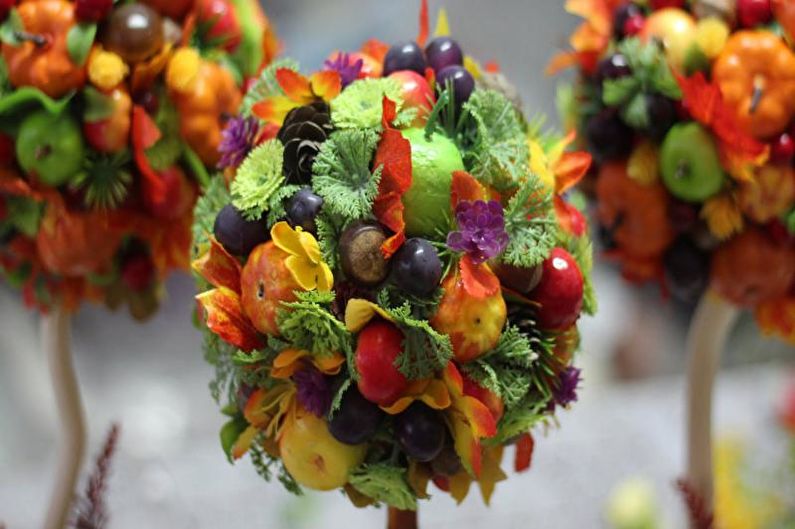
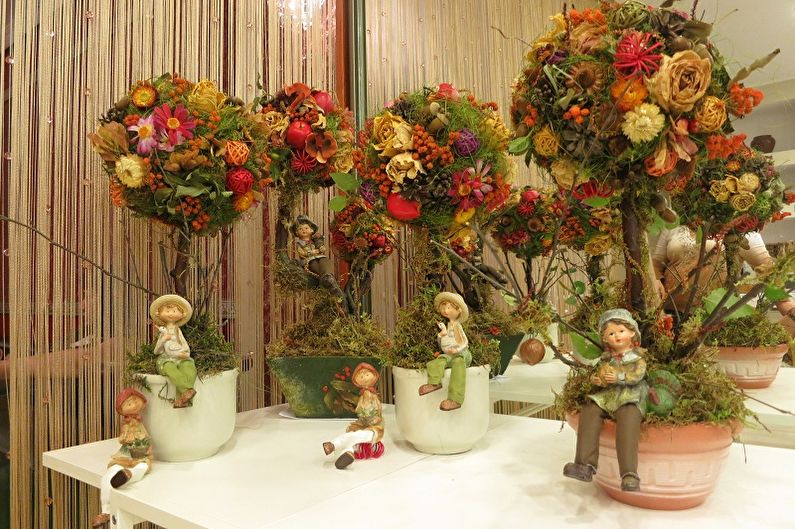
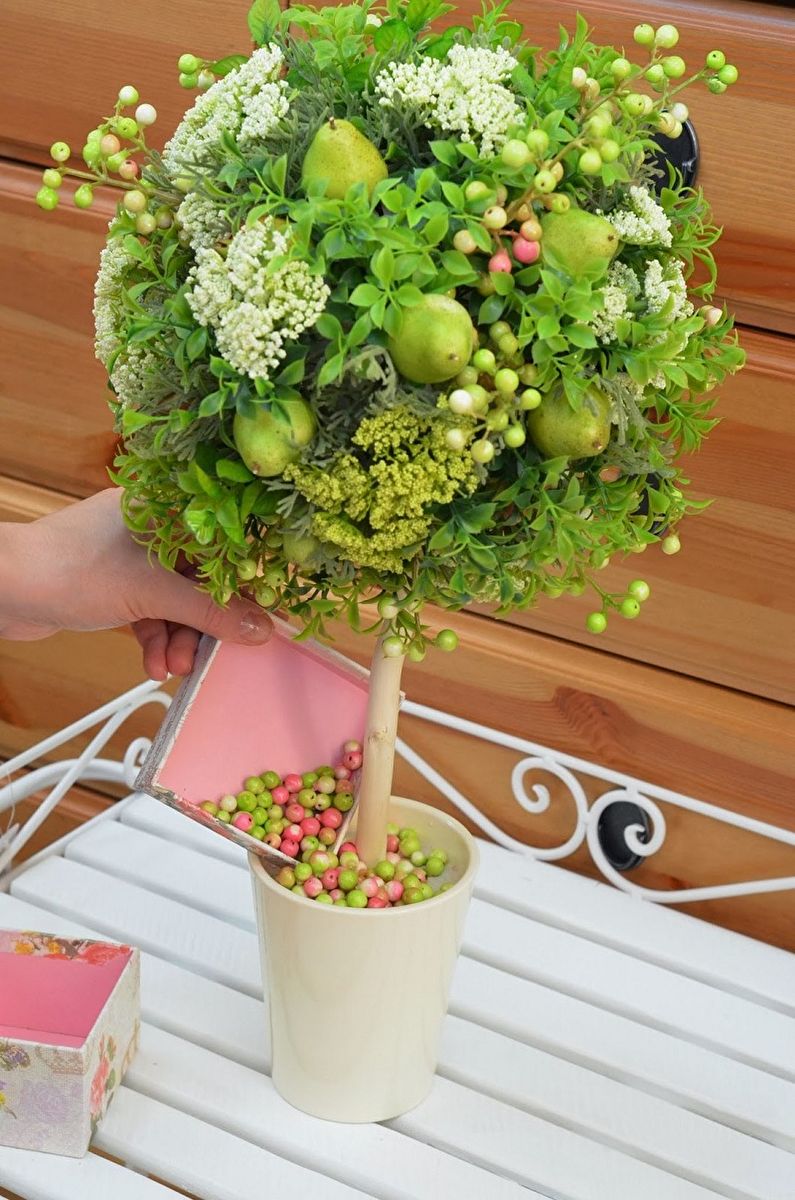
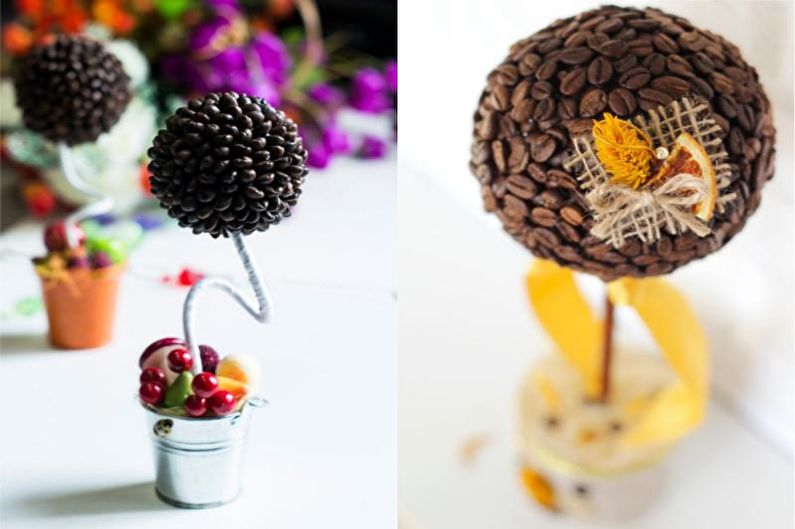
- Try to decorate the tree with dried fruits and place it in the dining area;
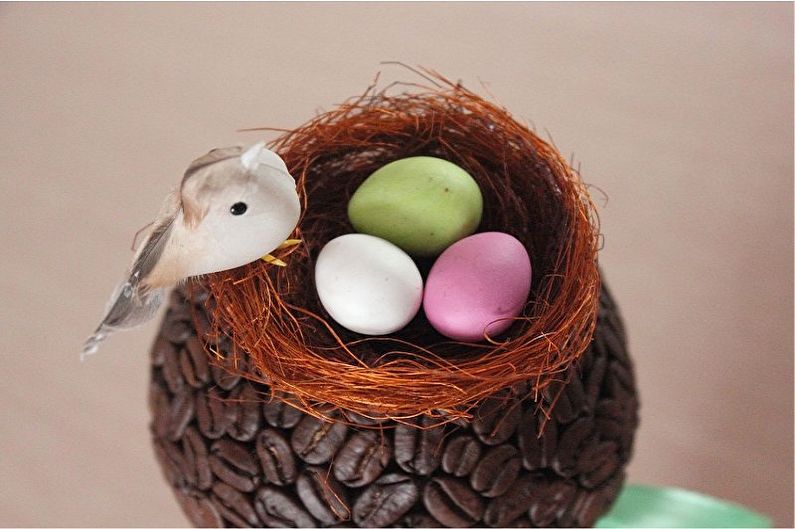
- Use summer motifs and decorate the work with small birds and butterflies;
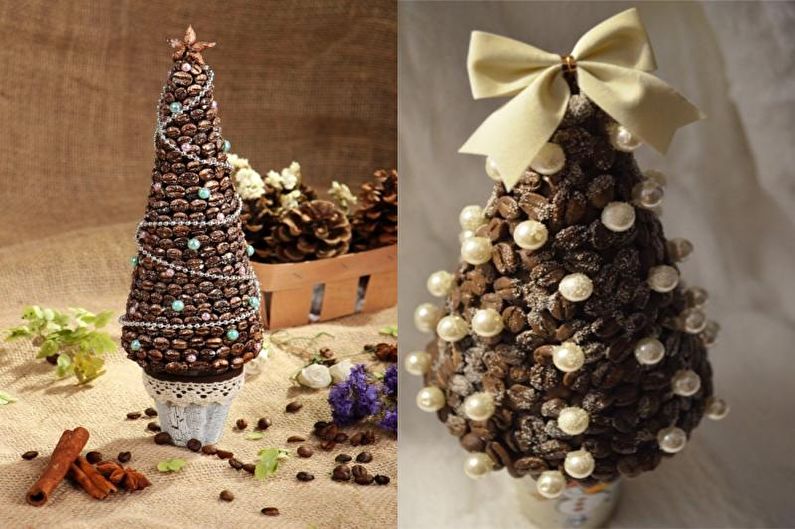
- Create a Christmas composition - a cute Christmas tree. The base can be done independently from thick paper or purchased ready-made;
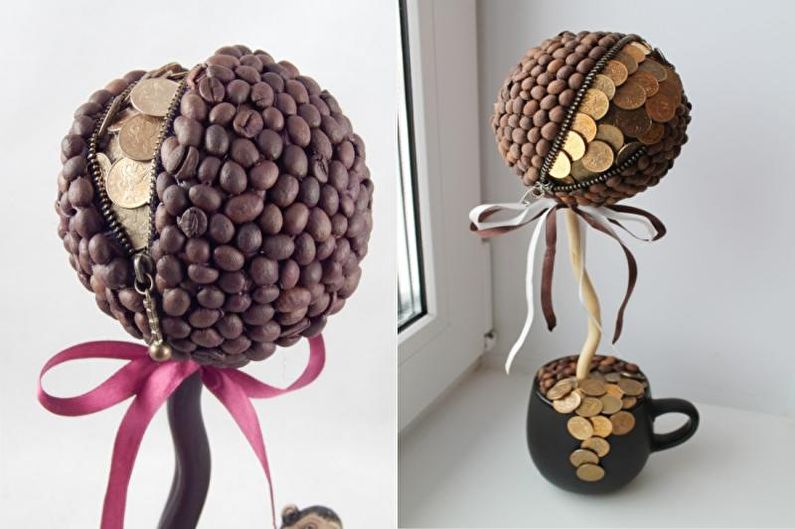
- A man will certainly appreciate the gift in the form of a money tree. It is enough to stick coins to the ball, and around them - lightning, to decorate the remaining space with coffee grains;
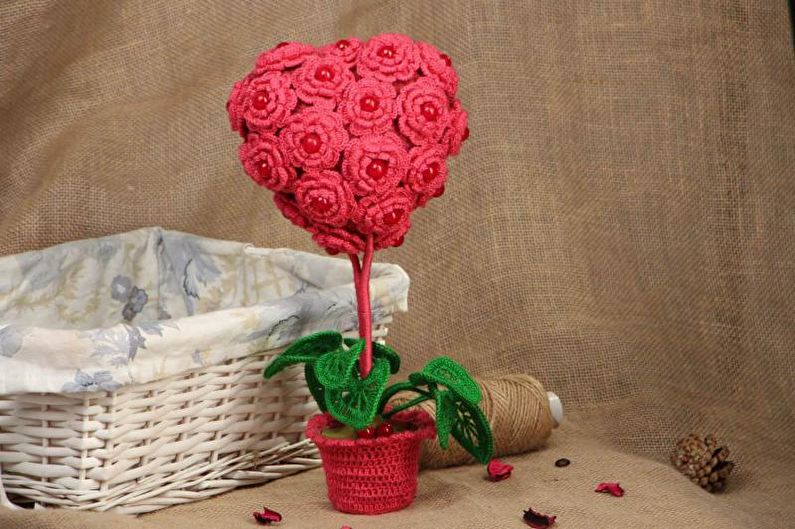
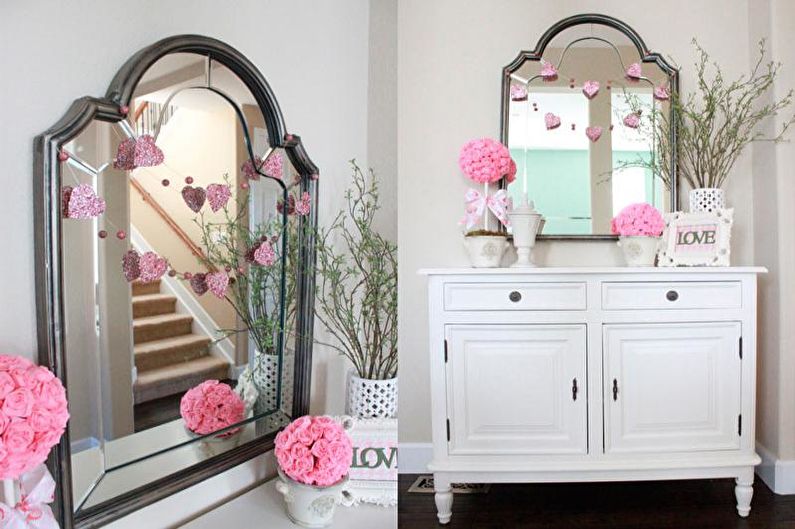
- If you are thinking about a present for Valentine's Day or a wedding anniversary, perform a heart shaped topiary;
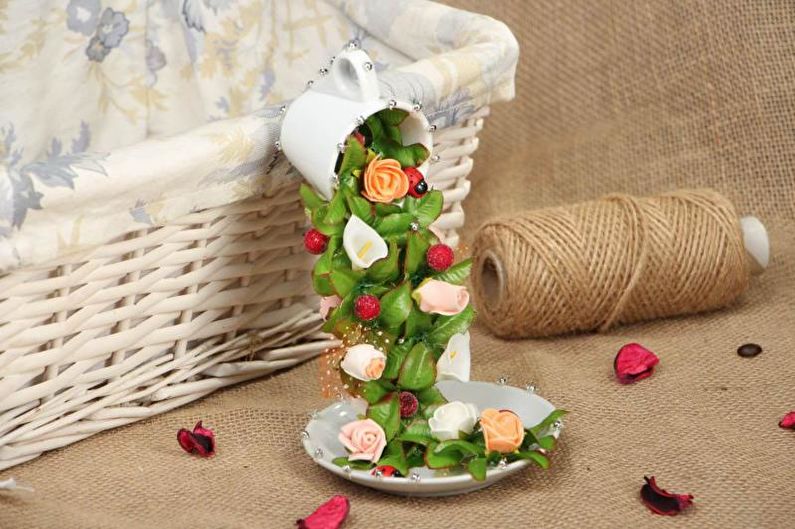
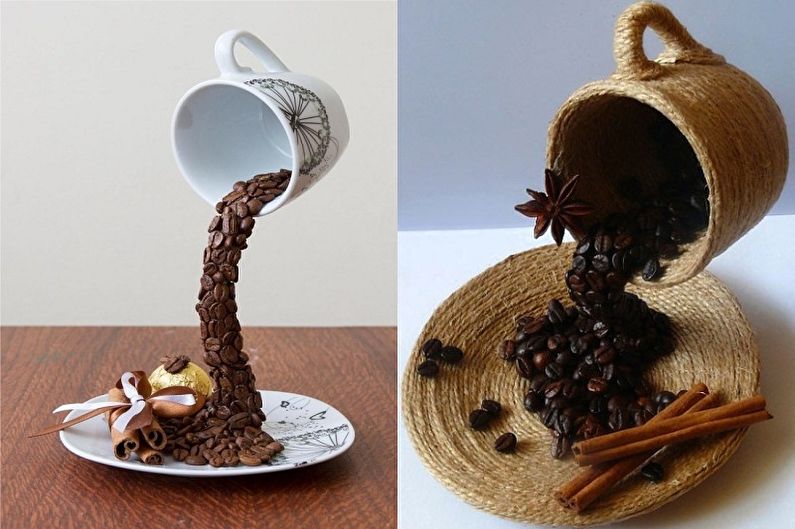
- A cup hanging over a saucer from which grains “spill” looks very impressive. It is not difficult to do it - instead of a stick use wire, polyurethane foam or hot glue.

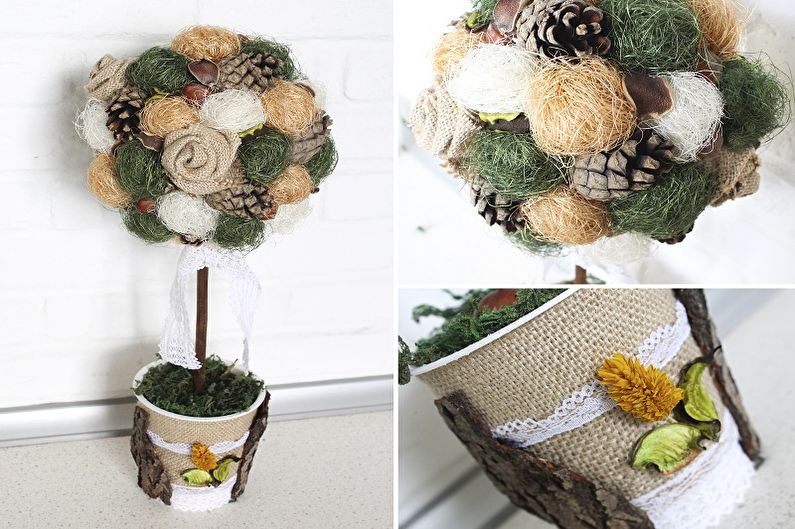
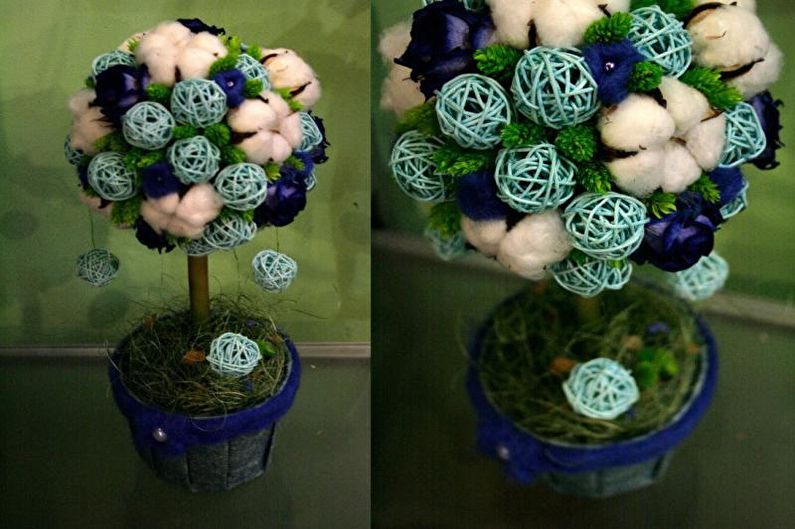
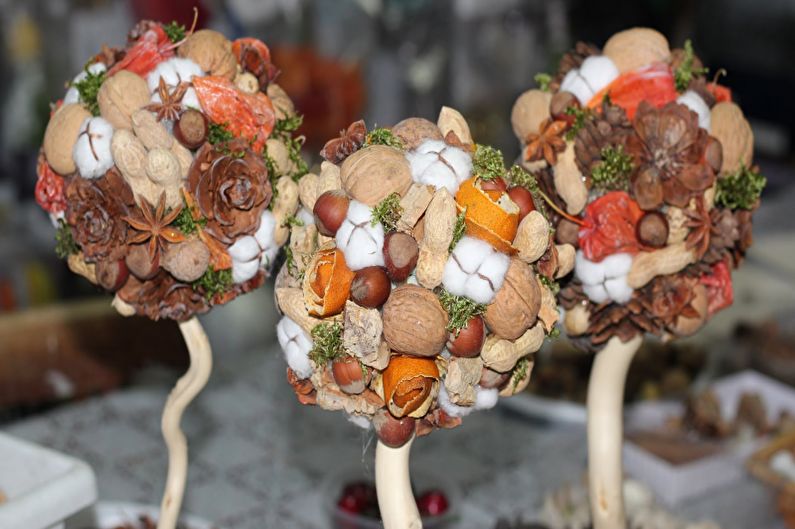
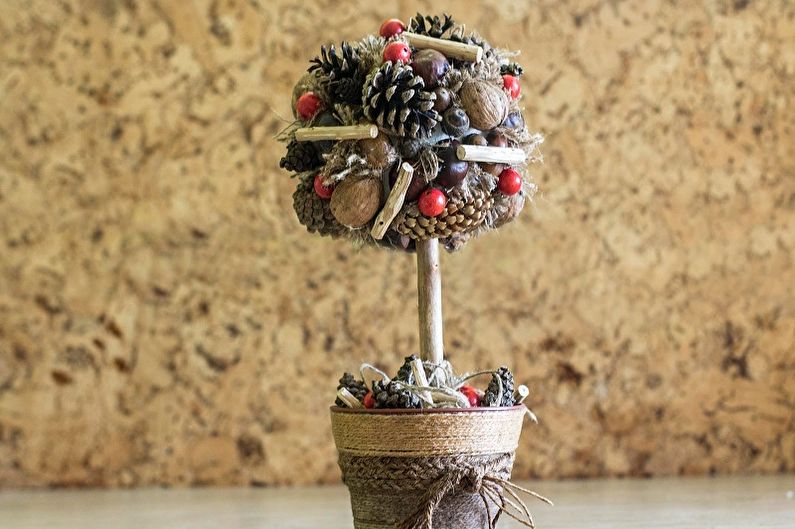
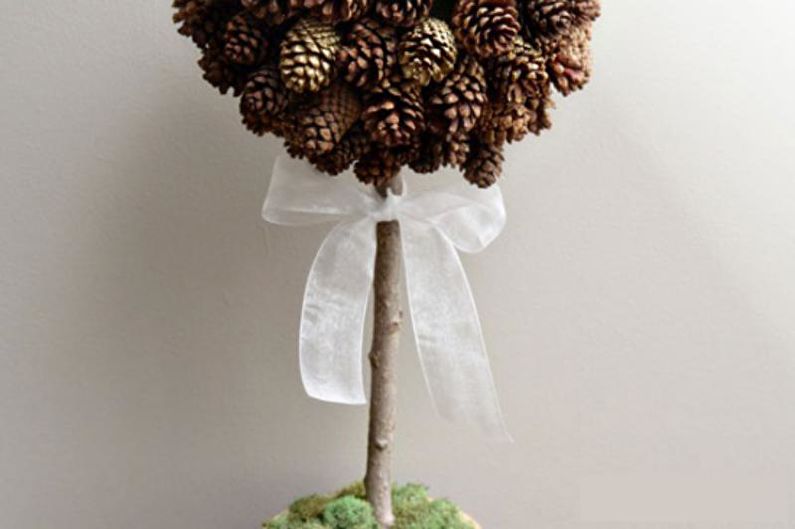
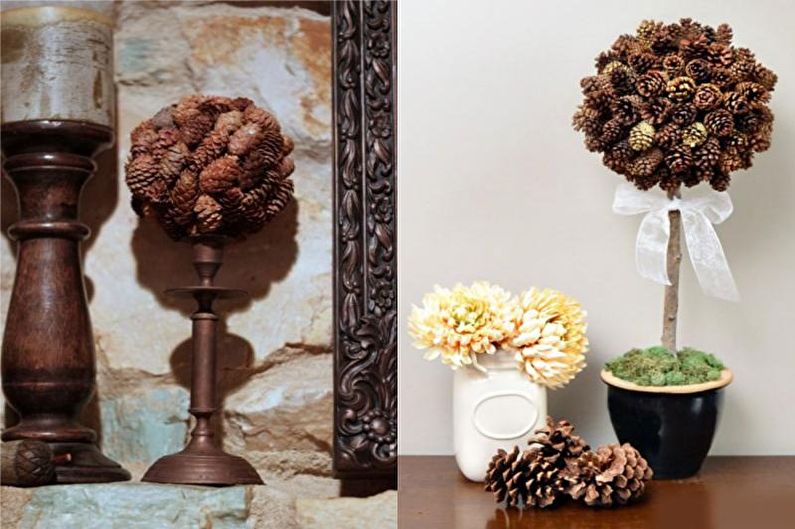
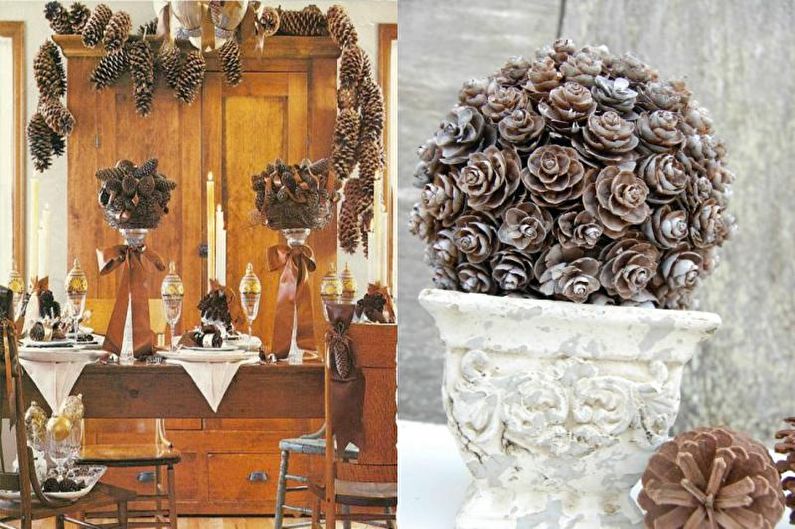
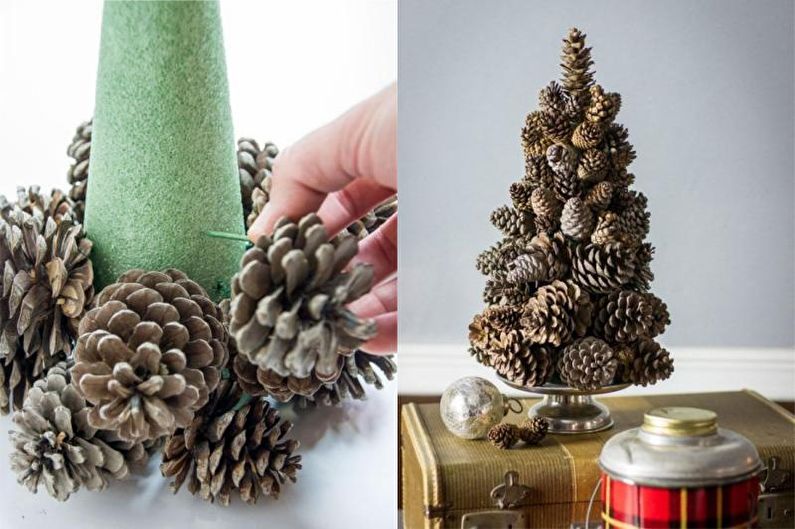
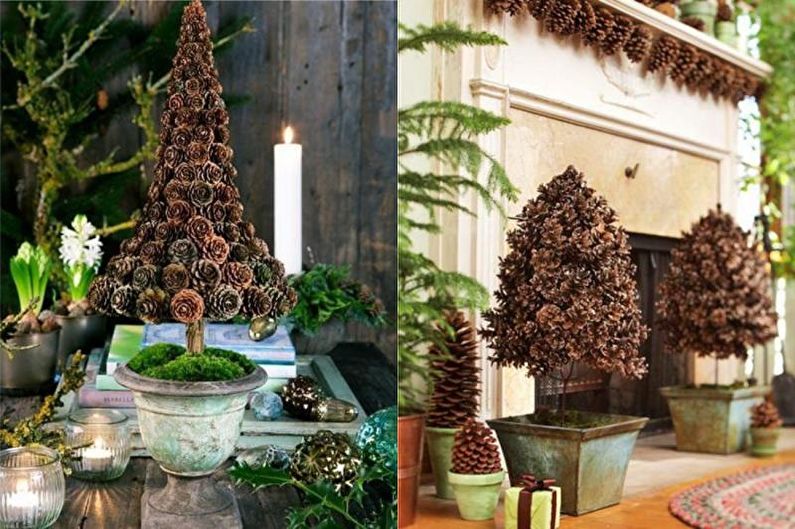
Cone topiary
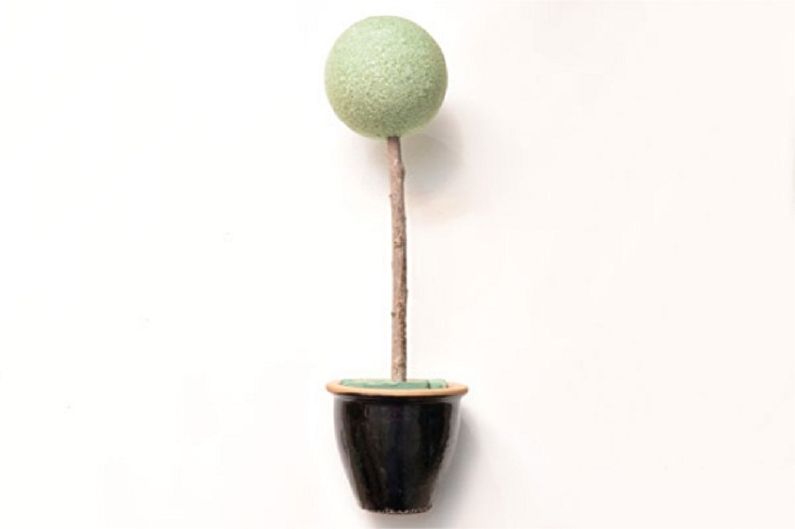
Another idea of today's eco-friendly decor is a cone topiary. It will harmoniously complement the autumn or winter composition, and its implementation is quite simple.
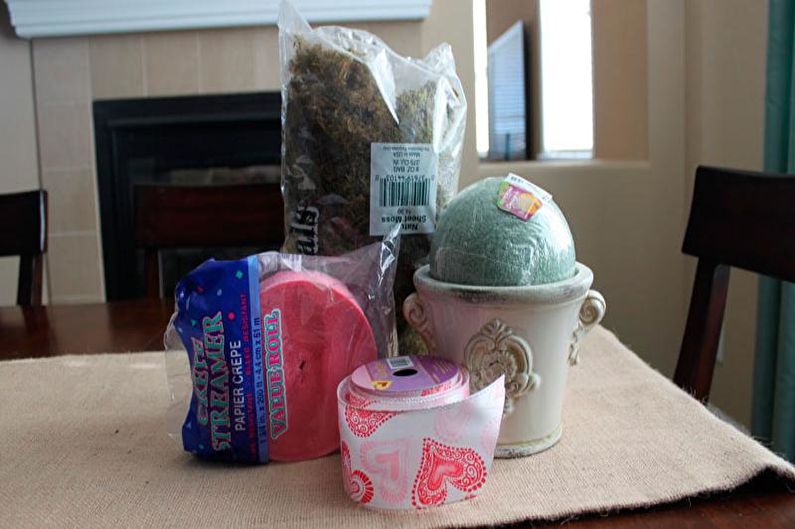
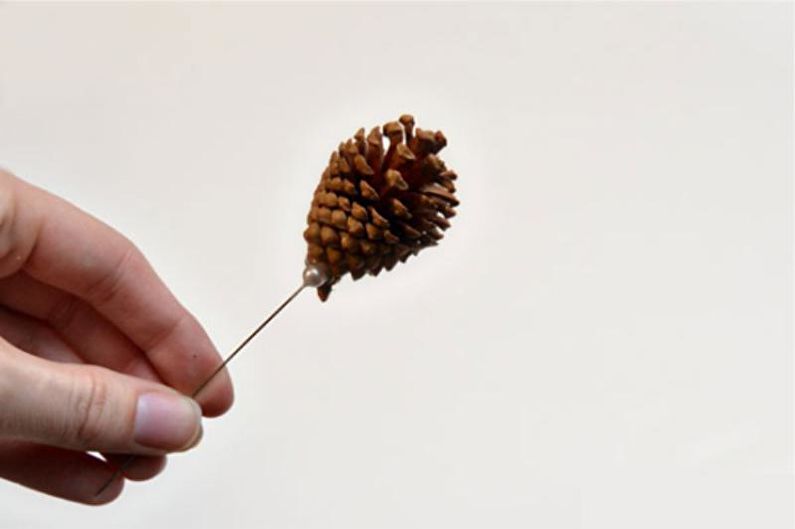
In addition to the standard set of materials, prepare cones, pins, dried moss. Rinse the cones thoroughly and dry for 10 minutes in an oven, preheated to 350 degrees. Prepare the barrel by dyeing it or rewinding it with twine. Fill the pot with mounting mixture or chopped floral foam, fix the barrel in it.
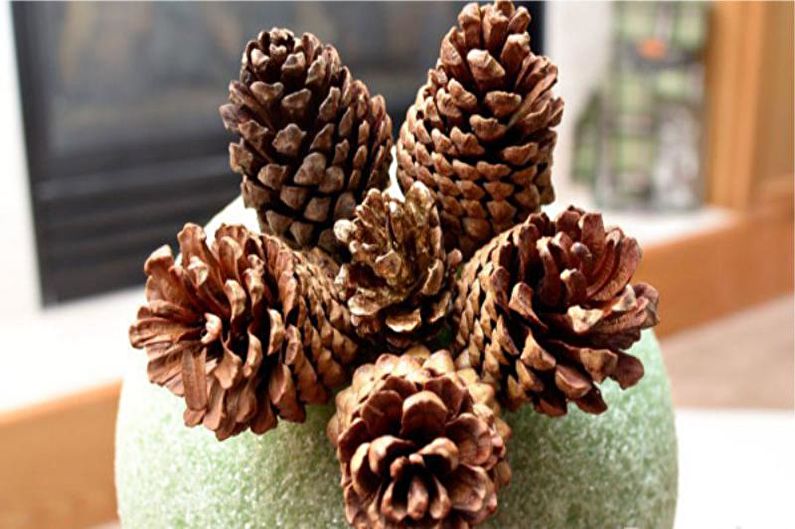
The sphere can be coated with brown paint. Using pins or hot glue, attach the cones to the ball. They should be fixed close to each other. Large parts need to be glued first, the rest - as the size decreases. Fasten the ball to the barrel.
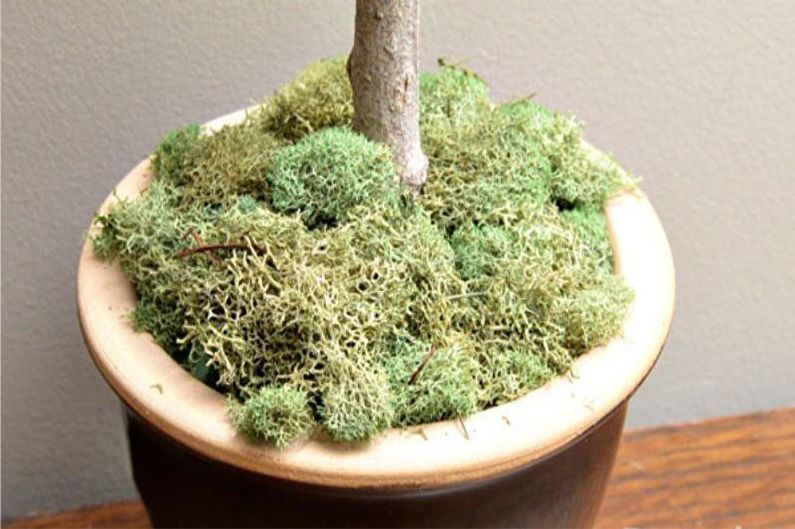
Cover the improvised soil with moss or other material that you like. Optionally complete the composition with additional decorations.
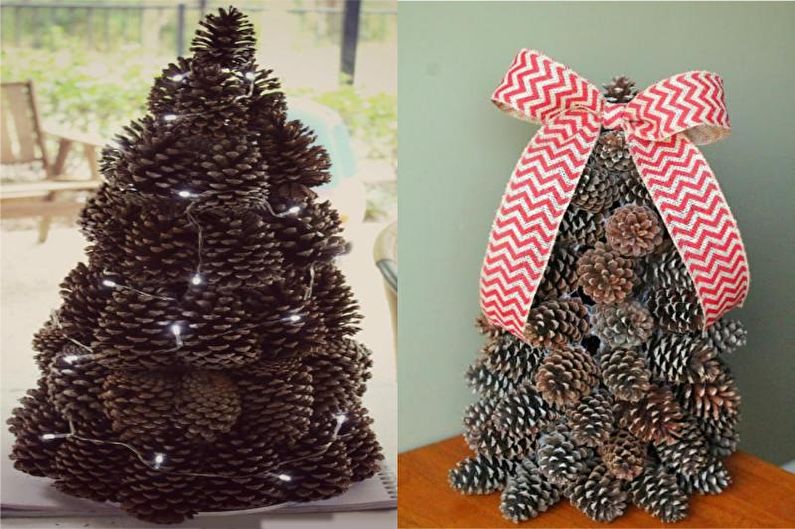
By the period of the New Year holidays, it is also possible to form an impromptu conical tree.
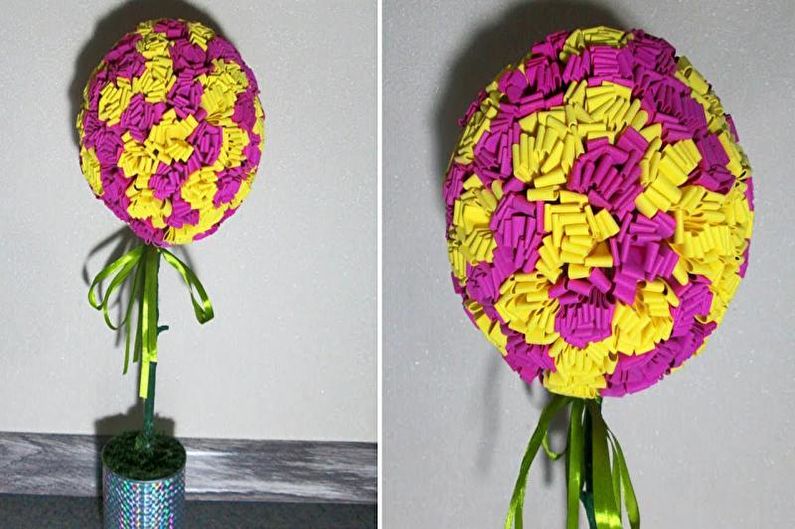
Quilling floral topiary
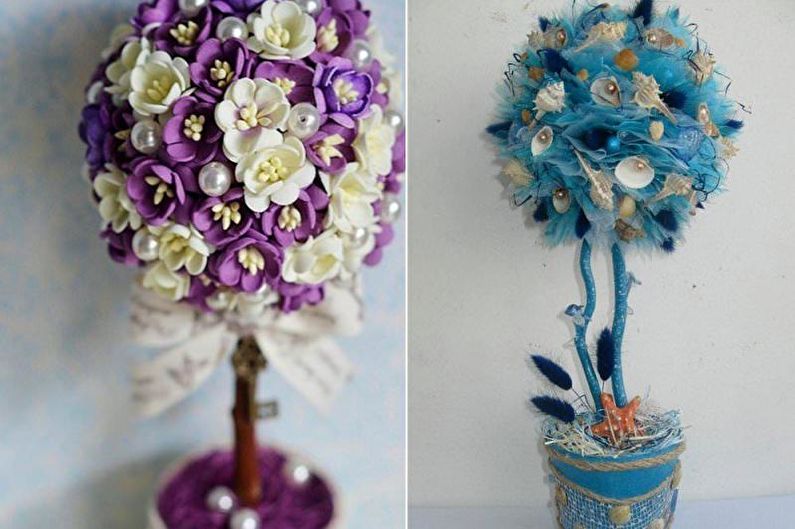
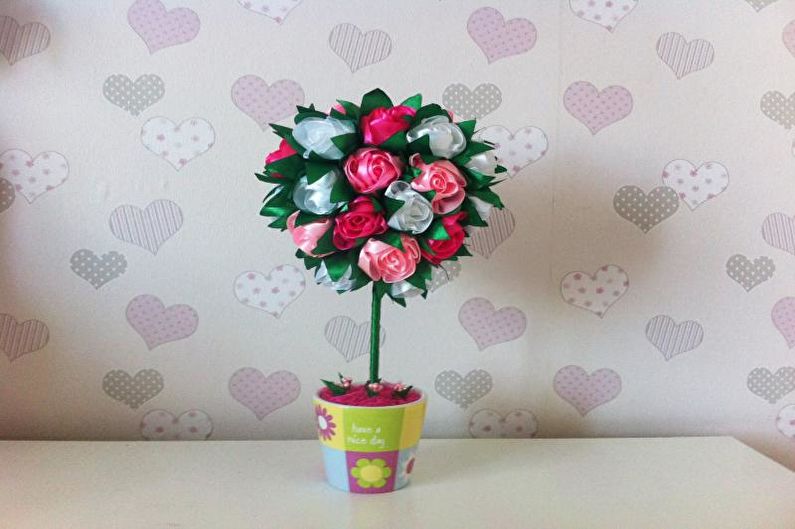
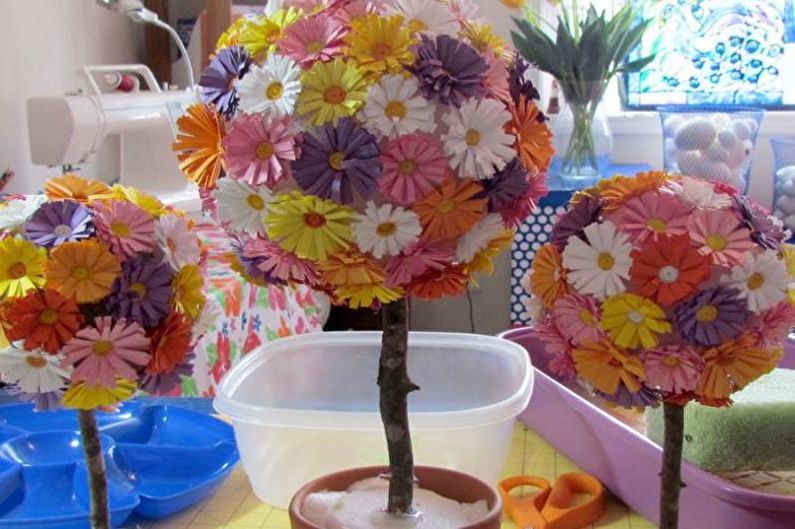
Topiary made in this technique is very cheerful and pretty. It will complement the children's room or serve as an interesting decor in the dining room or kitchen. Try to do it yourself, it’s not difficult at all.
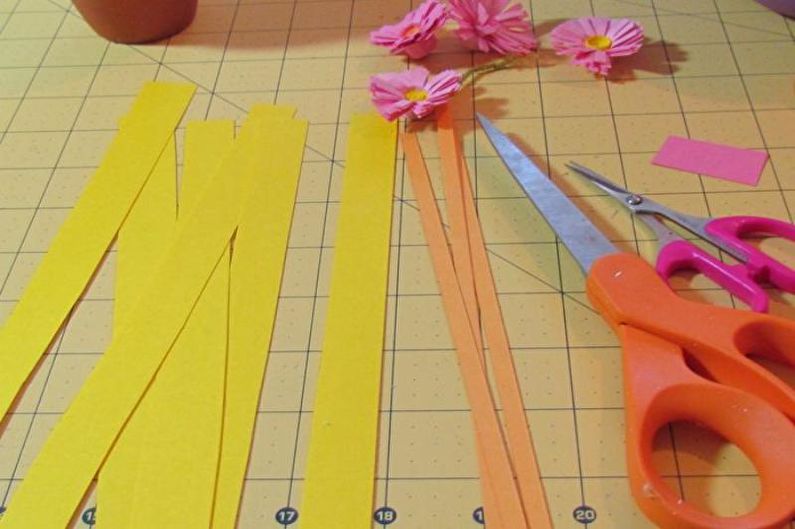
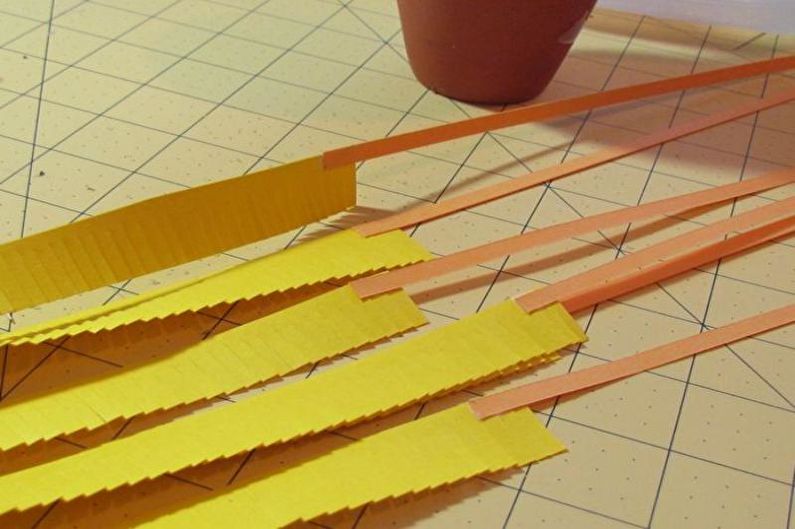
So, you will need: dense, bright colored paper in various shades; quilling tool (if it is not at hand, use a toothpick or a needle stuck in a wine cork); spherical base; scissors; a flower pot; stick for the barrel; glue (PVA and thermal gun); moss or other filler to cover the "soil"; chopped polystyrene; ribbons for decor (optional).
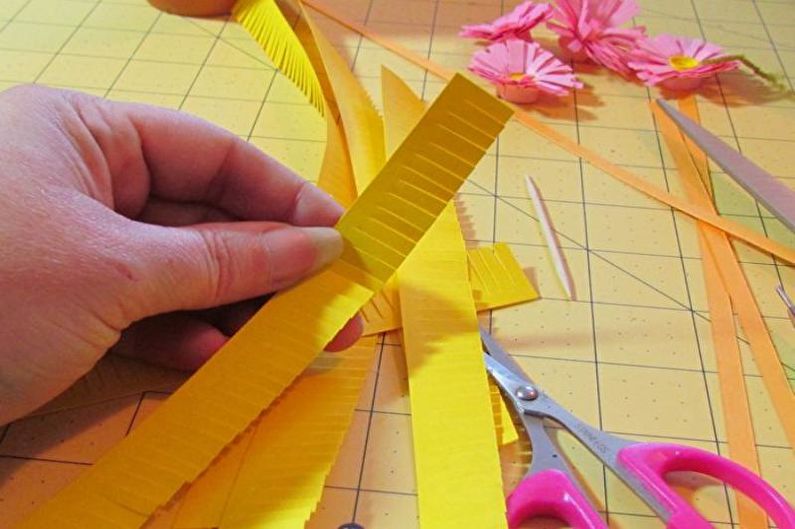
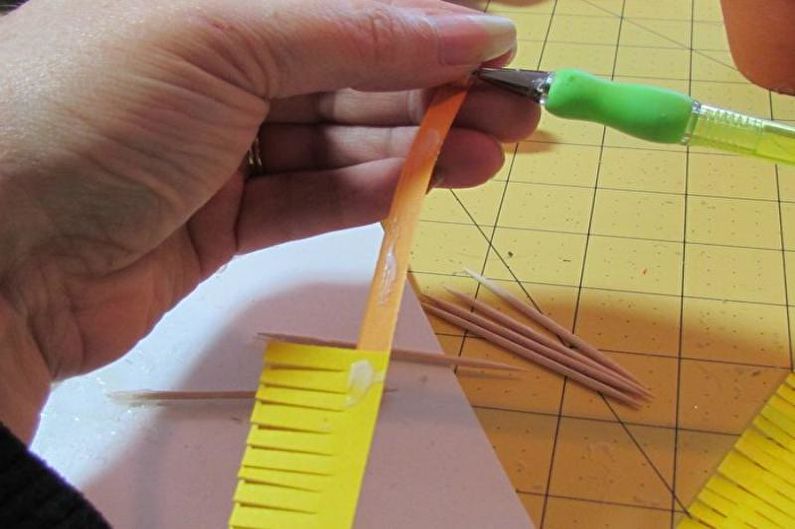
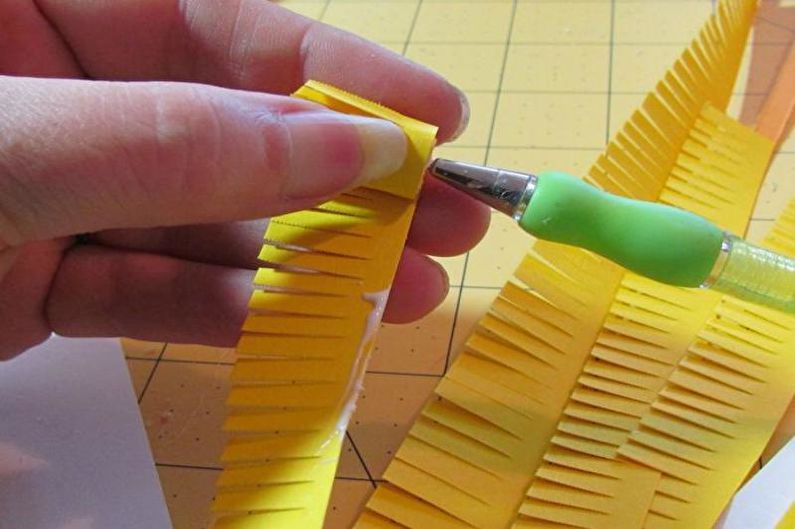
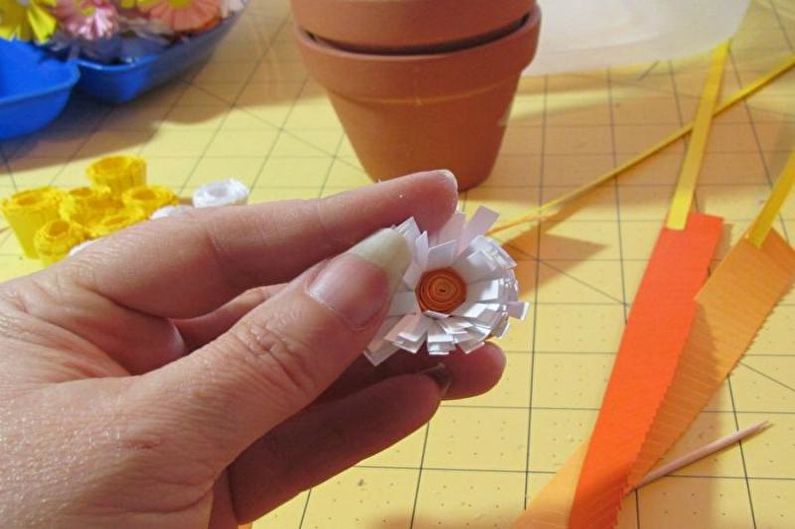
Cut the colored paper into wide (one color) and narrow (different shades) stripes. Cut wide parts along the edges, forming a fringe. Glue narrow elements to the edge of each such strip. Lubricate the thin strip with glue and twist it into a tight spiral with the selected tool. Do the same with a wide bar. Remove the craft from the tool.
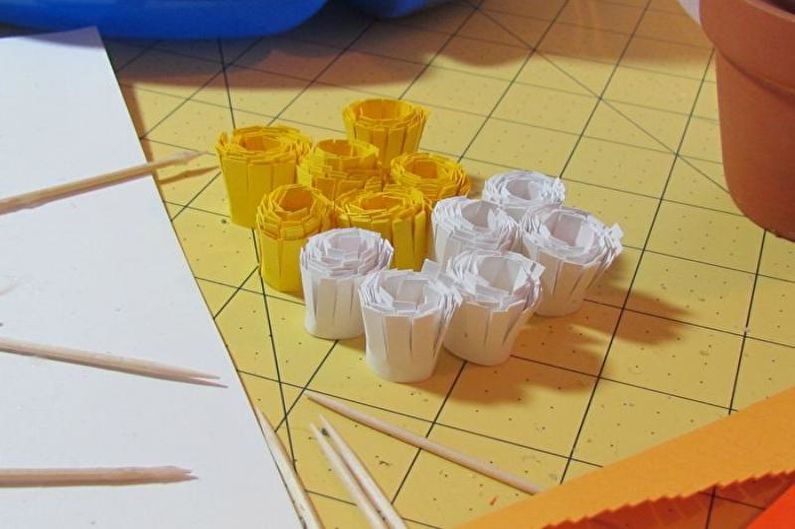
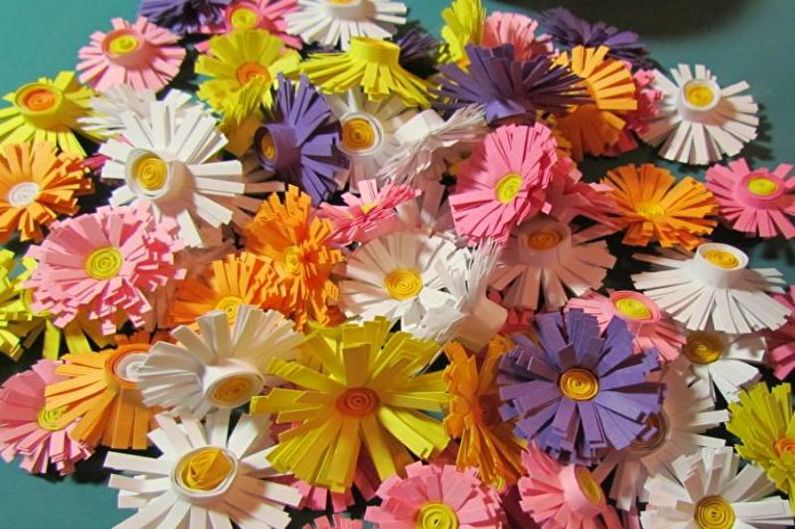
Repeat the algorithm for the remaining strips in different colors. Flatten the fringe - you get pretty flowers.
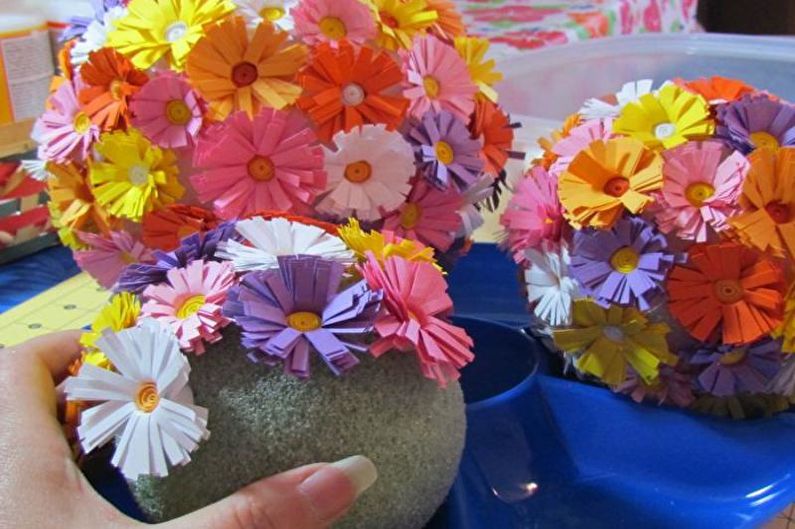
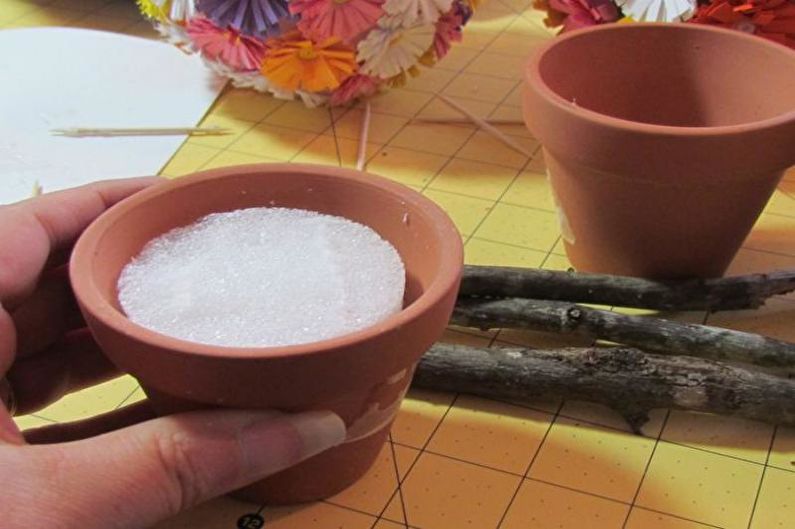
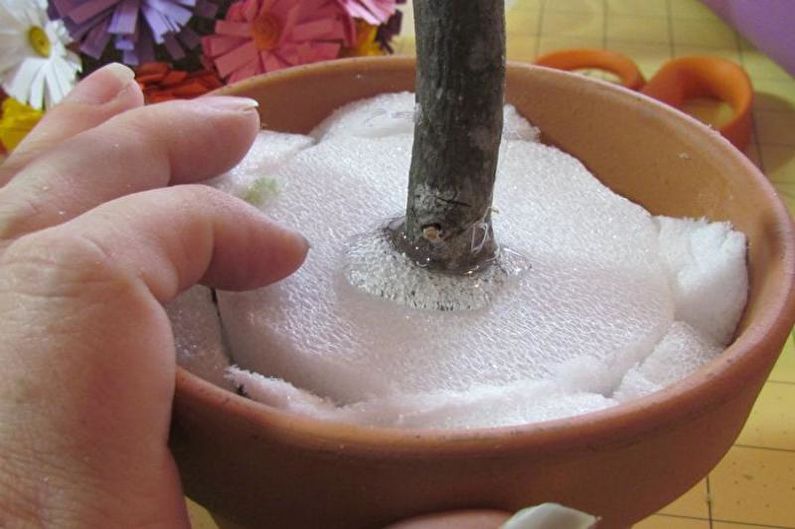
Take the ball and fix the flowers on it so that there are no voids left. Lubricate the pot with hot glue and put polystyrene in it. Cut a hole in the foam for the barrel, grease it with glue and put the barrel in it.
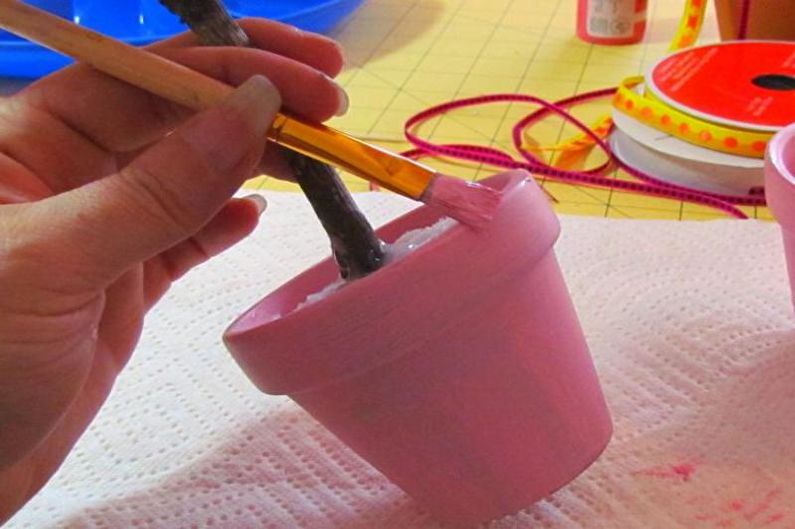
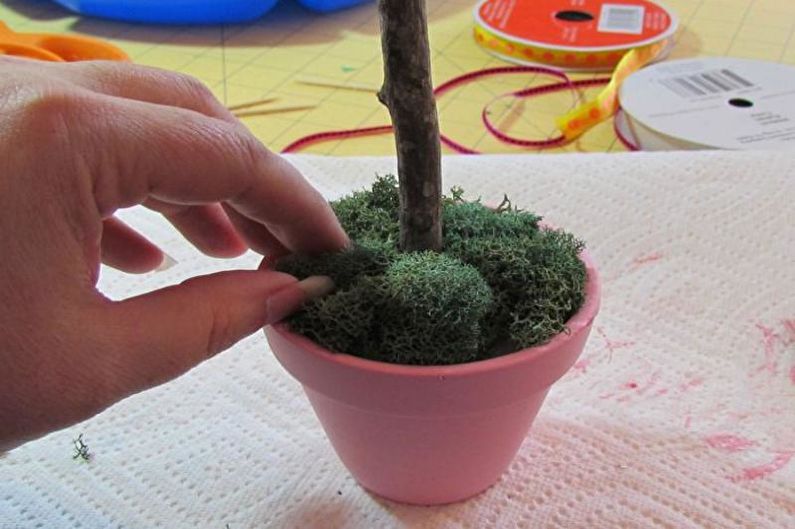
Make a hole in the crown and place it on a stick-barrel, pre-lubricated with glue. Decorate the polystyrene soil with prepared moss or other decorative element. If desired, you can paint the pot in a bright color, as well as tie the trunk with a beautiful ribbon.
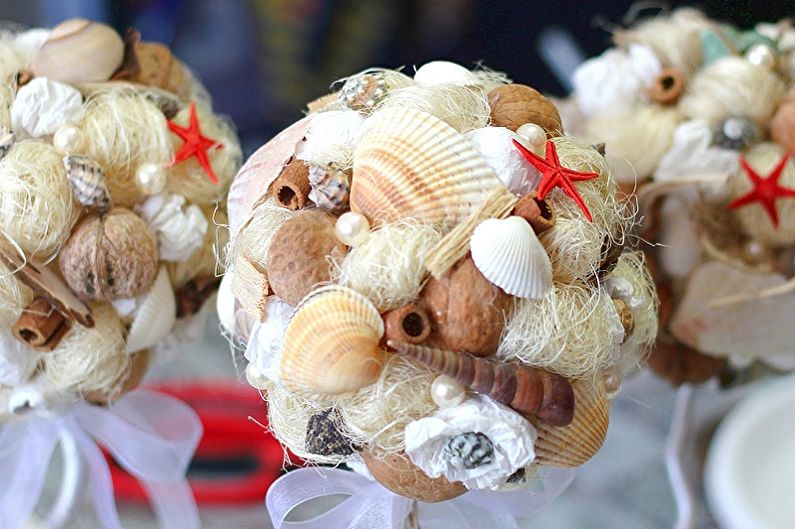
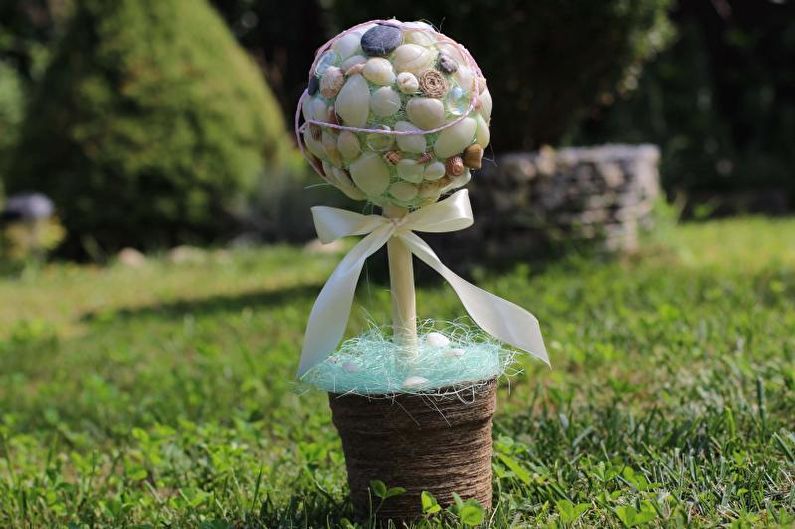
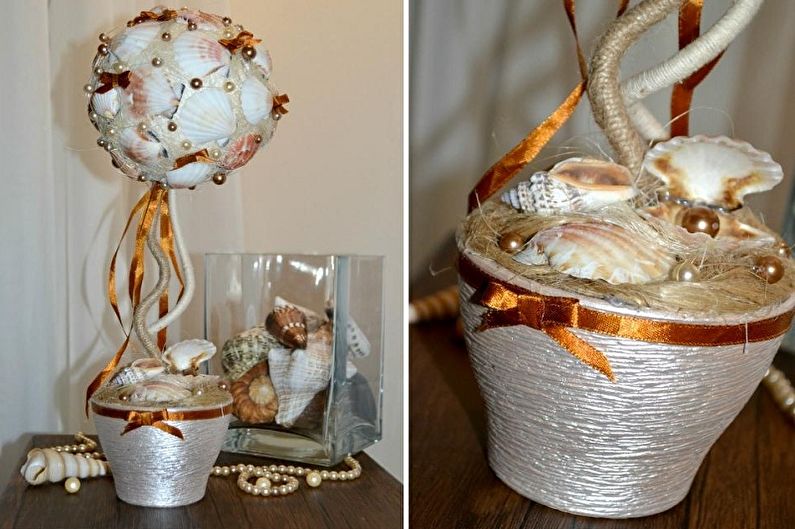
Shell Topiary
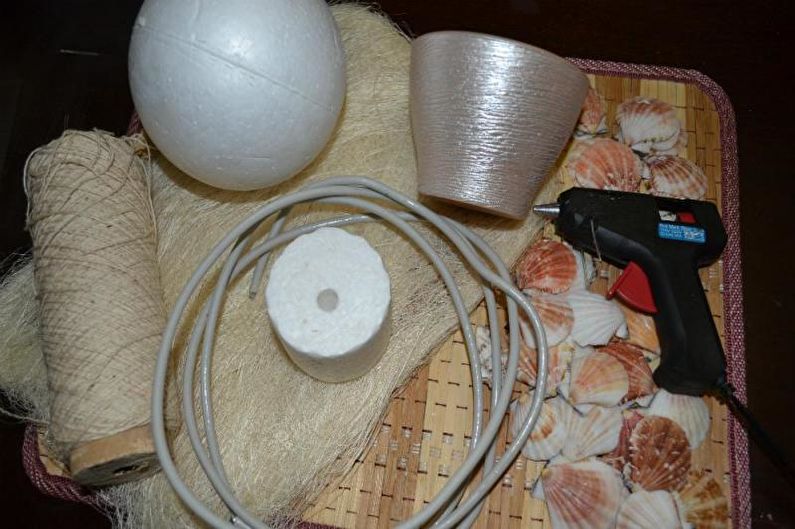
A shell topiary perfectly complements the marine-style interior. For its manufacture, prepare the following materials: ball for the base of foam; various shells; wire; stand pot; cardboard; twine or thread; scissors and a gun with hot glue.
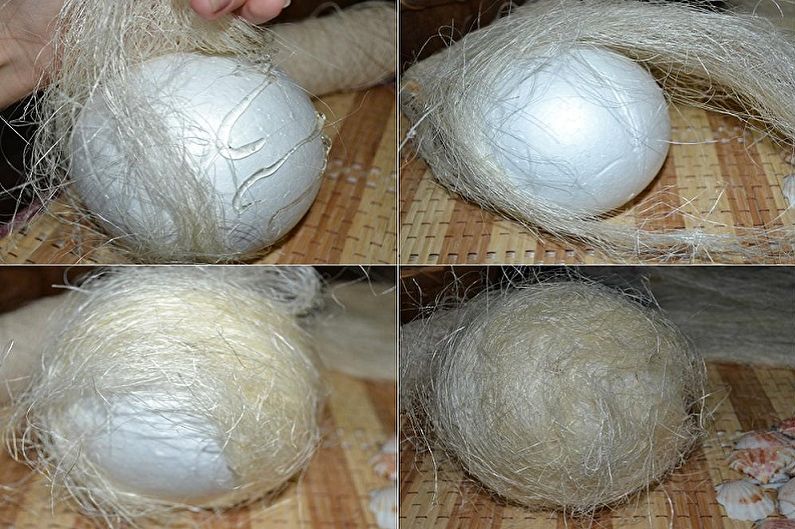
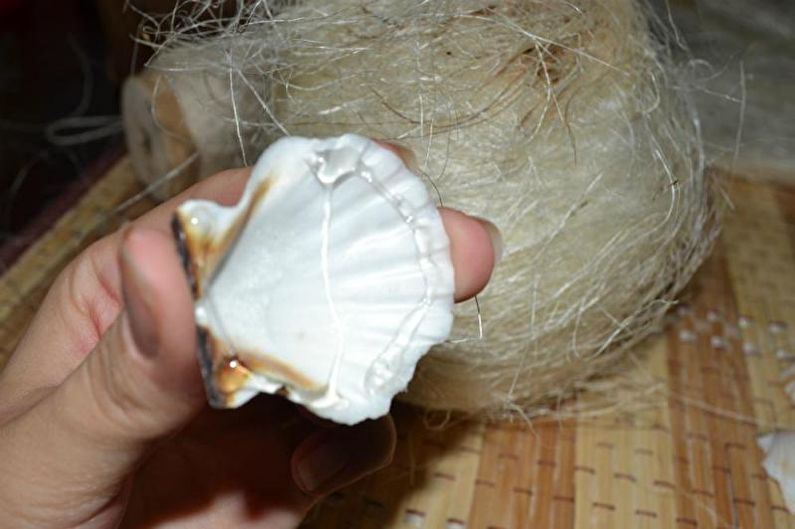
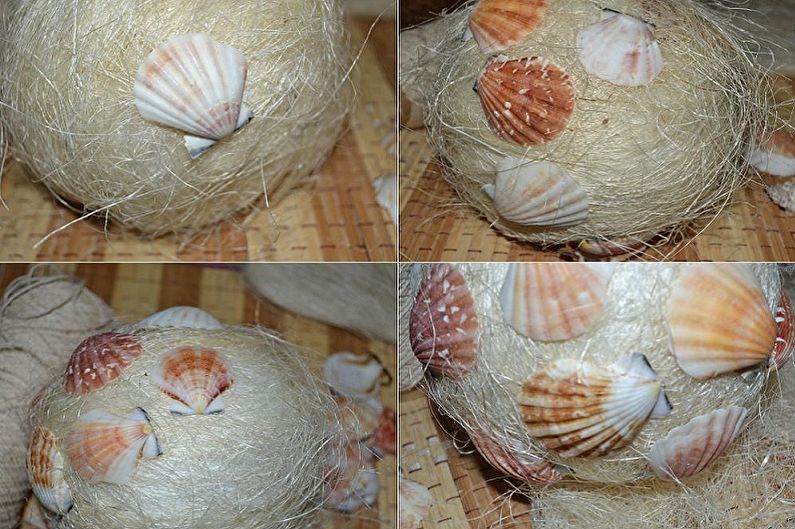
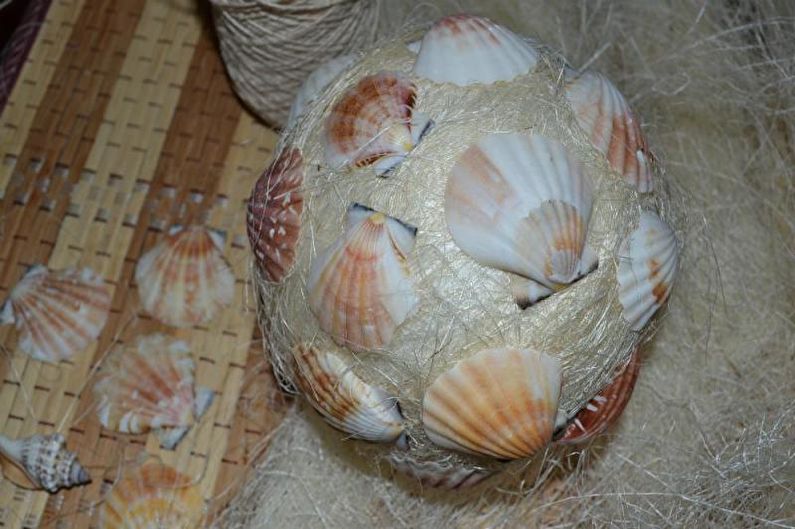
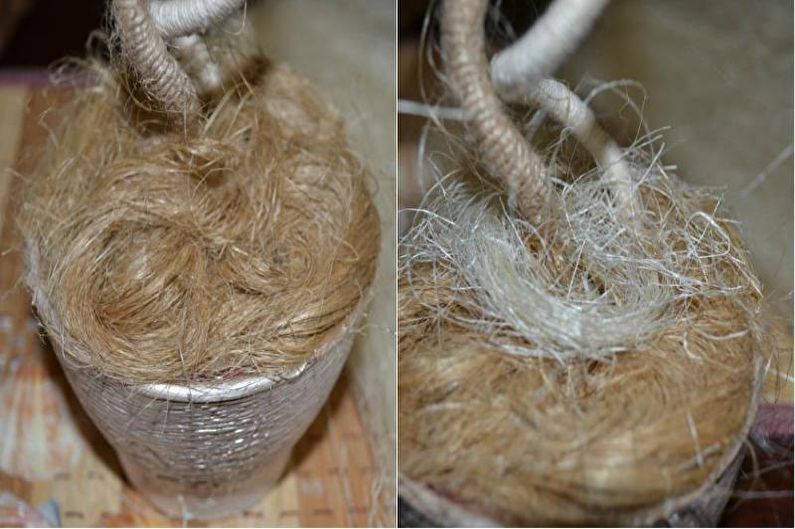
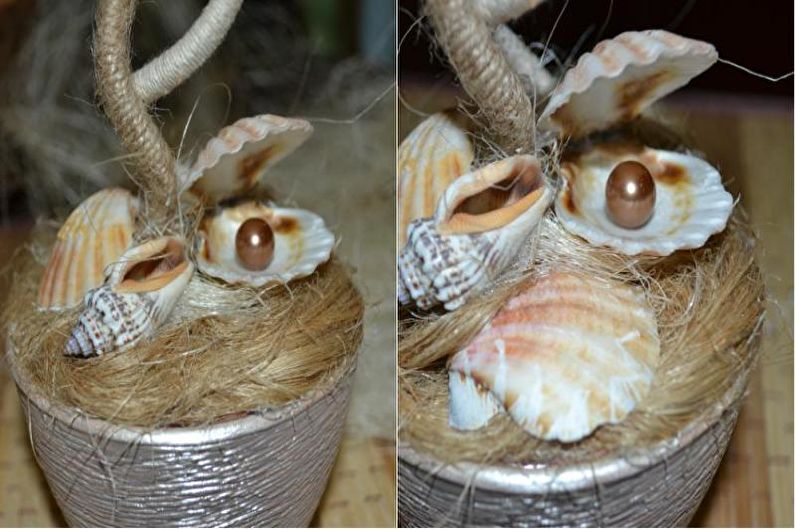
To make the crown of topiary, prepare: a foam ball, shells and white sisal. Using a glue gun, glue the entire surface of the sphere and wrap it with sisal. Prepare the shells, and then fasten them with glue to the sisal, leaving small gaps.Thus, you must cover the entire surface of the ball.
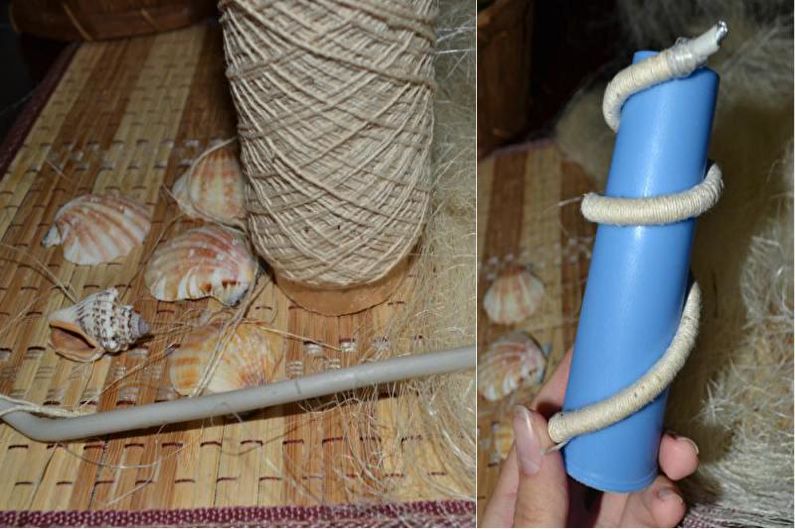
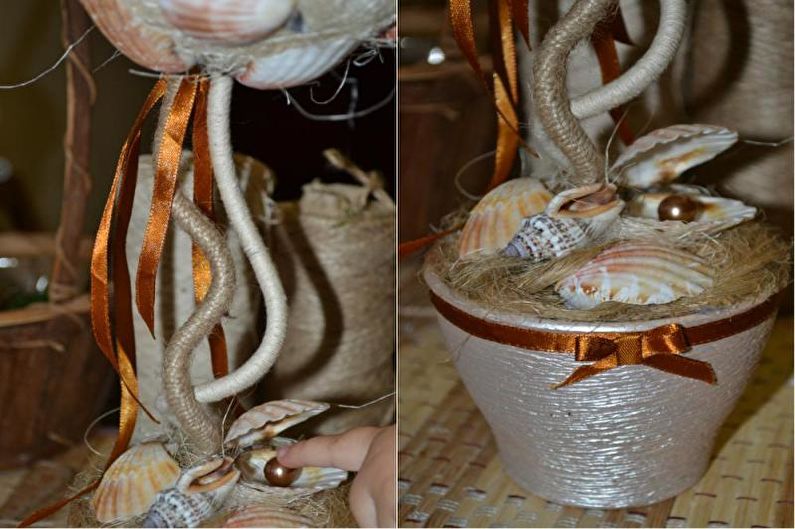
For the barrel you will need wire, thread or twine, scissors and a glue gun. Give the wire the desired shape and wrap it tightly with thread or twine. You can make several trunks using multi-colored threads and different bends.
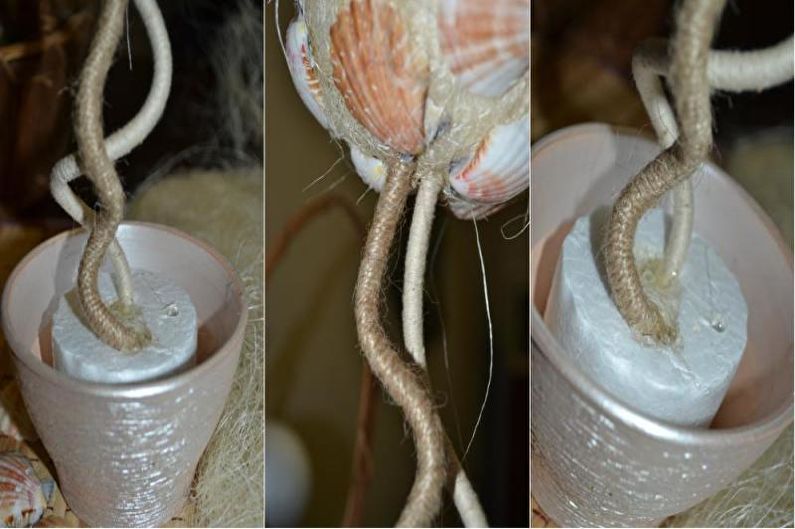
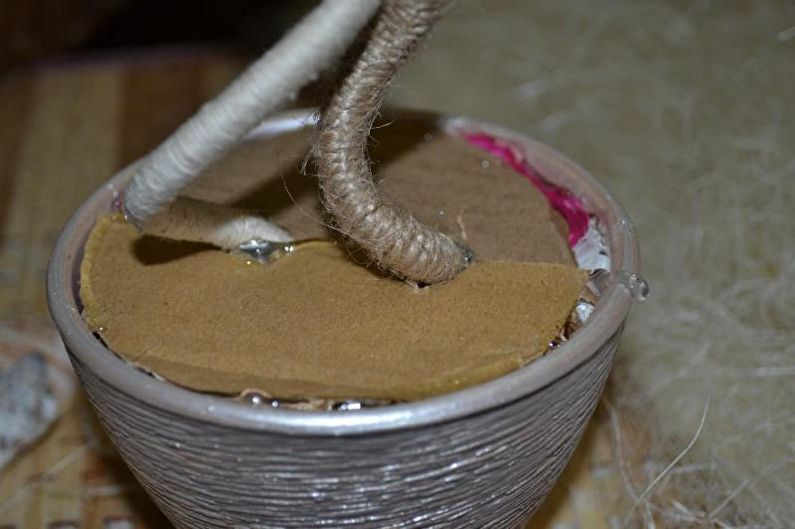
To make a pot for topiary, prepare a clay pot, polystyrene, cardboard or paper, finished trunks, scissors and a thermal gun. To fix the trunks, place the foam in the pot. Then fix it with hot melt adhesive. Glue the finished crown to the trunk and stick it into the foam placed in the pot. Glue carefully with a thermal gun. For strength, fill the empty space in the pot with crumpled paper, glue and cover with a circle of cardboard. Later you can close it with sisal or small shells.
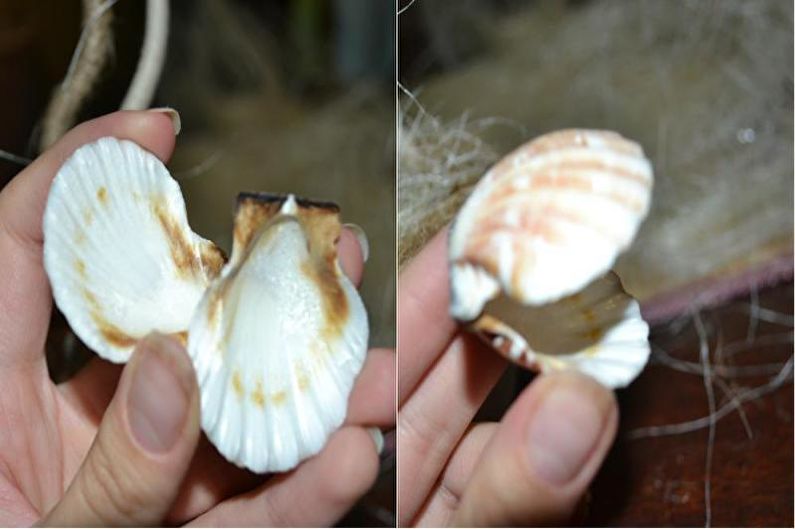
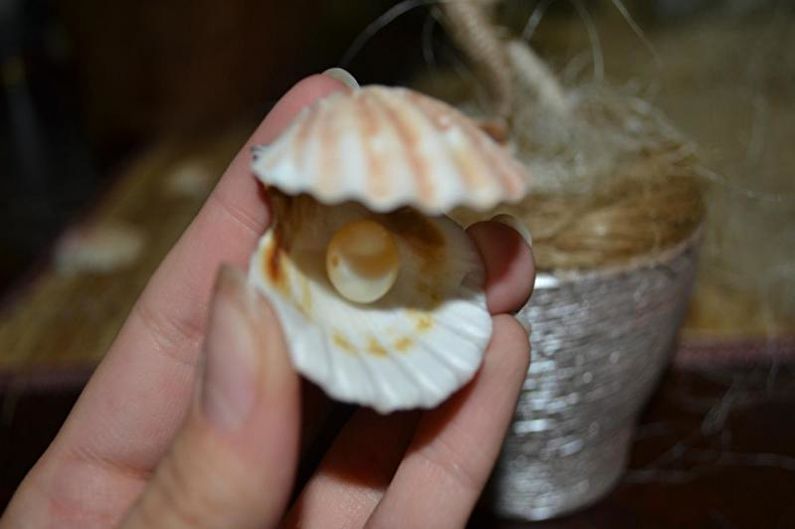
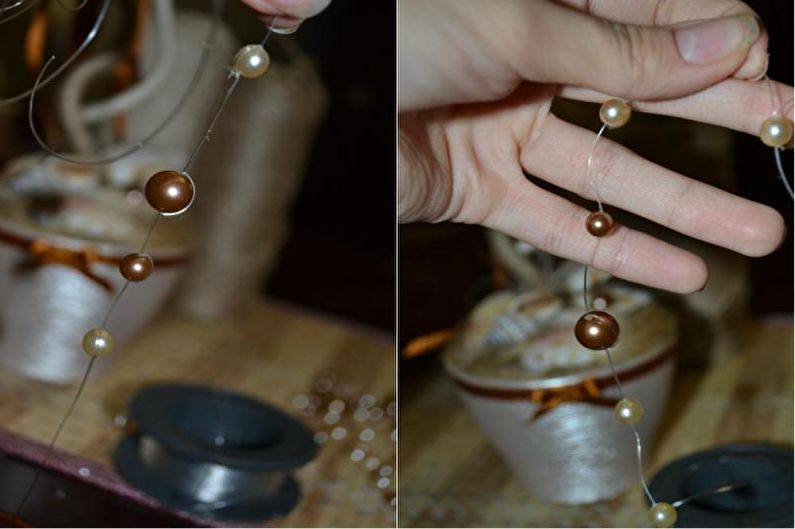
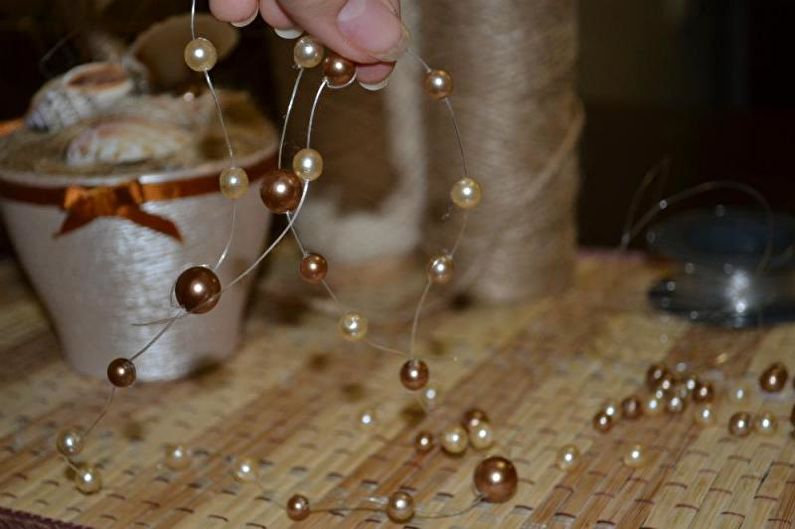
Fasten two shells to each other and place a “pearl" in them. Thus, you get a wonderful decoration for the pot. Next, decorate the base of the pot to your liking. Using a satin ribbon, you can make bright accents and strew the crown with the same “pearl”.


DIY Topiary - Photo Ideas
Now you know how to make a beautiful decorative topiary yourself. For your inspiration, we have prepared various ideas for creating our own unique “tree of happiness”. Enjoy watching!