Any vegetation instantly transforms the space, making it more lively and natural. Alas, real flowers do not retain an attractive image for as long as we would like. Recently, flowers from corrugated paper are becoming popular. From them you can create wonderful bouquets or something more original. In our article we will talk about working with this material. We offer you to plunge into the world of needlework with us!
Paper Flowers: Application Ideas
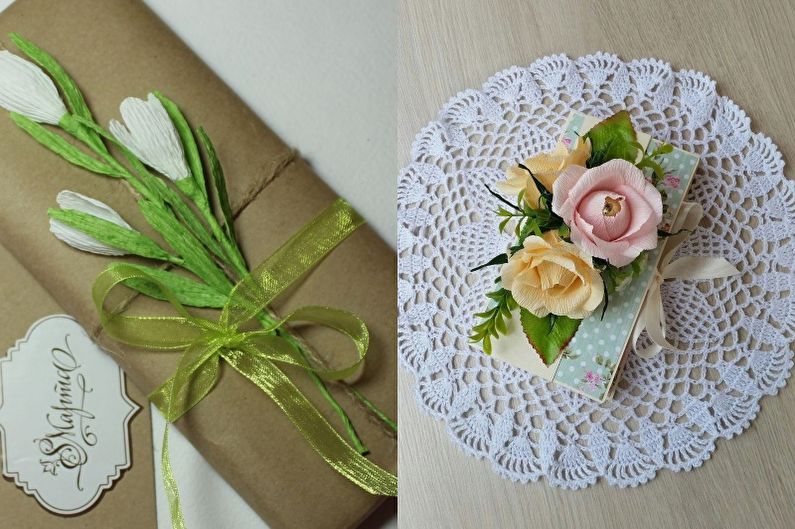
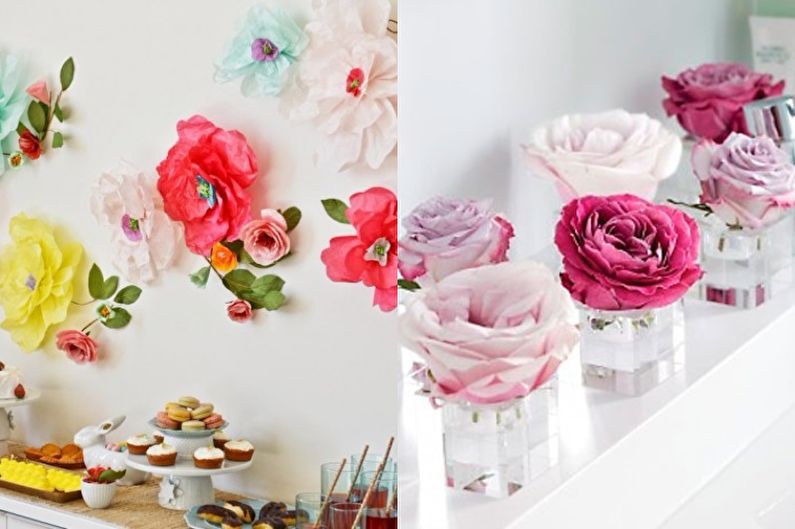
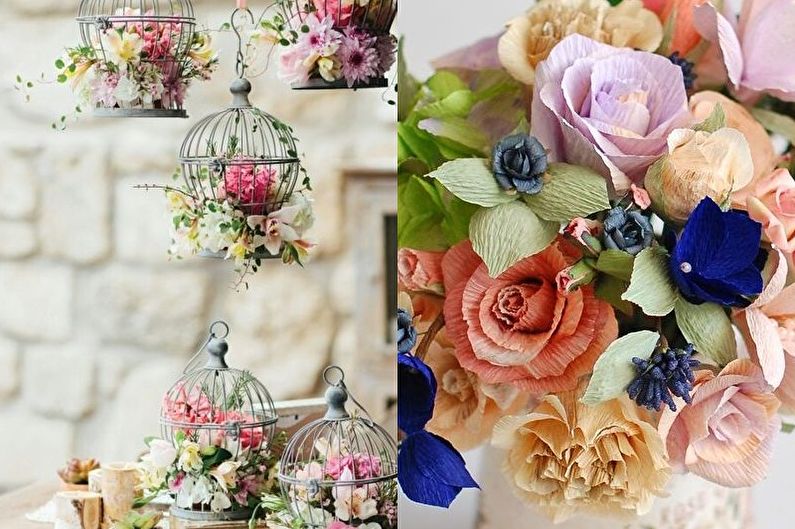
These non-trivial crafts decorate both ceremonial events and living spaces in any style. Let's take a closer look at exactly how they can be used:
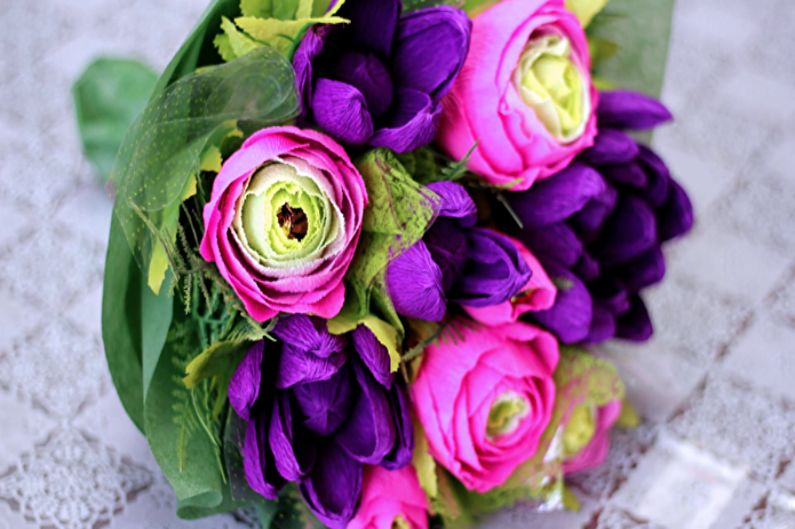
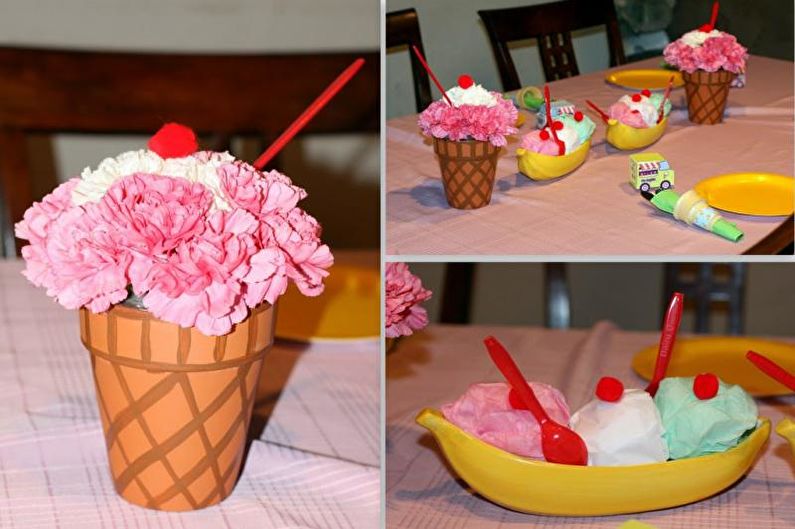
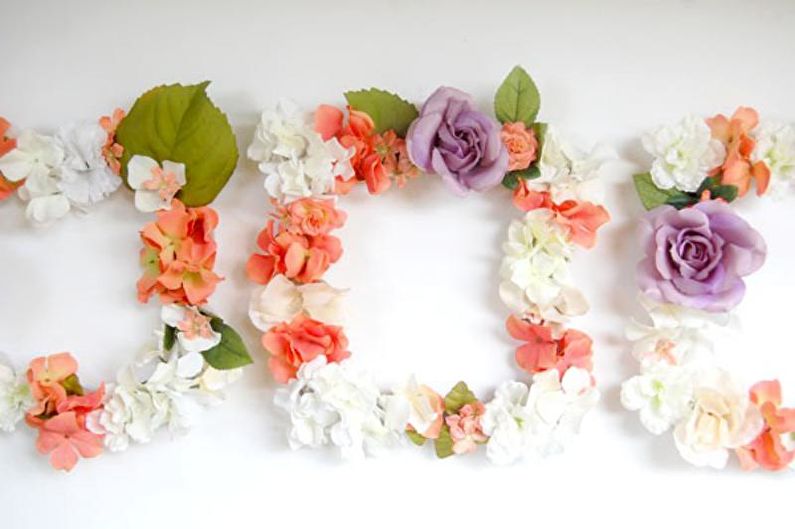
- Flowers gained incredible popularity as a decor for weddings, birthdays, corporate parties and other thematic festivals. Of these, garlands, arches, bouquets for weddings are made, used for photo studios.
- Flower arrangements are also used to decorate exhibition centers, needlework stores, beauty salons and show rooms.
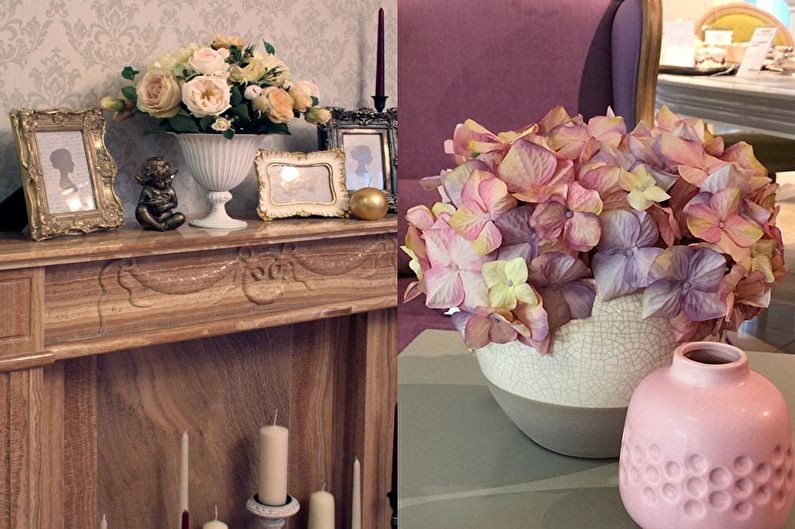
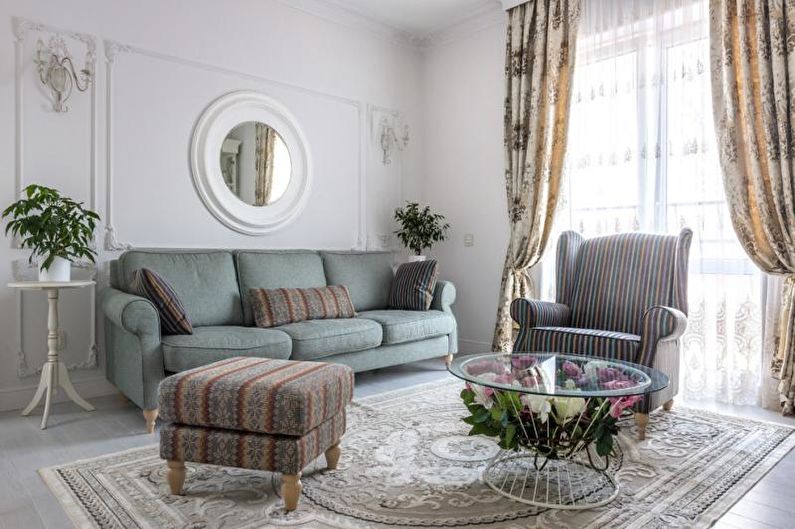
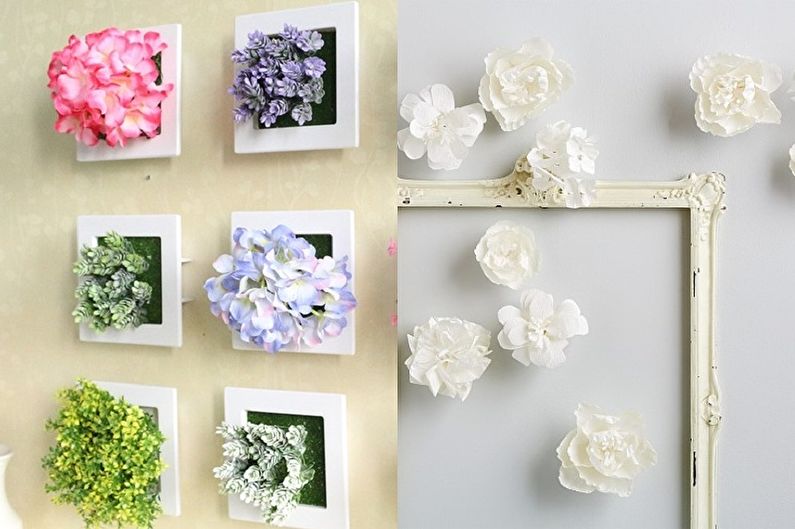
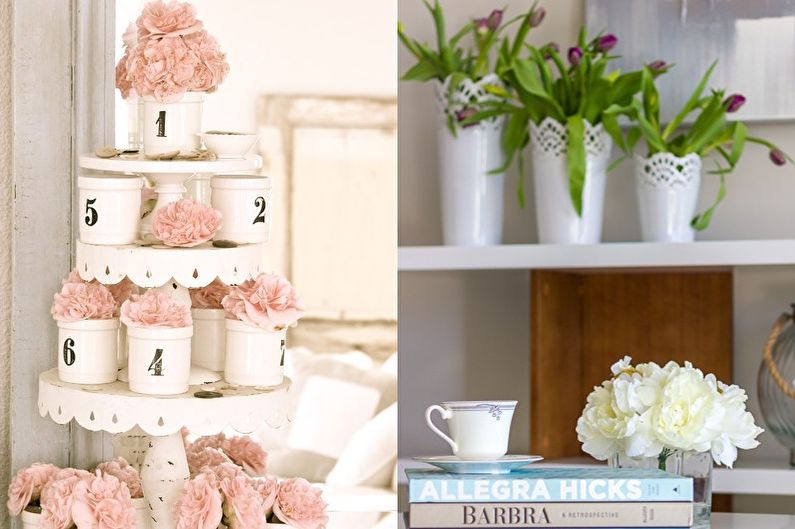
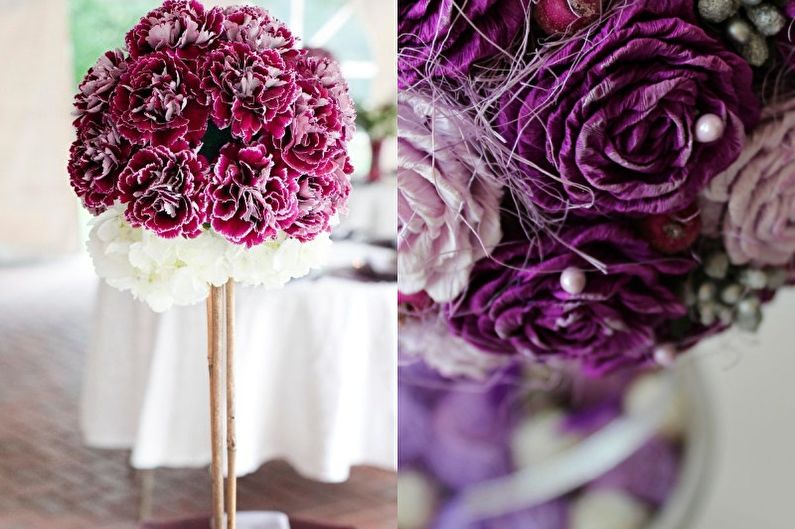
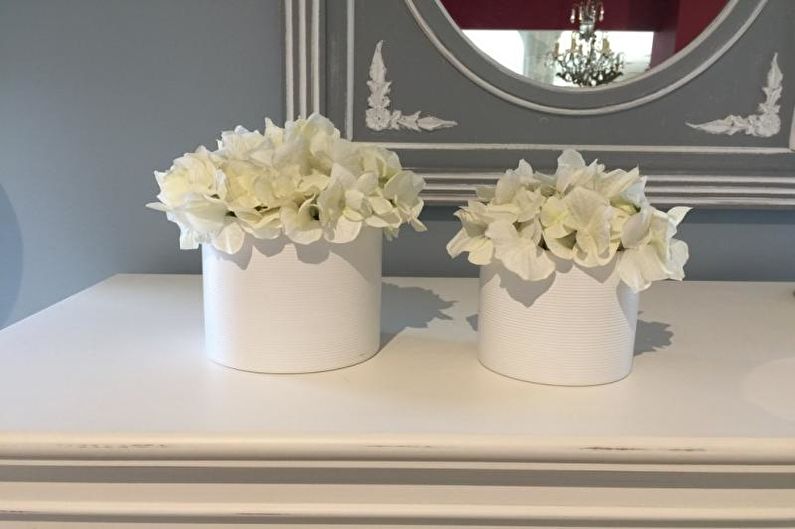
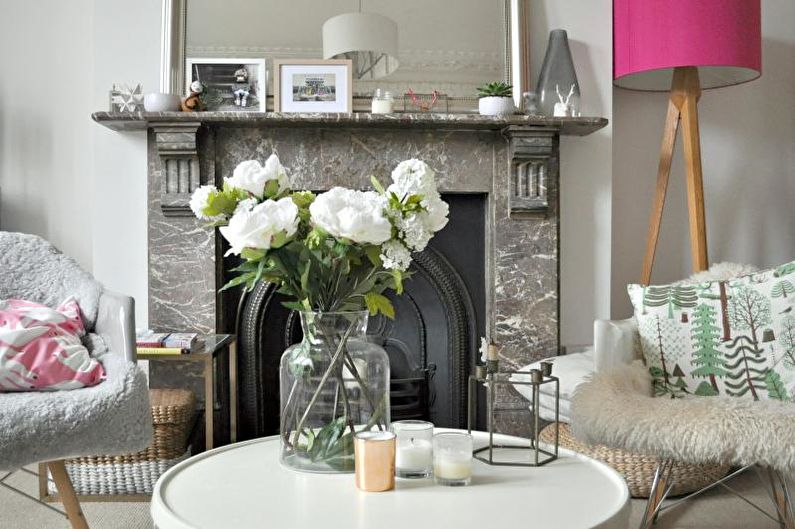
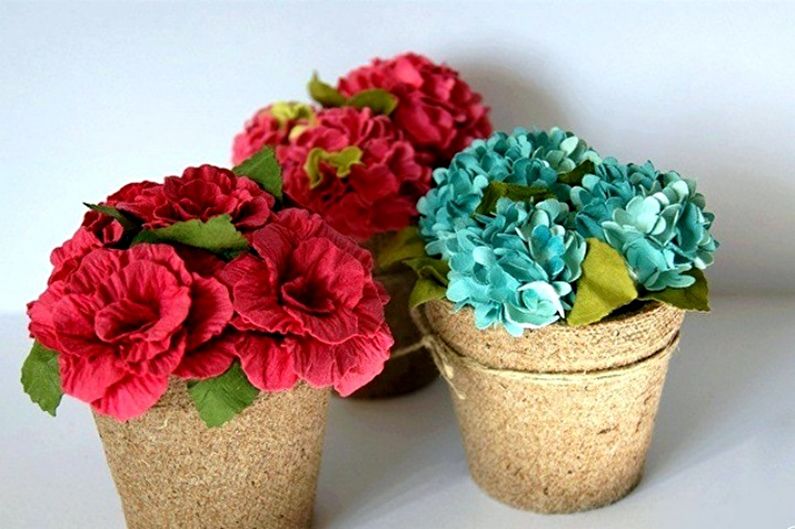
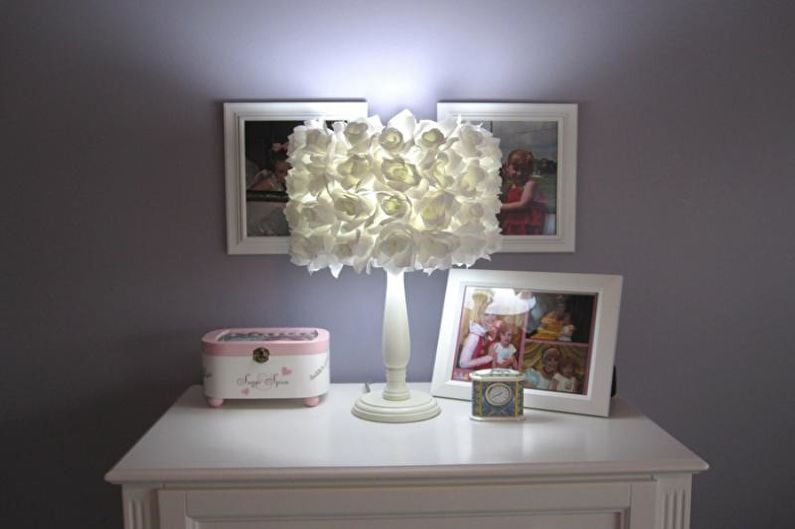
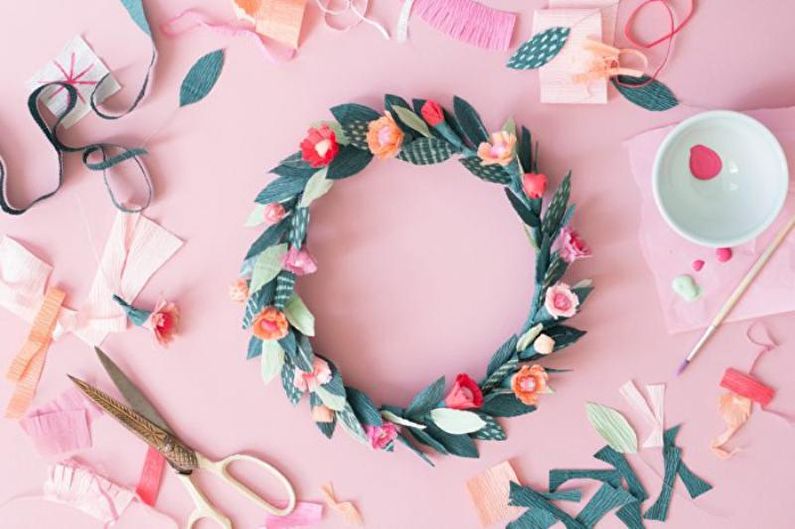
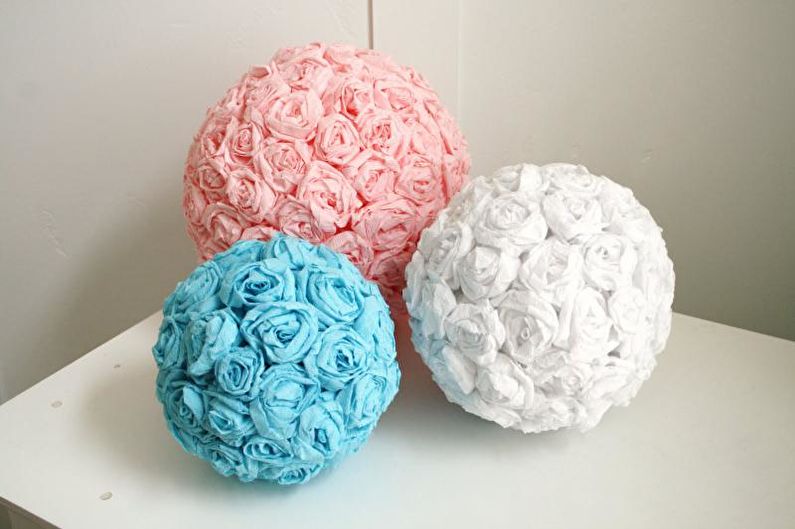
- For the interior of a living room, flowers in vases, pots, on the ceilings, in the form of wreaths, topiary are suitable.
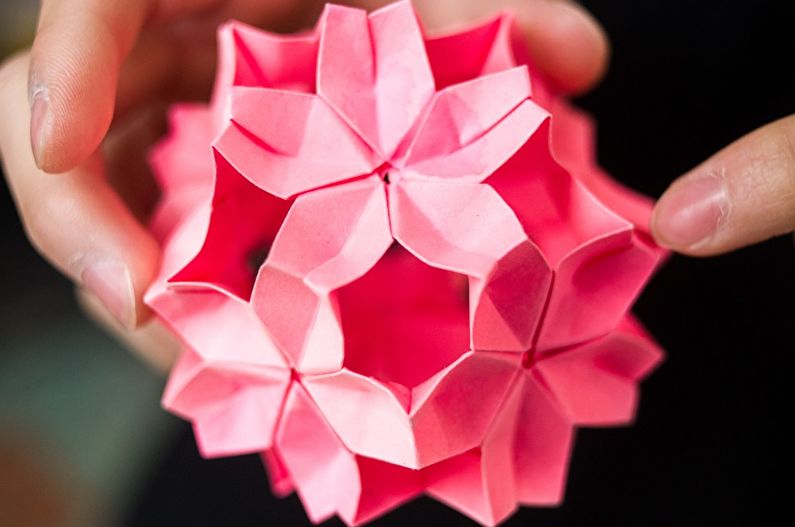
- For the New Year, dress the tree with small rose inflorescences, creating the illusion of flowering.
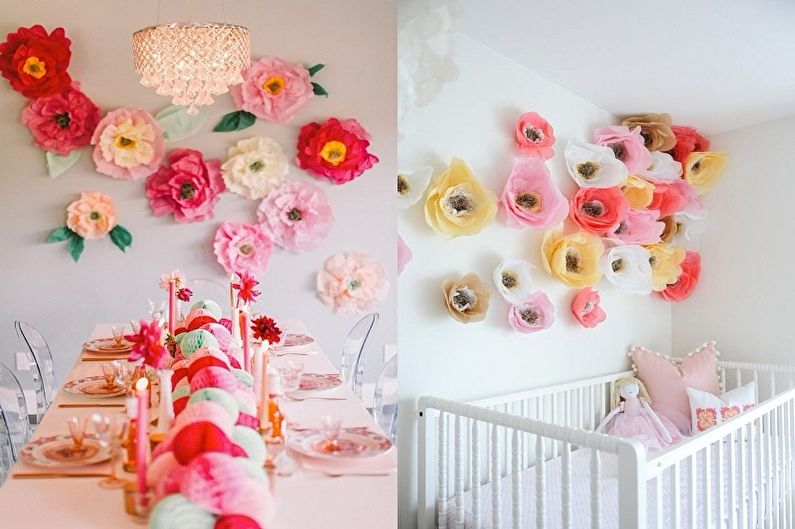
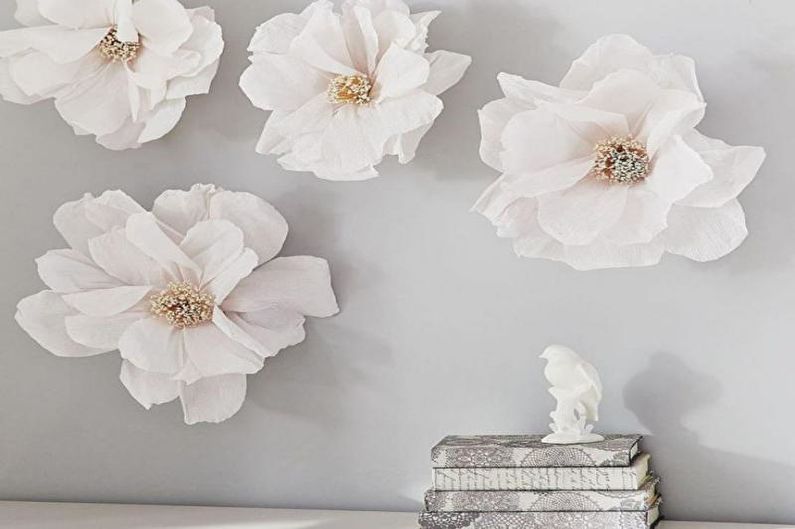
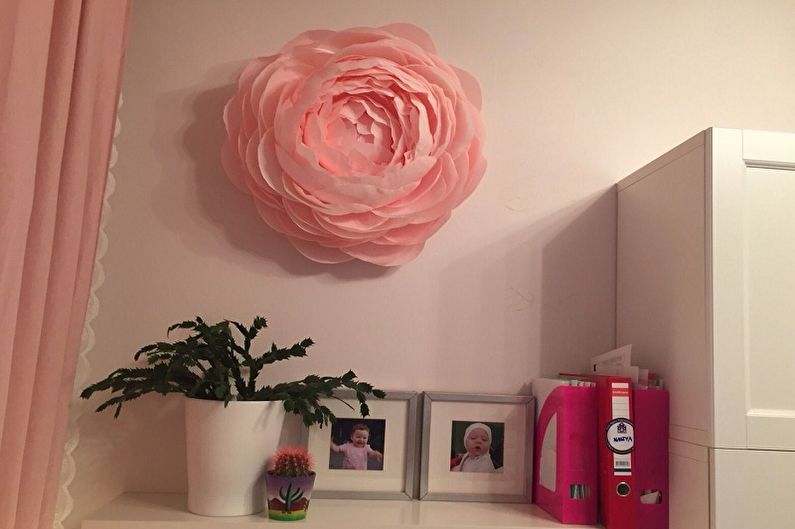
- On the wall or ceiling of the children's room you can hang colorful varieties of peonies.
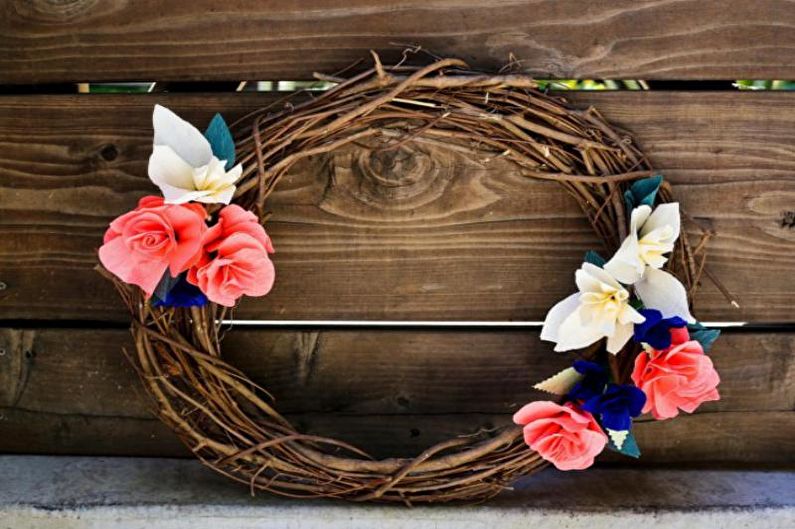
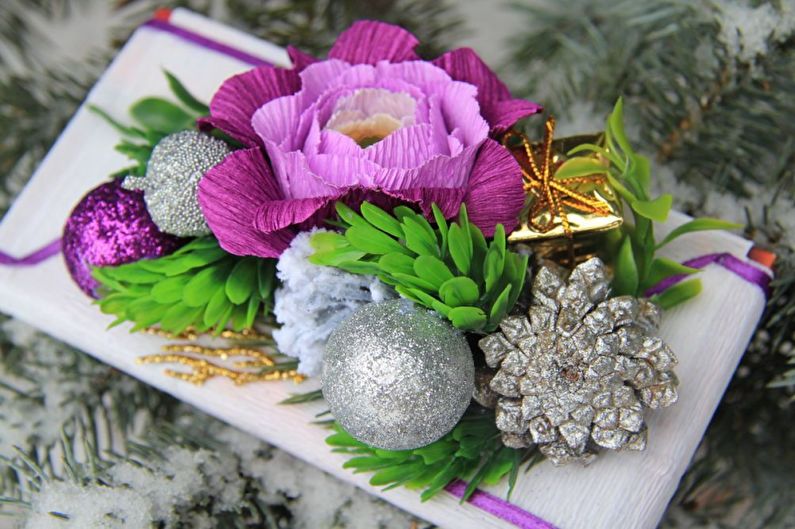
- Before Christmas, hang a wreath made of fir branches and flowers on the door.
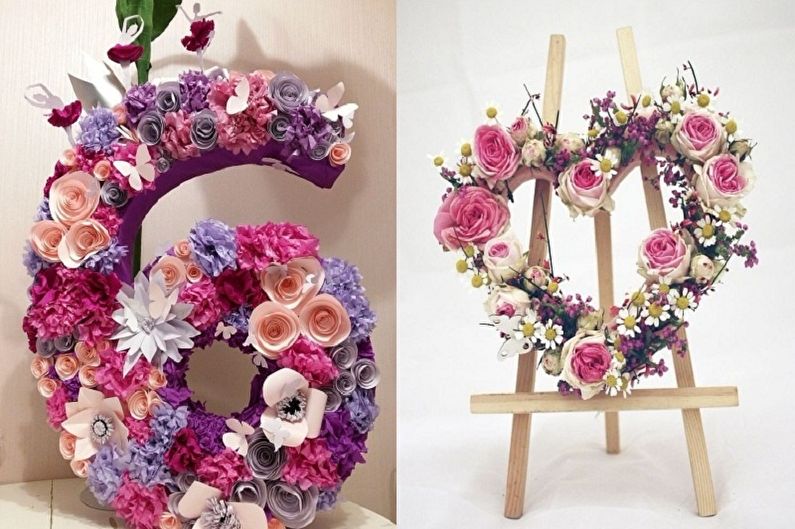
- On Valentine's Day or for the wedding, design a red, pink or white heart.
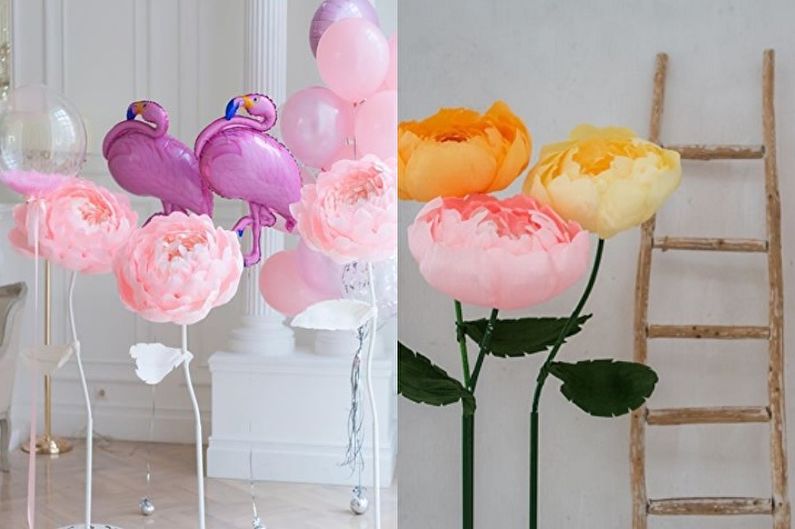
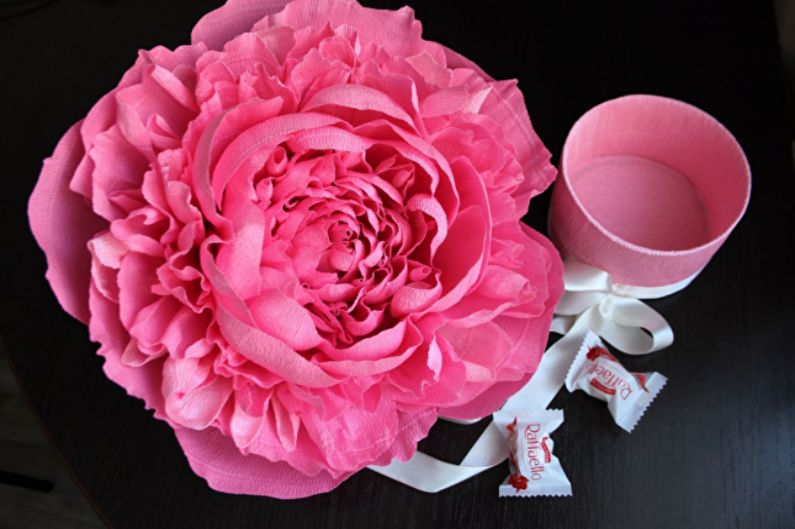
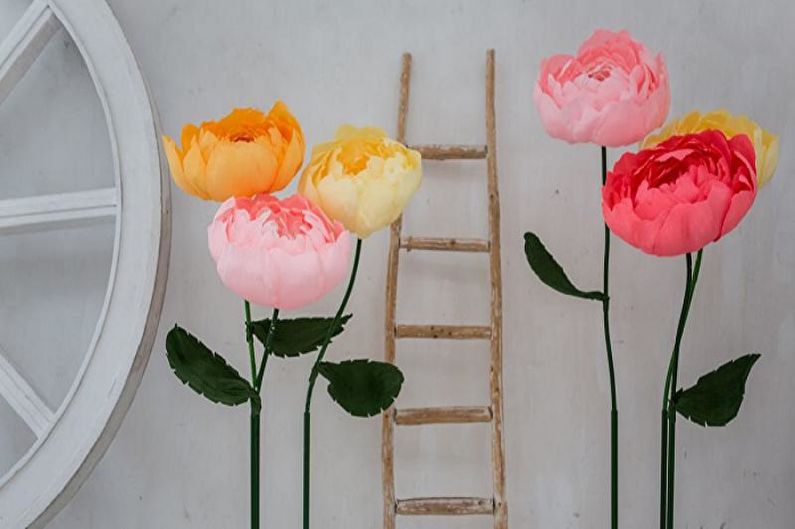
- Another trend is to create gigantic flowers in the growth of a person. Put them against the wall or form a whole forest in the room.
Thus, flowers made of corrugated paper are really capable of making any space unique and elegant. Moreover, the process of creating a rainbow decor is very exciting and can even attract a child. Try to make a flower yourself and connect your child, having previously selected a simple task for him.
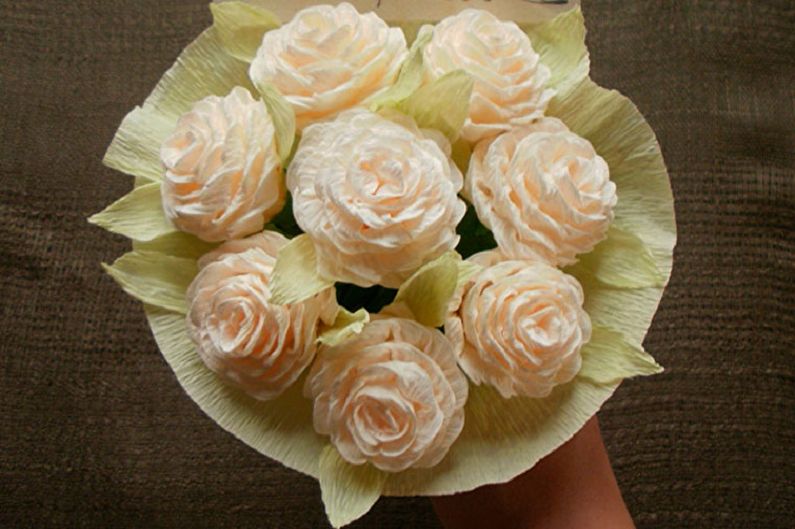
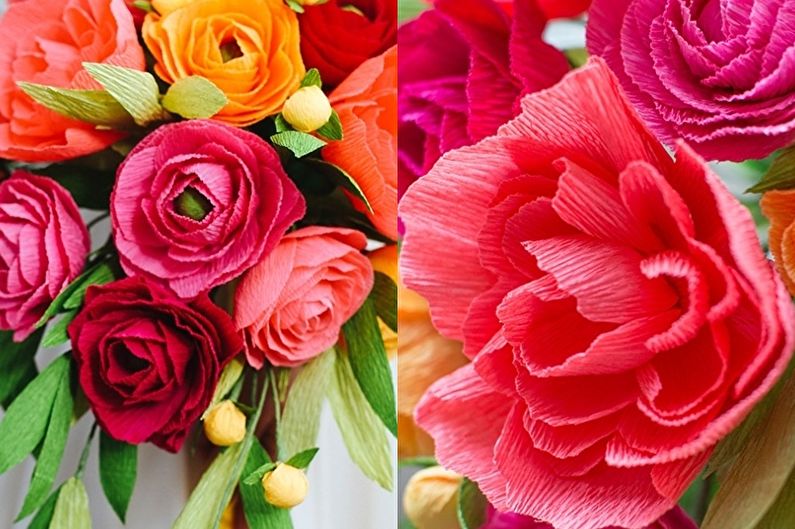
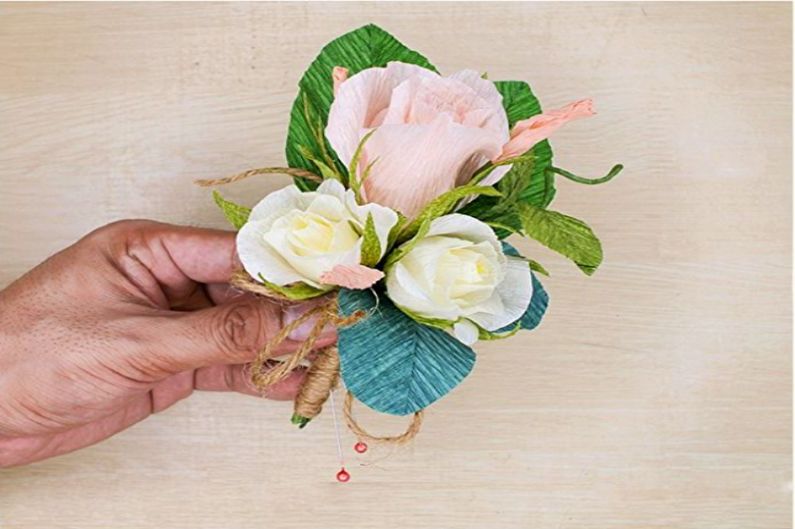
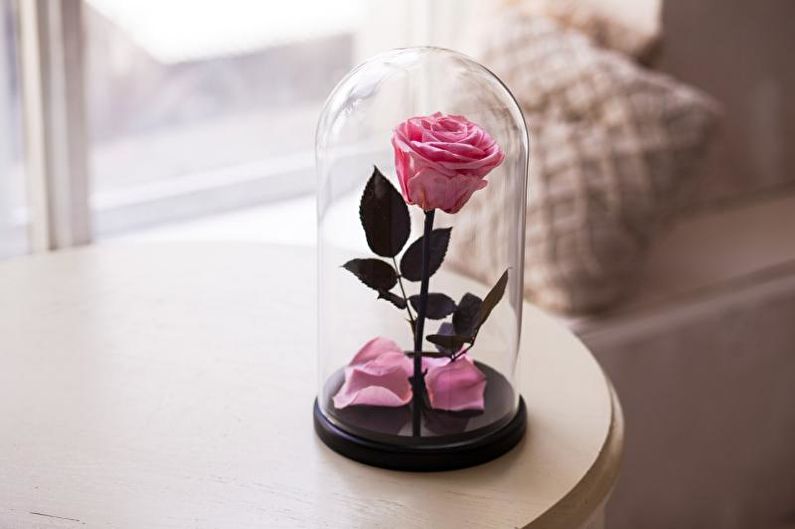
Roses
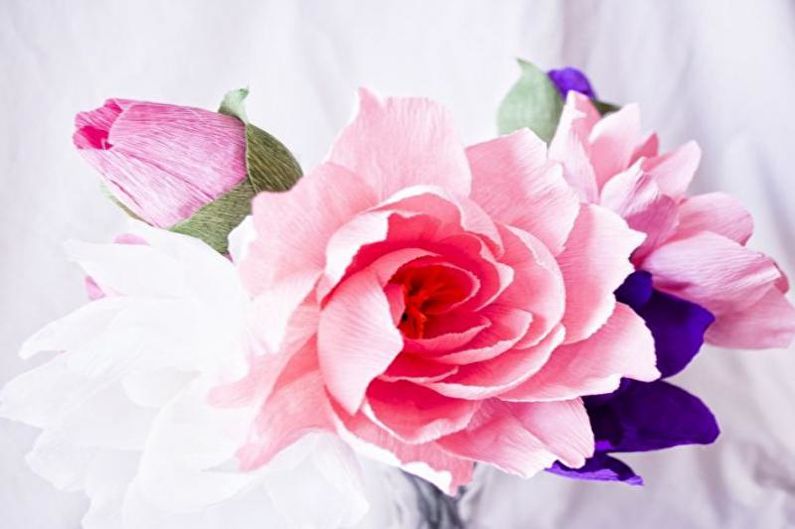
Rose flowers are one of the most popular and desired for millions of girls. And this is not surprising, because a beautiful bouquet is distinguished by nobleness and sophistication. However, before appearing before our eyes in our usual form, the plant went a long way of selection from rose hips. We are unlikely to have time to talk about the intricacies of crosses and selection, but on how to create a man-made miracle on your own, read on.
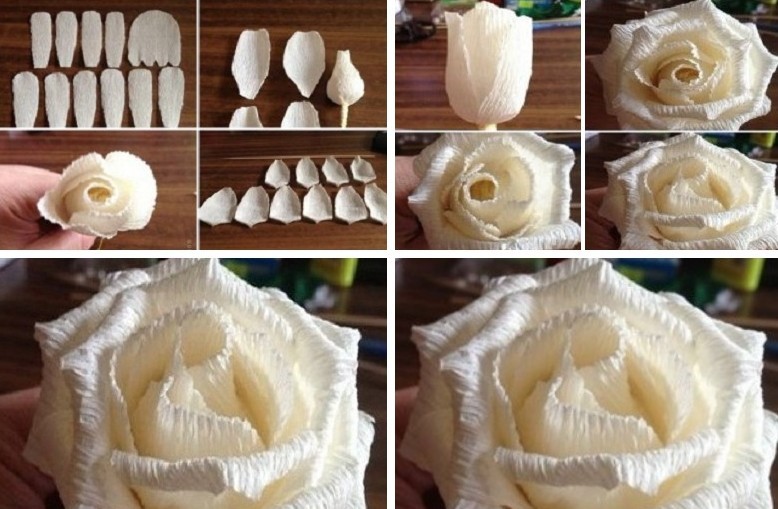
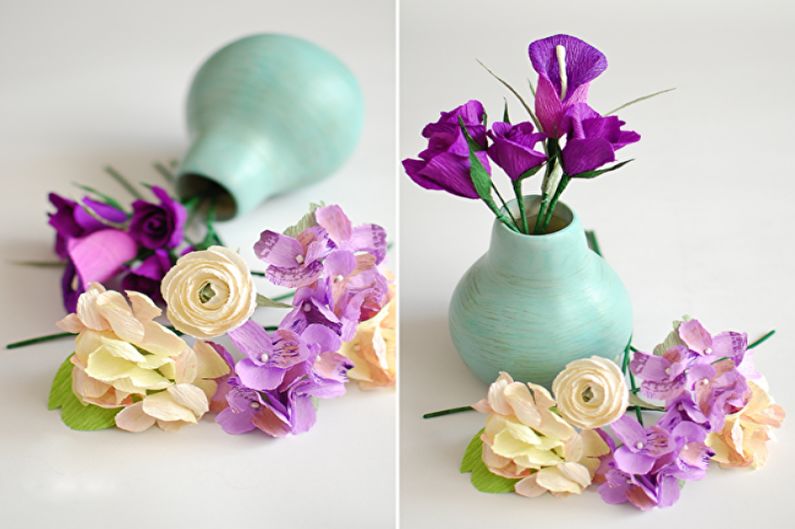
For this flower, it is best to choose several similar shades so that its appearance is close to natural. As for the number of petals, it can be arbitrary. Consider making roses from white and crepe paper. Work plan:
1. Cut 8 small, 10 large and medium, as well as 8 largest petals. Half of the total - from crepe, and the same from white paper.
2. Make a long strip of green stem base, as well as 4 narrow and oblong green leaves that are attached at the bottom of the bud.
3. Finger round the petals, straighten one edge, slightly twisting it in the opposite direction, and twist the other.
4. Take the stalk wire and wrap it with the ribbon that we have already prepared.
5. We make the bud itself. Twist the lower edge of the smallest petal onto the wire, completely wrapping it. Apply glue to the base and place the next small petal on it. Press its half firmly to the first, the subsequent parts are sealed in the same way.
6. The remaining petals are attached as their size increases.
7. Finally, glue the leaves.
Thus, we got an amazing rose that looks like a real one.Simplified techniques exist, but their result is not so realistic.

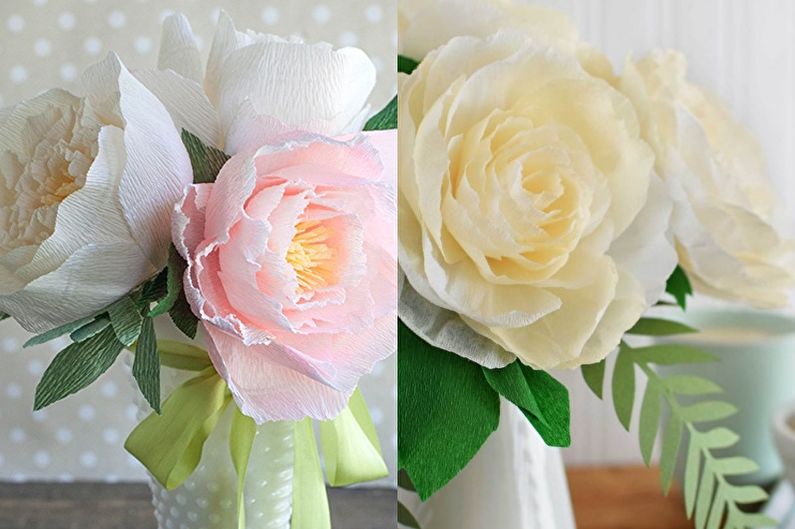
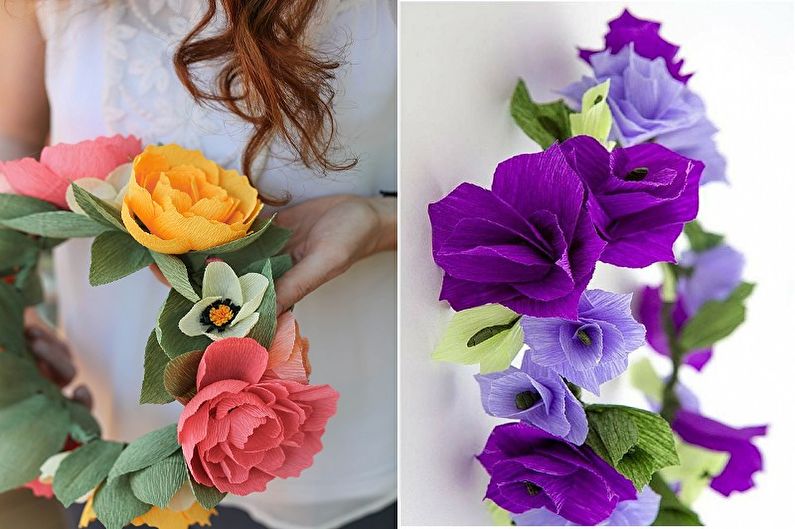
Peonies
Gentle peonies, created with your own hands, will harmoniously complement the interior of the bedroom, nursery, kitchen or hall, as well as make an excellent decor for the party.
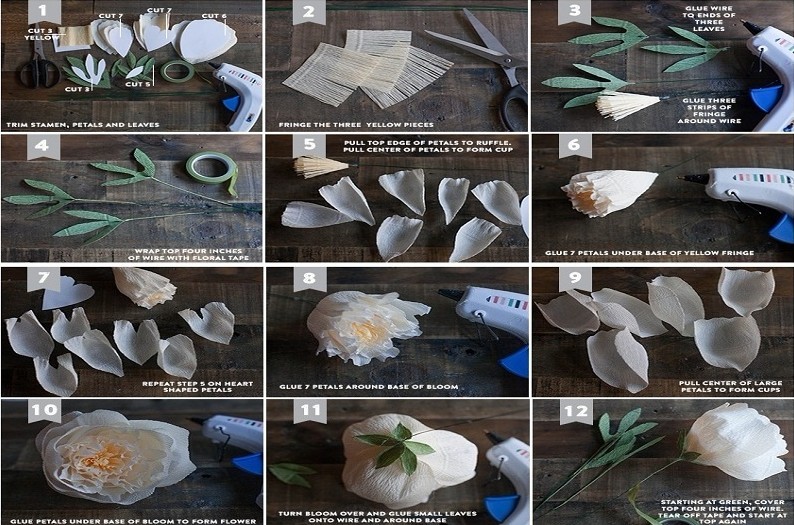
What we need: corrugated paper in several shades; plain paper or cardboard for stencils; floral ribbon in green; PVA glue; wire; scissors; pencil.
On prepared materials, outline samples of leaves and petals, cut them. Cut corrugated paper on the line, the width of each of them should correspond to the length of the blanks. Fold the strips in an accordion, and place a stencil at the top and cut out the future parts of the bud on it.
Make frequent and long slits on the stamen templates, apply glue to the base, and wrap the workpiece on the wire. Secure the stamen with a floral tape. Lubricate the bottom of large sheets with glue, insert the stem into the stem and press the base of the sheets.
Add the bulges to the smallest petals: grasp the edges and gently pull to the sides, and press the upper edge to get a light wave. Next, fix the petals at the bottom of the stamen. Do the same with the heart-shaped parts. At the end, the 3 largest petals are added to the bud.
Glue the sepals to the bottom of the flower, and wrap the stem with floral tape. A cute and romantic flower is ready!
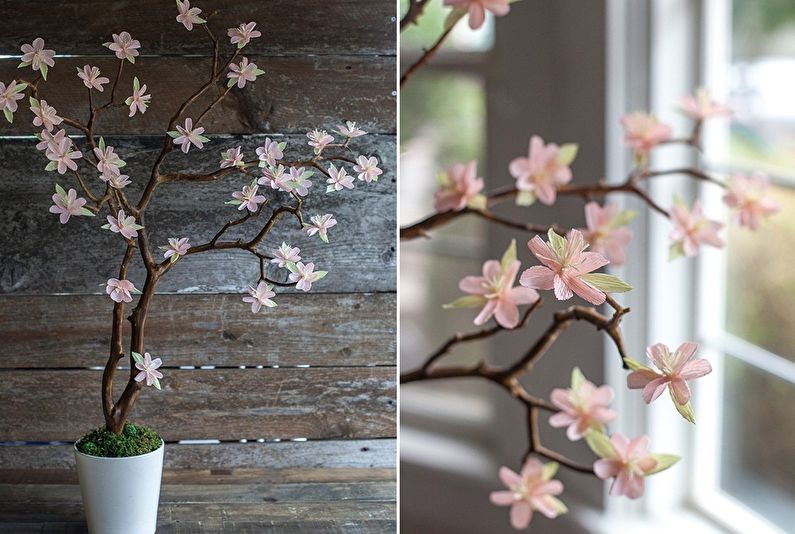
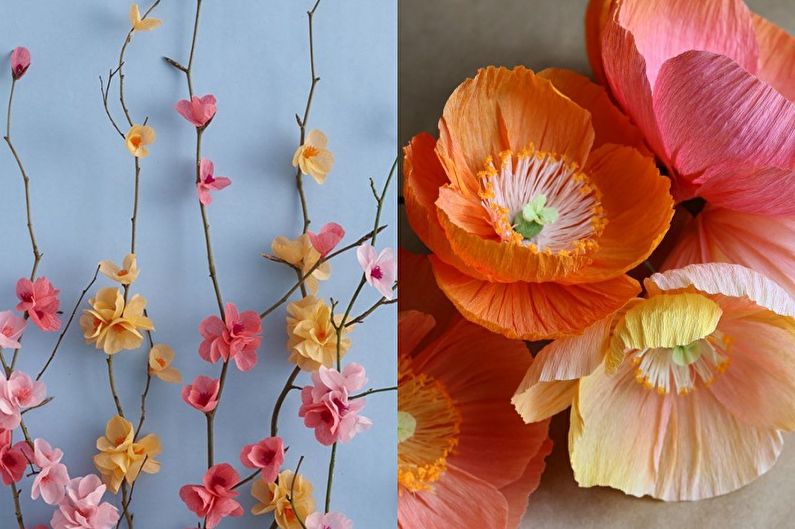
Sakura branch
The most revered flower of the Land of the Rising Sun delights in its beauty. Every spring, the Japanese strive to hold festivities under the cherry blossom, enjoying the first warm rays of the sun.
We offer a simple master class that will help bring a gentle spring decor to your home. To create a flowering branch you will need: a dry branch, corrugated paper in muted colors, PVA or silicone glue, scissors, cardboard or blank paper, a pencil.
1. On blank materials, draw stencils of stamens, petals and leaflets and cut them out.
2. Cut corrugated paper into rectangular parts for leaflets and petals, as well as squares that will become stamens.
3. Align the parts for the petals in the center with a pencil or scissors.
4. Create a stack of all the rectangles and cut according to the patterns. Cut squares from one edge into strips.
5. Squeeze a little and turn into a bundle all the elements in the middle. Lubricate the bottom of the stamen with glue and twist.
6. Fasten together the lower parts of the three petals. Give volume to the leaves.
7. Glue the stamen and leaves to the bottom of the bud.
8. Dry the glue, and then glue the flowers to the branch.
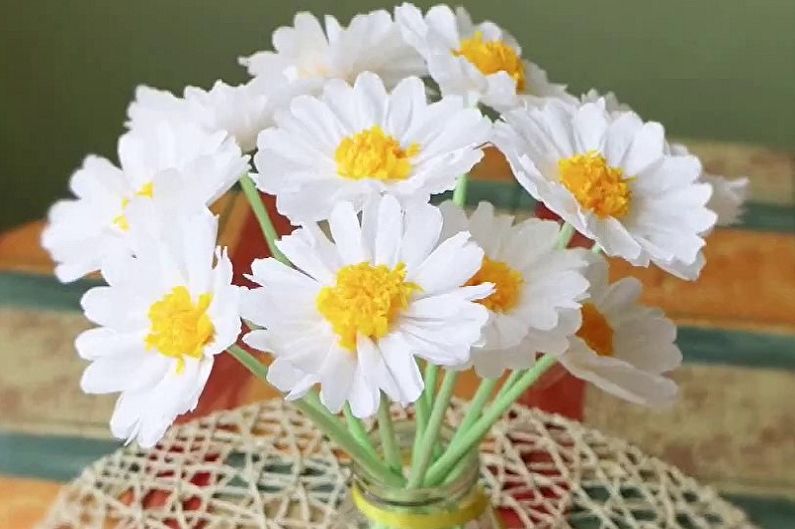
Daisies
If you have a desire to fill your interior with summer joy and warmth of the sun, then you can not ignore the delicate field daisies. They are perfectly combined with any wildflowers, allowing you to create a multifaceted summer bouquet. Such a bouquet made of paper will delight you for a long time and in any season.
Before you start manufacturing, arm yourself with the following tools and materials: corrugated paper in yellow, green and white; ruler, pencil and scissors; glue or glue gun; wire, about 10-20 cm.
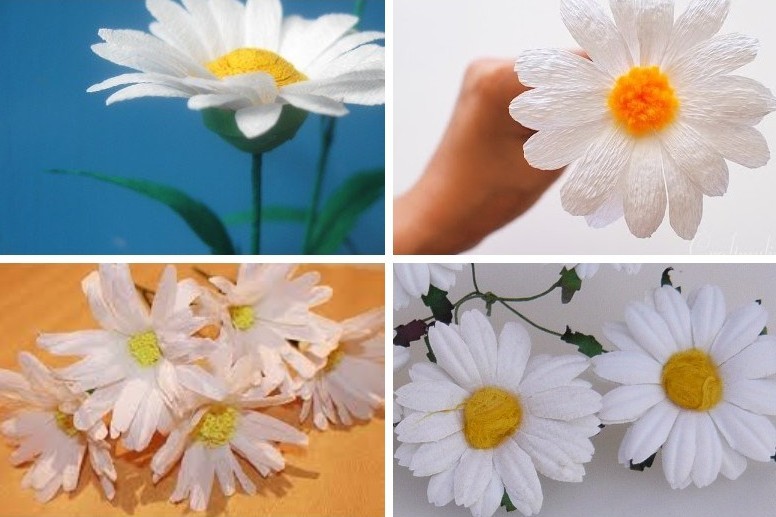
1. First make the white daisy petals. Take white corrugated paper and cut a strip of 5 cm wide.
2. Cut the finished tapes into thinner strips so that the width of each is 1.5–2 cm.
3. After the first two steps, cut out the petals from the strips.
4. To make the petals more natural and convex, we need to stretch the blanks in the middle.
5. To make the stalk of our future chamomile, we tightly wrap the wire with green corrugated paper. We attach paper tips using glue.
6. From a roll of yellow, you need to make a strip 1 cm wide. After that, make shallow cuts along the entire length of the workpiece.Next, wrap the blank on the tip of the stalk and form a stamen of chamomile.
7. Glue each element in turn onto the base of the flower. When the whole bud is ready, make sepals of green paper and stretch the petals to the sides. Our daisy is ready!
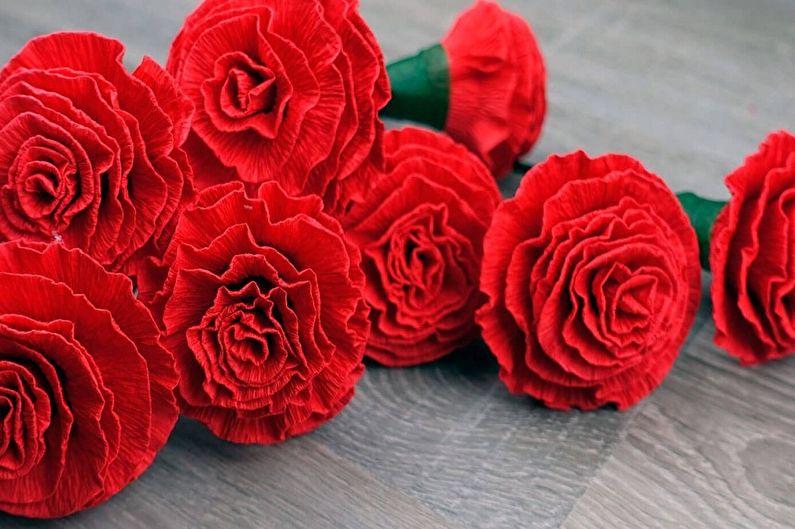
Carnations
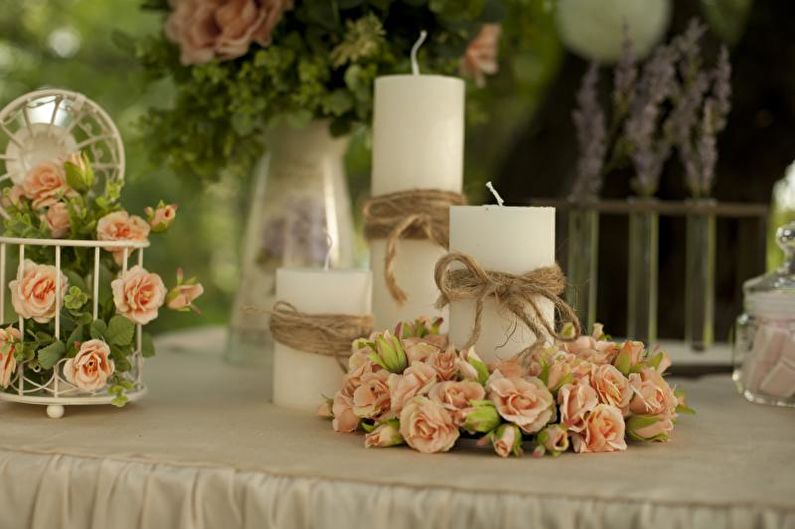
Graceful and delicate carnations will become a charming decoration of your interior. Compositions of carnations combine wonderfully with wildflowers such as yarrow or gypsophila. This decor fits perfectly into the rustic style - the so-called "country".
Stock up on the necessary tools and materials: wire for making the stem; scissors, adhesive tape, glue; green and white or pink corrugated paper; crayons pastels.
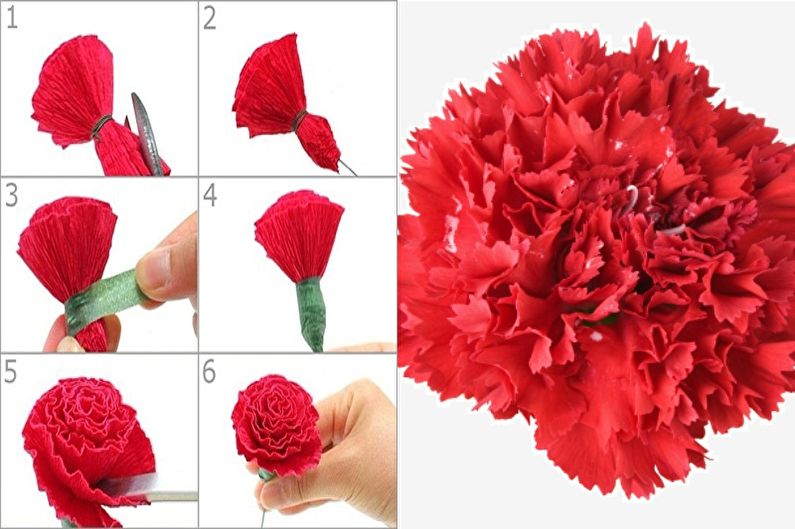
1. The first step is to create the petals of our carnations. To do this, we need to make two pieces of white paper: one - 5 cm, the other - 3 cm.
2. Using lilac crayon, paint over the edges of a small strip so that one tip is more saturated. We do this from two sides.
3. Next, we cut small cloves along the entire painted edge of the strip, after which we fold it 4 times and make 4-6 shallow cuts.
4. Twist the strip into the bud. When about 10 cm remains to the end, we stretch the rest and get a wavy bend along the entire length. We fix with glue or tape.
5. In the same way we create large petals, but so that they are slightly wider.
6. Using wire and corrugated paper, make a stem and glue the finished bud to it.
7. We make sepals and a couple of leaves from green paper. To make them look more natural, they should be stretched in order to give volume.
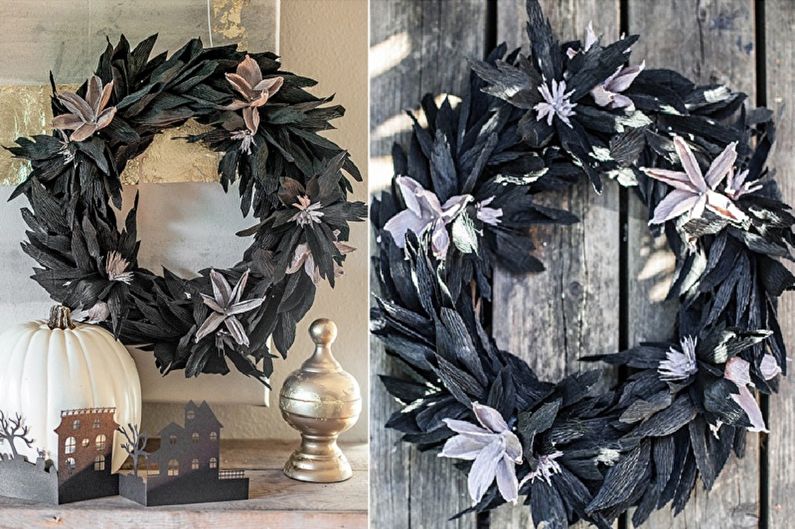
Mysterious Halloween Wreath
Despite the fact that Halloween is an unconventional holiday for our region, it has already managed to organically weave into our holiday calendar. This decoration is suitable for themed surroundings for All Saints Day, as well as for a contrasting interior in a modern style.
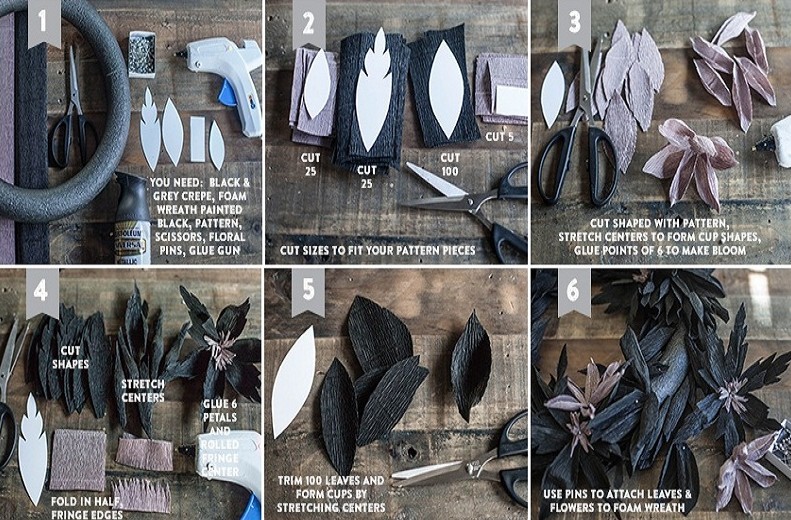
To make this unusual wreath, you need to have the following: a blank for a wreath of polystyrene foam or expanded polystyrene; corrugated paper of your choice of colors (for example, black and purple); large sequins or decorative beads; spray can; glue or glue gun; paper for patterns of our future petals; scissors and thin lace.
1. We make a blank. If necessary, paint it in the desired color, then prepare templates for the petals of different shapes and cut them out.
2. Cut corrugated paper into long strips so that the width is equal to the length of the patterns. We fold our strips with an accordion, placing a template on top, and cut it out.
3. To make our petals look natural, give them a convex shape. This can be achieved by stretching them in the center. When all the details are ready, we will form a flower out of them. Put glue on the base and collect a flower of about 5-7 petals.
4. Make similar flowers from paper of a different color. Then randomly glue all the flowers on the base of the wreath.
Upon completion of all the work, you can lightly sprinkle the finished wreath with paint and glue the beads on it in a chaotic manner to give it a finished look. On this our wonderful wreath is ready!
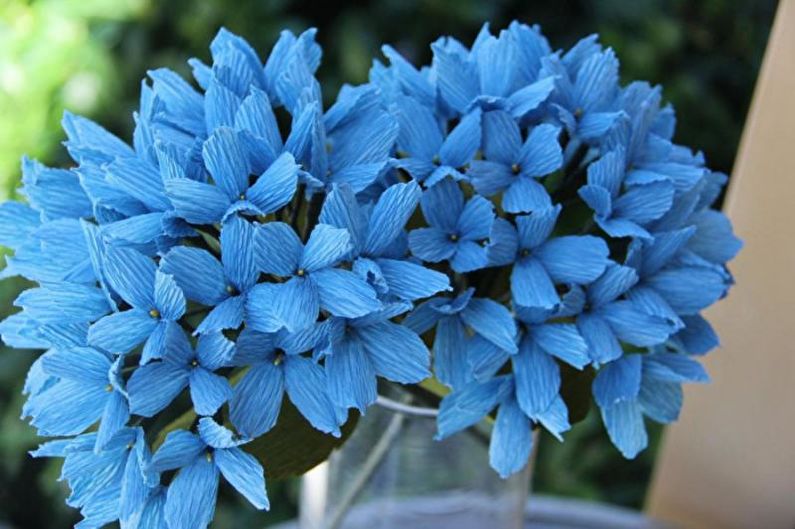
DIY paper flowers - photo
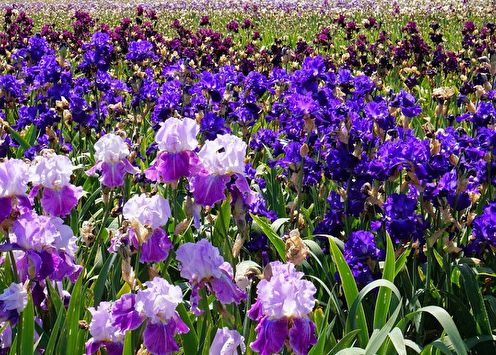
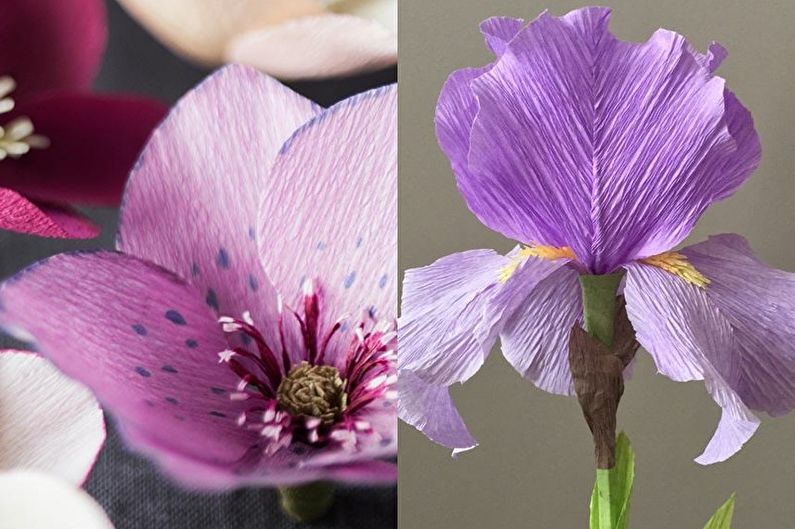
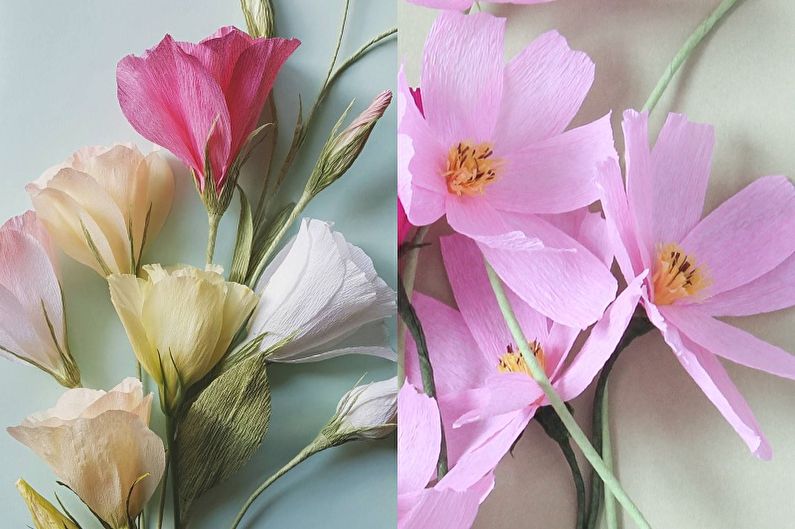
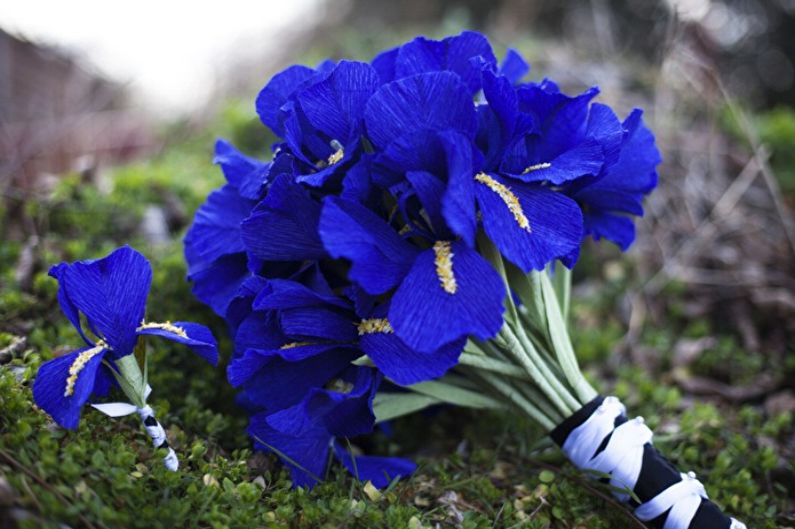
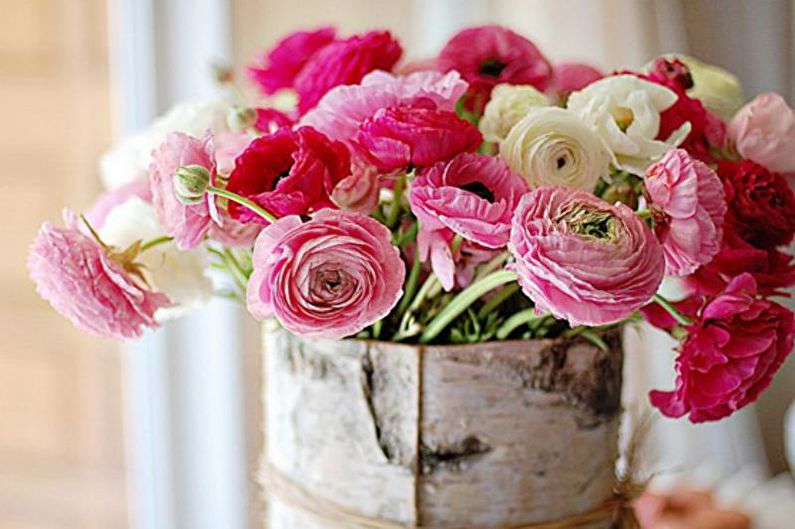
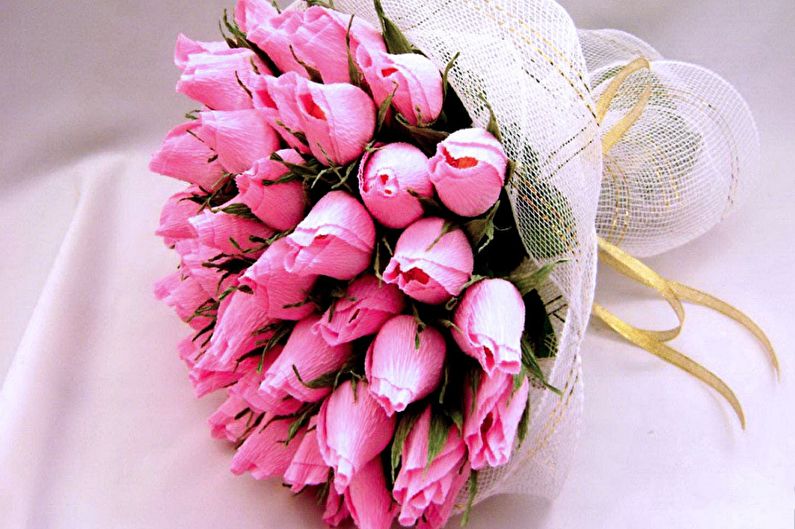
Our article would not be complete without a photo gallery. The colors that can be made from corrugated paper are much more than we could cover. We picked up visual photographs of ready-made compositions of irises, tulips, woods, orchids, lilies and many other flowers, as well as ideas for their use in the interior. Enjoy watching!


Video: Flowers from corrugated paper - Workshop