When organizing living space, it is very important to consider the issue of placement of storage spaces. This is especially true for small-sized rooms, the owners of which cannot afford to make the room bulky dressers or an unlimited number of shelves. Moreover, modern furniture is not cheap. Today we will talk about how to make a built-in wardrobe with your own hands, thereby solving all these problems in one fell swoop!
Advantages of the built-in wardrobe
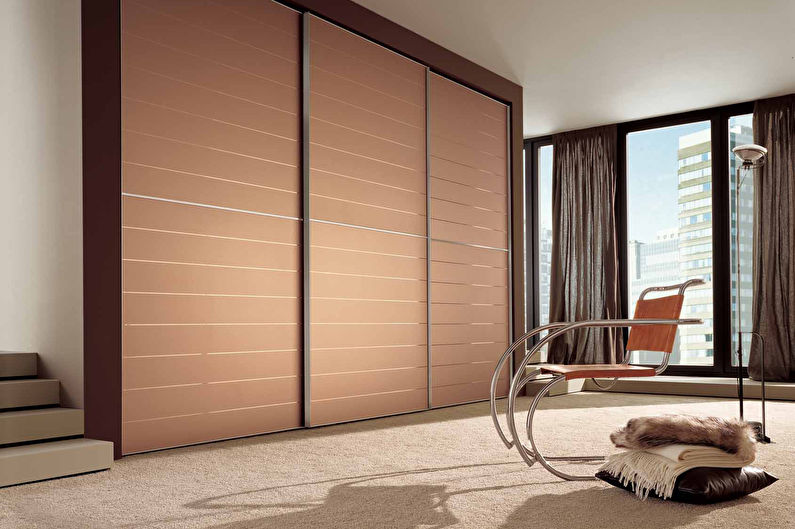
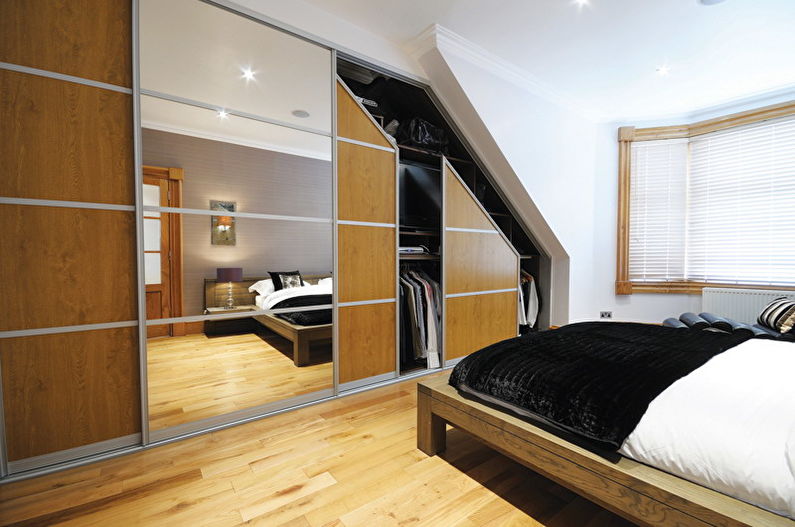
Sliding wardrobes - a place for storage with a system of sliding doors. This seemingly small feature makes it functional, roomy, convenient and compact for small rooms.
The fact is that sliding doors save the precious space that is usually occupied by open partitions. They also provide convenient access to things, allow you to place shelves, hangers, drawers inside, which combine in a comfortable sequence, without fear of violating aesthetics.
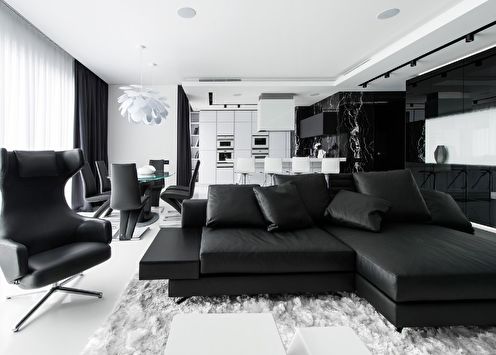
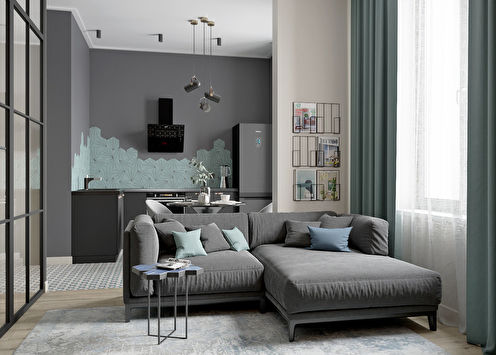
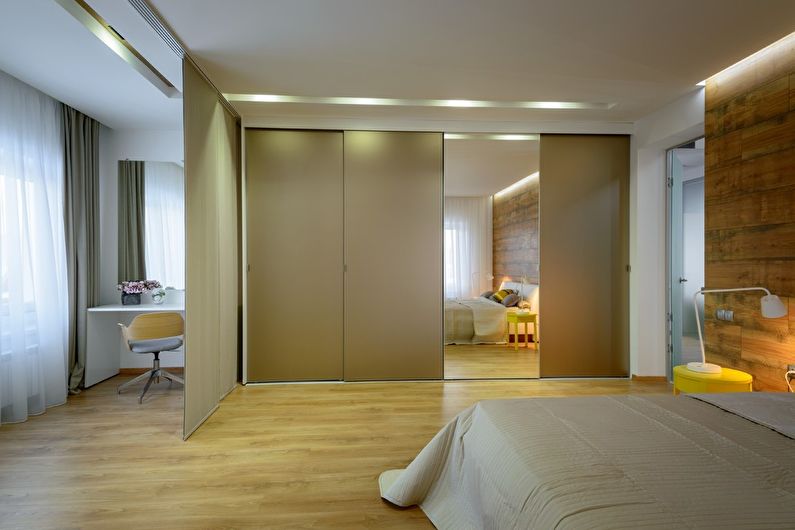
In addition to practical properties, sliding wardrobes are a stylish element of the interior, which, if desired, can become either a bright accent due to design solutions, or “merge” with the wall decoration.
There are several types of wardrobes depending on the location. Among them, the built-in ones have a number of advantages. Firstly, due to their location in a niche, they practically do not take up space. Secondly, they allow you to create a holistic composition in the interior without violating the principle of practicality. Thirdly, it is quite simple to make them yourself, because walls act as supporting partitions.
Creating a wardrobe with your own hands, you will not only save money and time, but also design furniture that is ideal specifically for your conditions, adapting to the characteristics of the walls, as well as the size of the niche.
Development of a wardrobe scheme
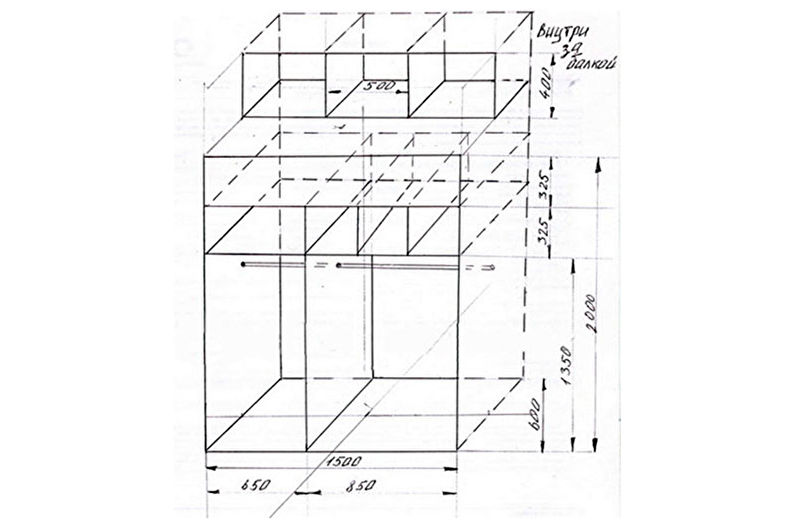
No idea can be realized without a carefully thought-out plan. Before proceeding with the assembly of the wardrobe, you need to decide what size it will be, what it includes and how it looks.
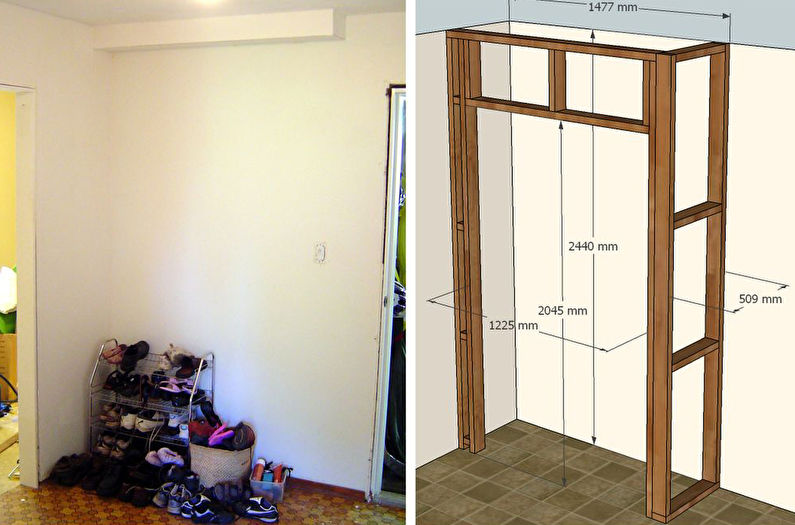
Measurements
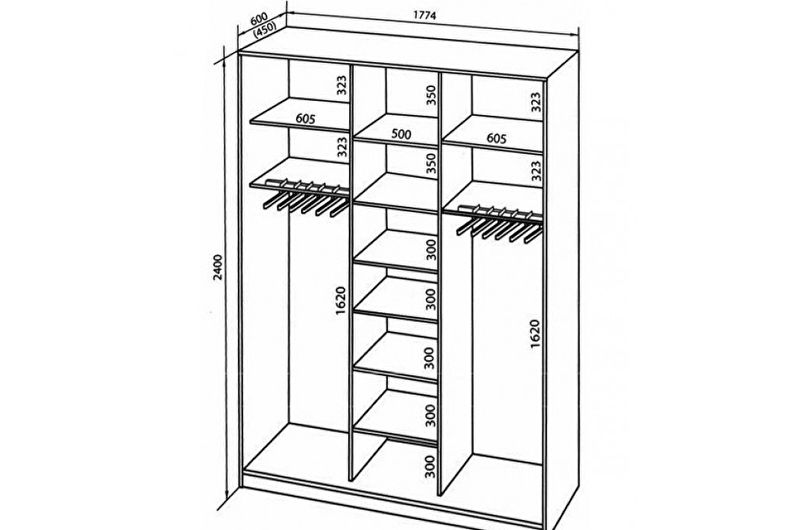
The dimensions of the future design largely depend on the height of the ceilings and the area of the niche itself, in which the cabinet will be located. It should be rectangular, with an opening of about 70 cm - the shelves have approximately the same depth, because with a larger indicator it will be difficult to get things. But these parts should be 10 cm narrower, taking into account the sliding doors.
Ideal when the wardrobe is mounted on the height of the ceilings. This is convenient, since you don’t have to worry about dust accumulations at the top, and also allows you to accommodate the maximum number of things with minimal space.
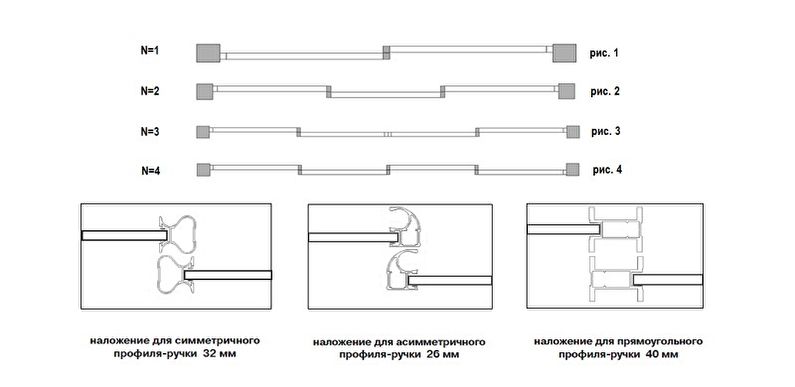
Given the general measurements of the structure, it is necessary to determine the doors. The width of each partition should not be more than 600 mm, otherwise the heavy element will put strong pressure on the rollers and skew may occur.
The overlap should be approximately 60 mm; at higher rates, access to things in the closet will be more difficult.
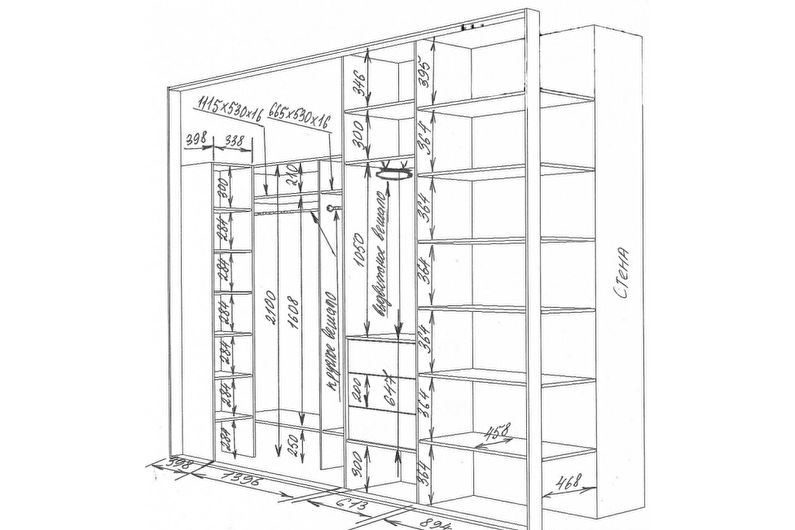
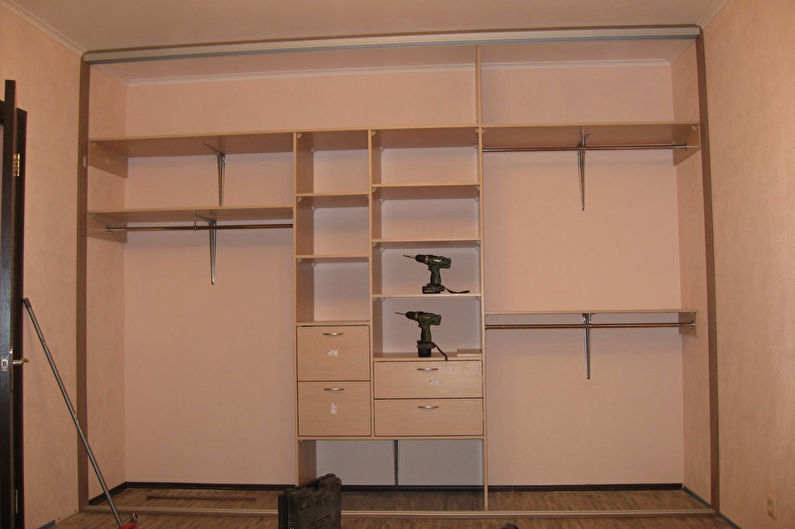
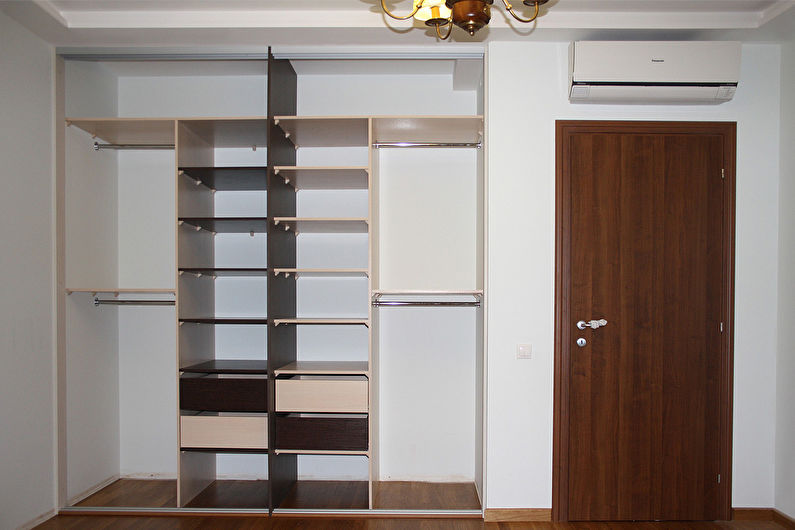
Filling
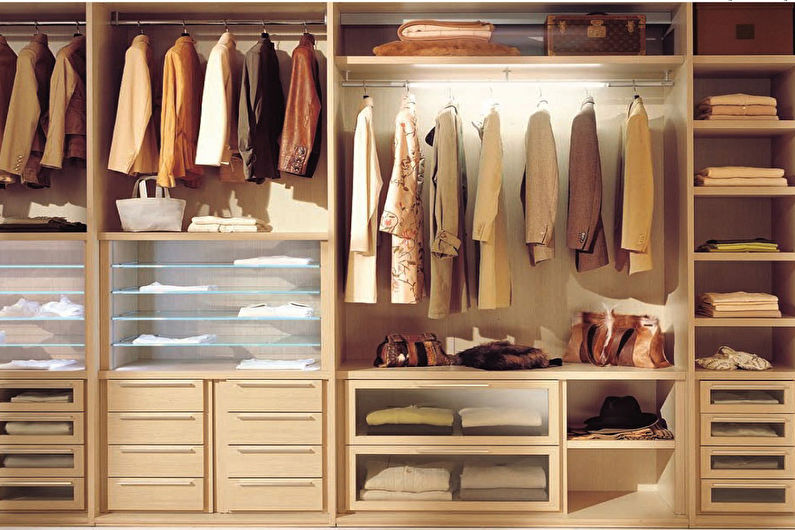
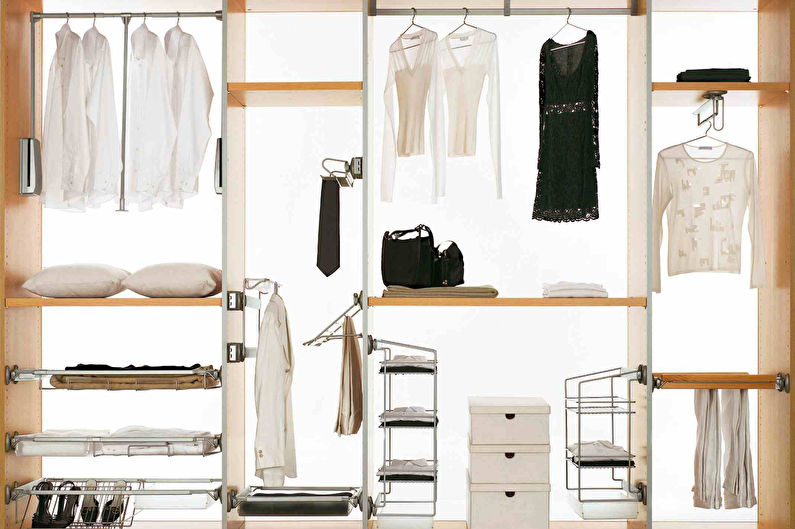
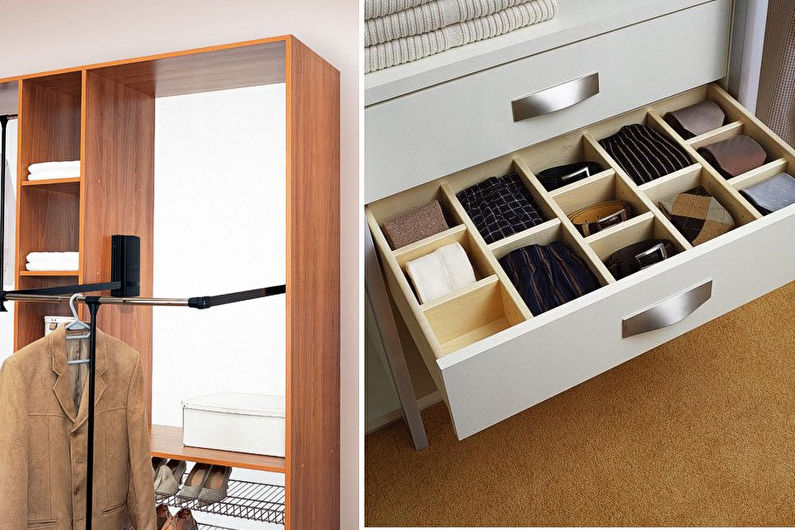
When designing the "filling" of a sliding wardrobe, focus on your needs: the number of things and their owners, as well as variety. In modern chests of drawers there are components for different types of items: from bedding to unnecessary electronics. For convenience, create a drawing by trying several options.
Filling the wardrobe can be distributed according to a simple principle: outerwear - to the side, important small items - closer, valuable - in boxes, and dry clothes - higher. For example, moisture from the coat can go to other things, so it’s better to place the hangers closer to the edge of the structure.
Bed linen cannot be stored below - dirt from the floor rises by about 40 cm, even in an enclosed space. The lower section must be filled with drawers or nets for shoes. Estimate the approximate number of things in the closet in advance to plan the dimensions of the compartments.
Design
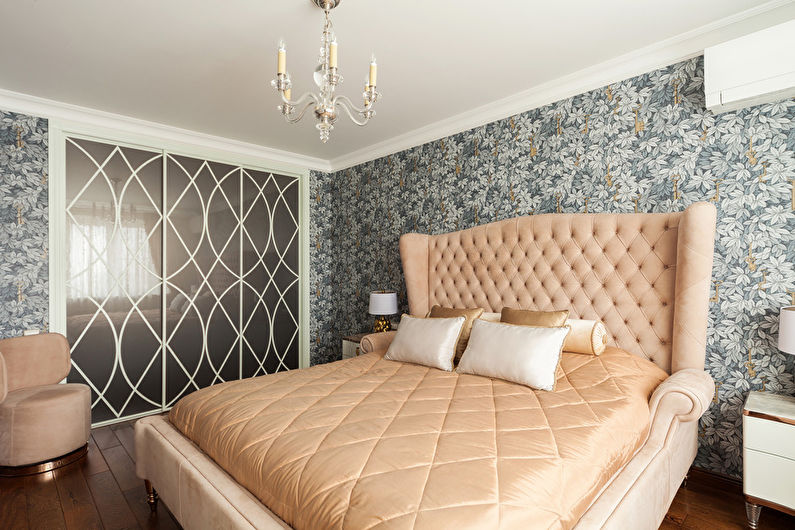
Development of the appearance of the wardrobe is for many the most interesting and creative stage. It should be borne in mind that we are talking about the design of door facades, since the beauty of the interior is not visible.
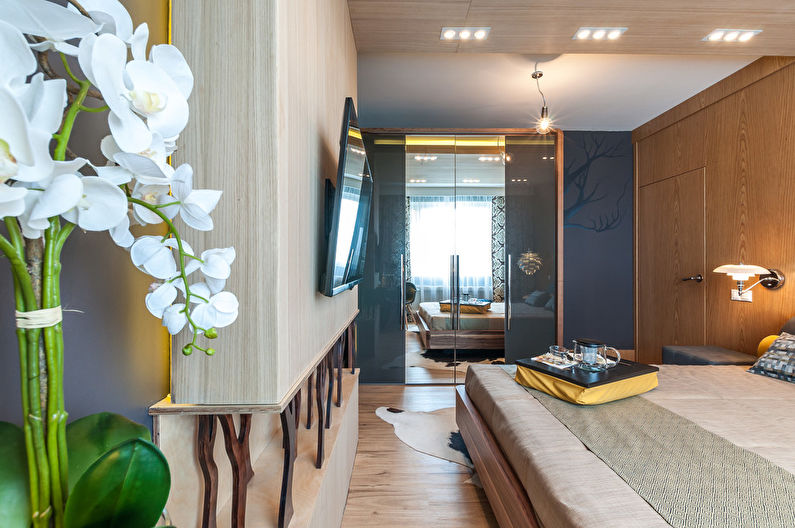
Focus on the style of the room. For example, the classic loves noble patterns and carvings, but the modern style prefers laconic lines and innovative solutions. With minimalism, you can use the motives of the walls, hiding furniture from view, and with a loft, do not be afraid of experiments.
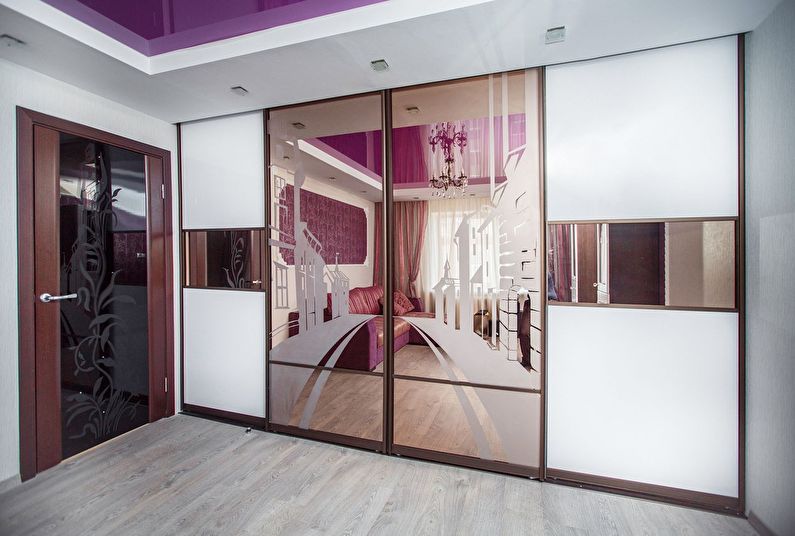
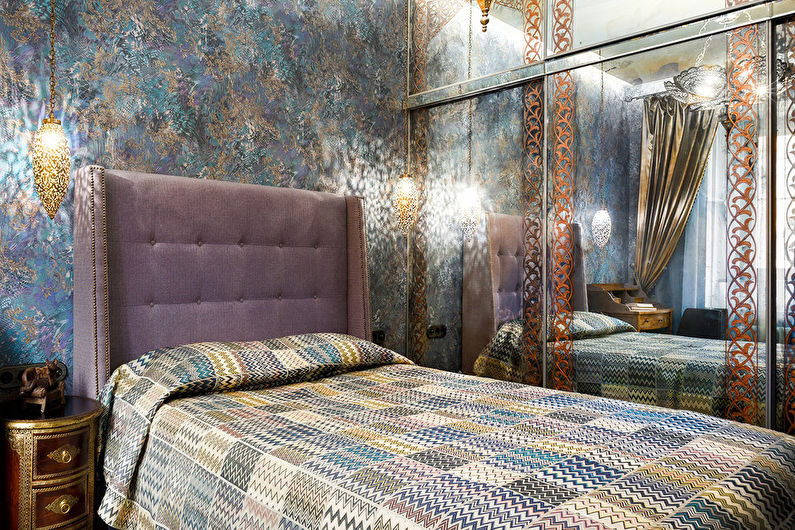
The beauty of the built-in wardrobe is that it can be an inconspicuous or bright element of the interior. The facades with whole artistic compositions look original. But if the room does not have a large area, a mirror surface will help to visually expand the space.
Preparation: materials and details
Not the least role in creating a built-in wardrobe, do-it-yourself materials play. The durability, strength and external properties of furniture depend on them.
Wood, although it is considered an excellent basis for a classic interior or provence, but for the interior filling of a sliding wardrobe is not suitable. The fact is that in the niche there will be a higher level of humidity, which negatively affects natural materials. But if this option is indispensable for a number of reasons, it is necessary to further process the base with special tools.
The ideal choice is MDF or fiberboard. These species have all the positive properties of wood, while more resistant to environmental influences. They are convenient in work - easily sawn, mounted, save not only money but also strength. A little tip: it is recommended to purchase medium or high density fiberboard, as low - too unstable.
But it is better to refuse drywall - this is impractical, heavy and fragile material, which is definitely not suitable for shelves.
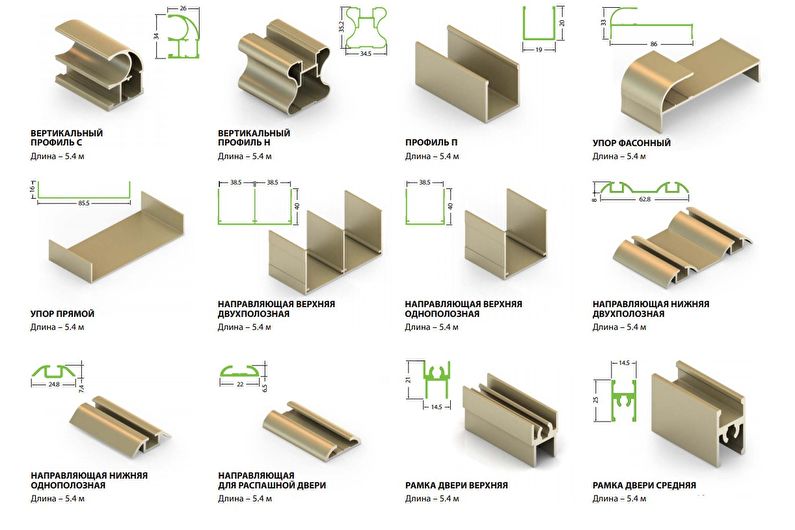
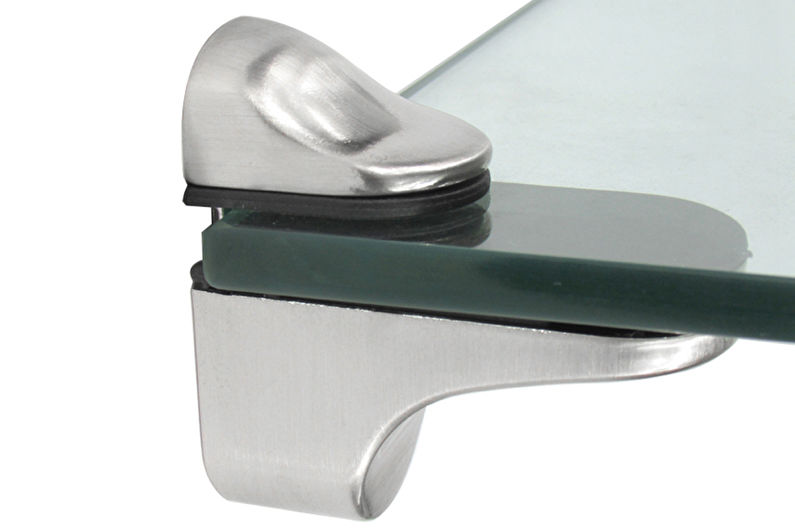
Next, determine what parts you will need during assembly. Note that some elements can be purchased ready-made: this applies to shelves or sliding doors. You can contact the master, who will make them in accordance with all the rules, and do only installation of the cabinet yourself. But other components will have to be purchased in any case - they are indispensable.
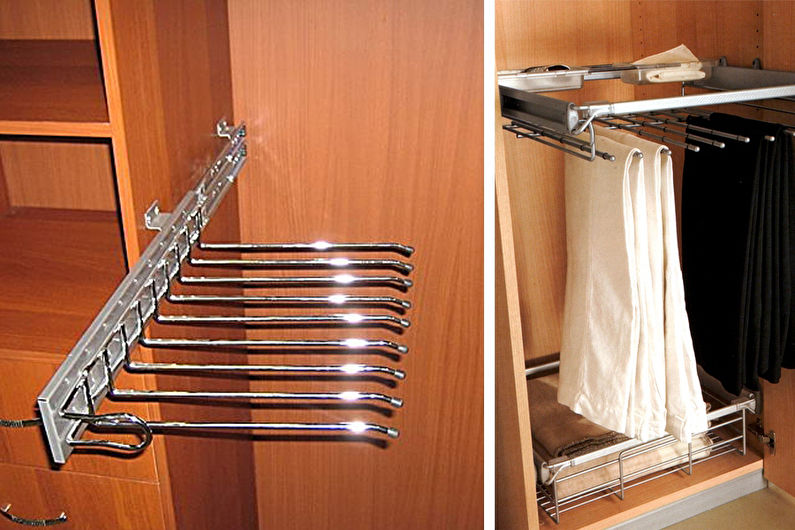
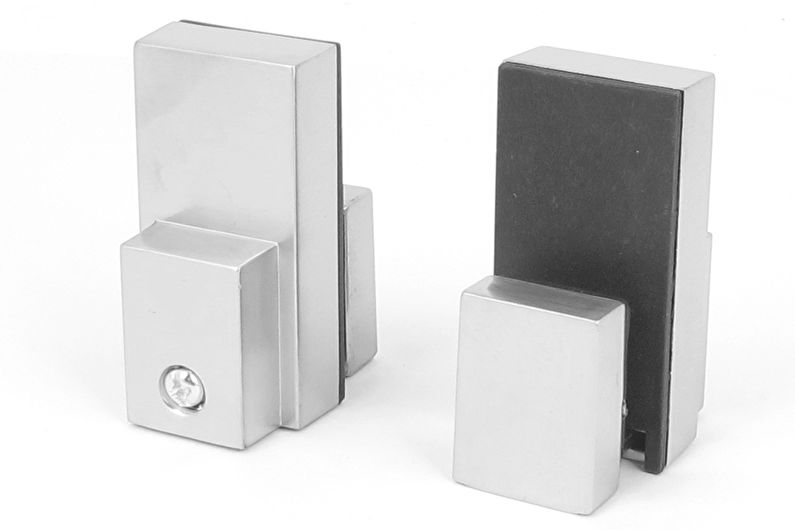
Such items include: roller mechanisms for doors and rails for drawers, screws, mounting pins, support elements, rods for hangers. This list can be updated depending on your goals.
Sliding wardrobe assembly
After carefully developing the layout of the wardrobe and preparing it, it's time to move on to the most crucial moment - the installation of all the parts.
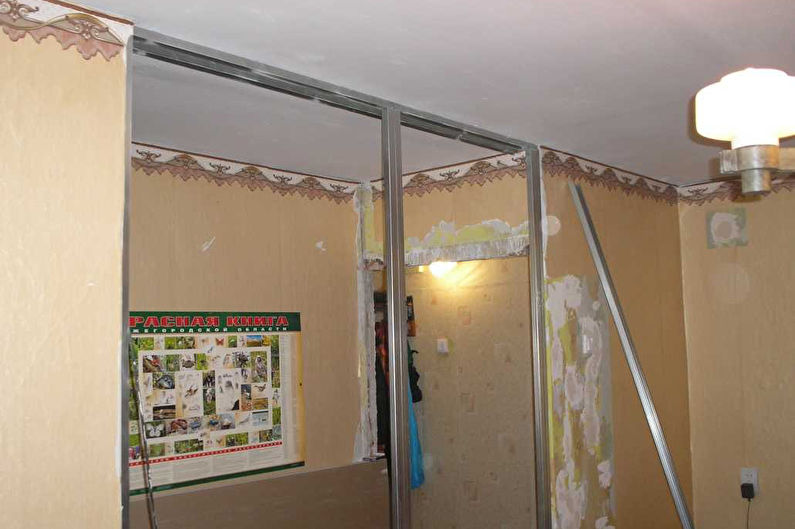
Niche
Undoubtedly, the opening in which the cabinet body is installed must first be prepared for this. So that the walls do not dust, some prefer to cover it with a layer of plywood or even wallpaper. But there is a more economical option.
To begin with, the old coating is removed with a gel wash. She is completely safe for health. After this, it is necessary to impregnate the surface with an aqueous-polymer PVA solution. This process will take several days, since it is recommended to repeat the procedure several times, after waiting a day. Then we cover the partitions with acrylic enamel. Done - ten-year protection guaranteed.
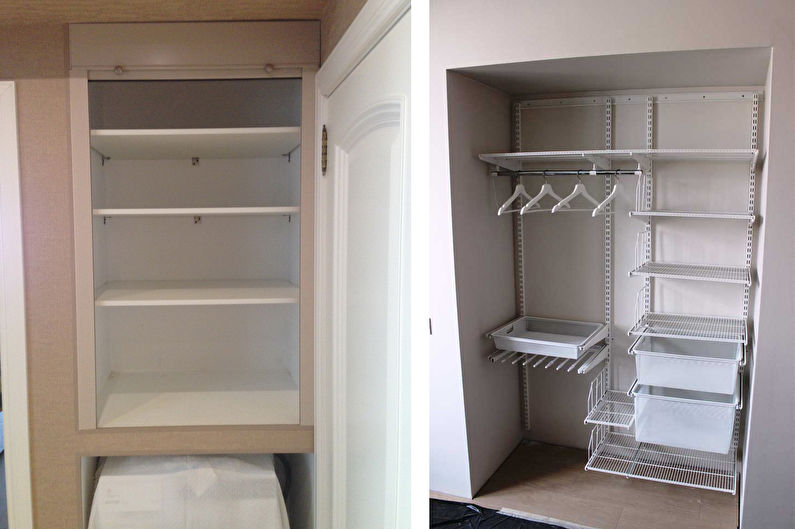
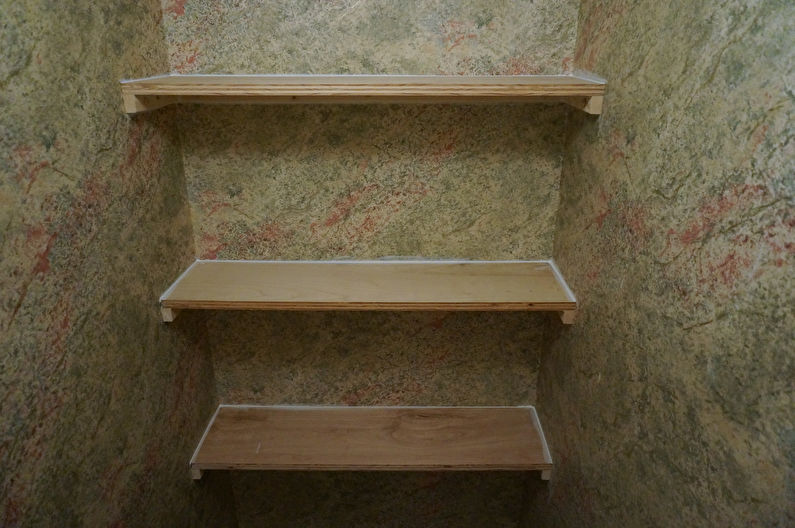
Shelves
Time to fill the niche with storage space. Note that for the built-in cabinet, the options for fastening shelves as in cabinet furniture will be ineffective, since it is impossible to get to the side walls from the outside. It is difficult to independently design a special frame, but the use of adjustable suspension systems can save the situation.
Another convenient solution is to mount the storages on the plinth sections that support the shelves from below. In general, having decided on the method, the installation of the internal components of the wardrobe will not cause problems.
Sliding doors
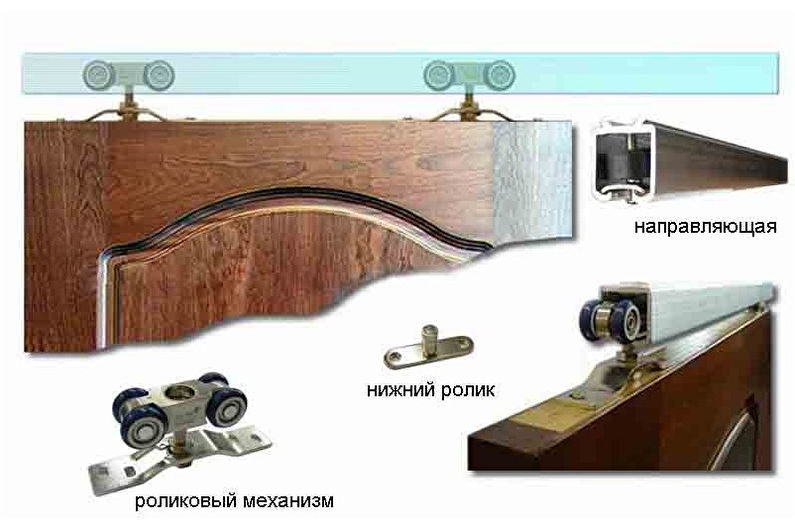
Installation of the main feature of sliding wardrobes - sliding doors - is the most difficult stage of work. You have to set the role mechanism in such a way that it copes with its functions perfectly, provides easy gliding, clear fixation, and also does not make extraneous sounds.
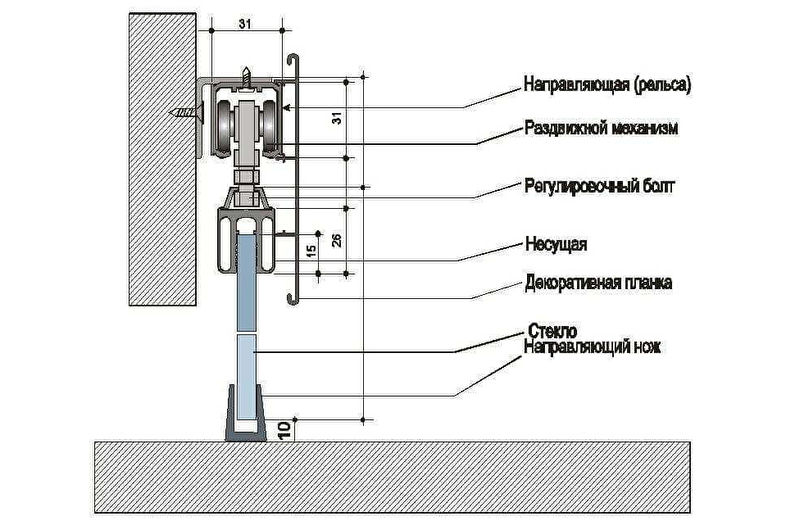
It is necessary to determine the choice of suspension. There are three types: lower rail, upper rail and monorail.
In the first case, the lower part of the mechanism serves as a support, and the upper prevents loss. This is the most common and reliable form. Installation is carried out as follows: the upper and lower rails are installed in the page, they are raised and adjusted all the way.
In the second case, on the contrary, the support goes to the upper part. Thus, the mechanism is not so dusty, does not emit extraneous sounds. But with careless handling, parts can easily be damaged.
The third option is a carriage with two pairs of rollers. In this case, the suspension of each leaf moves to another guide.
Doors are installed in suspensions, checked for operability - and that’s all, the built-in wardrobe is ready!
Video: DIY built-in wardrobe